

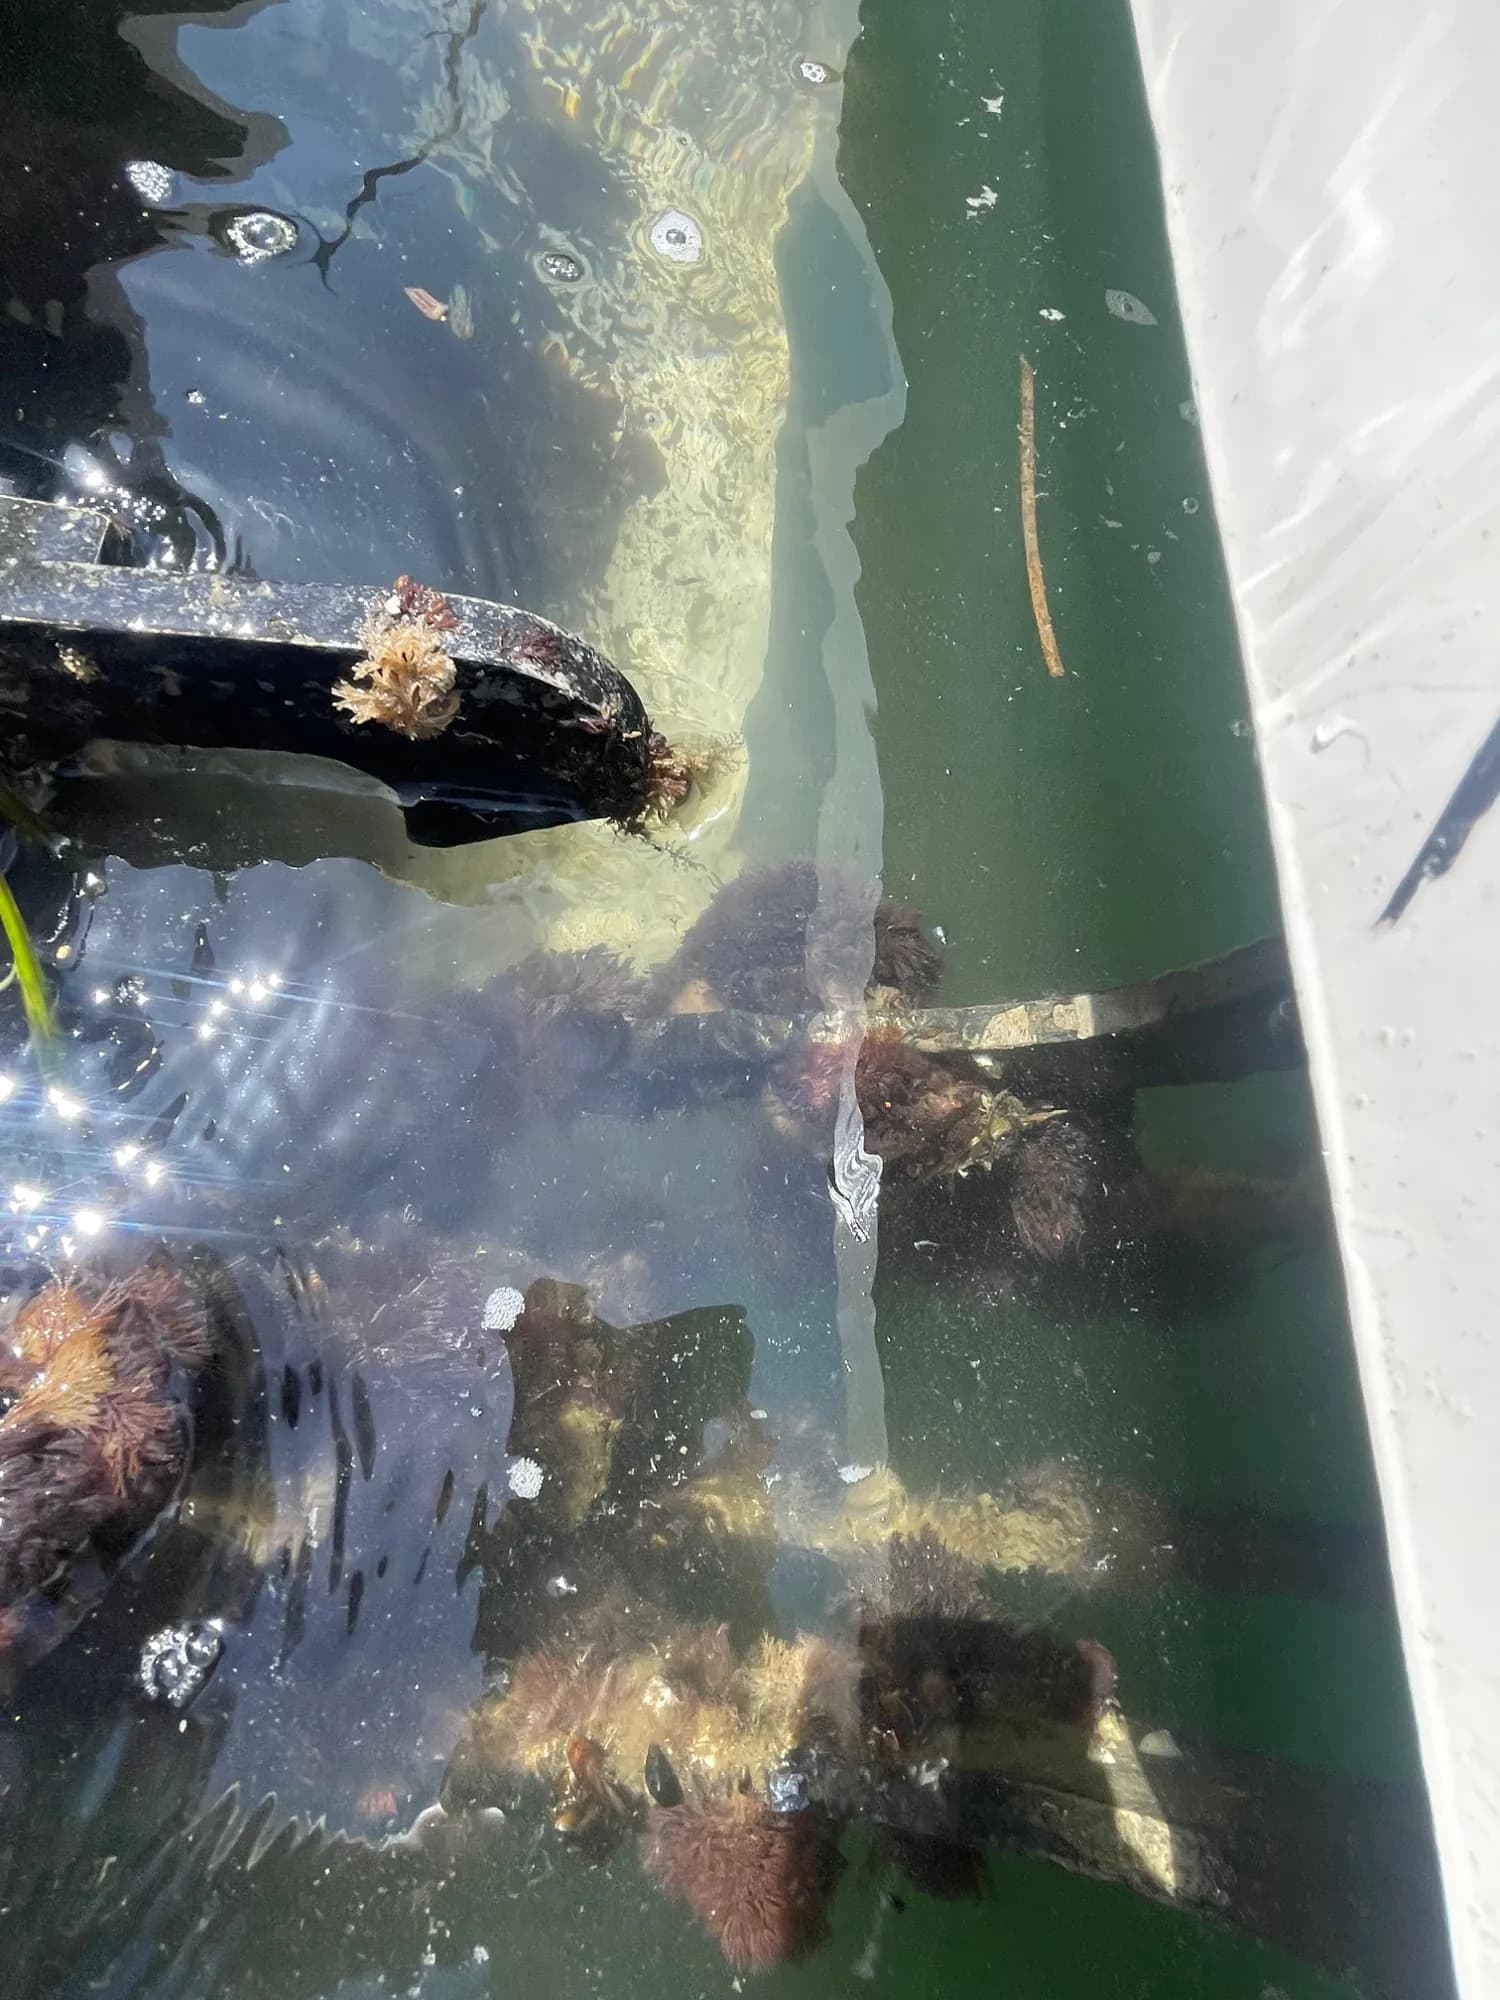
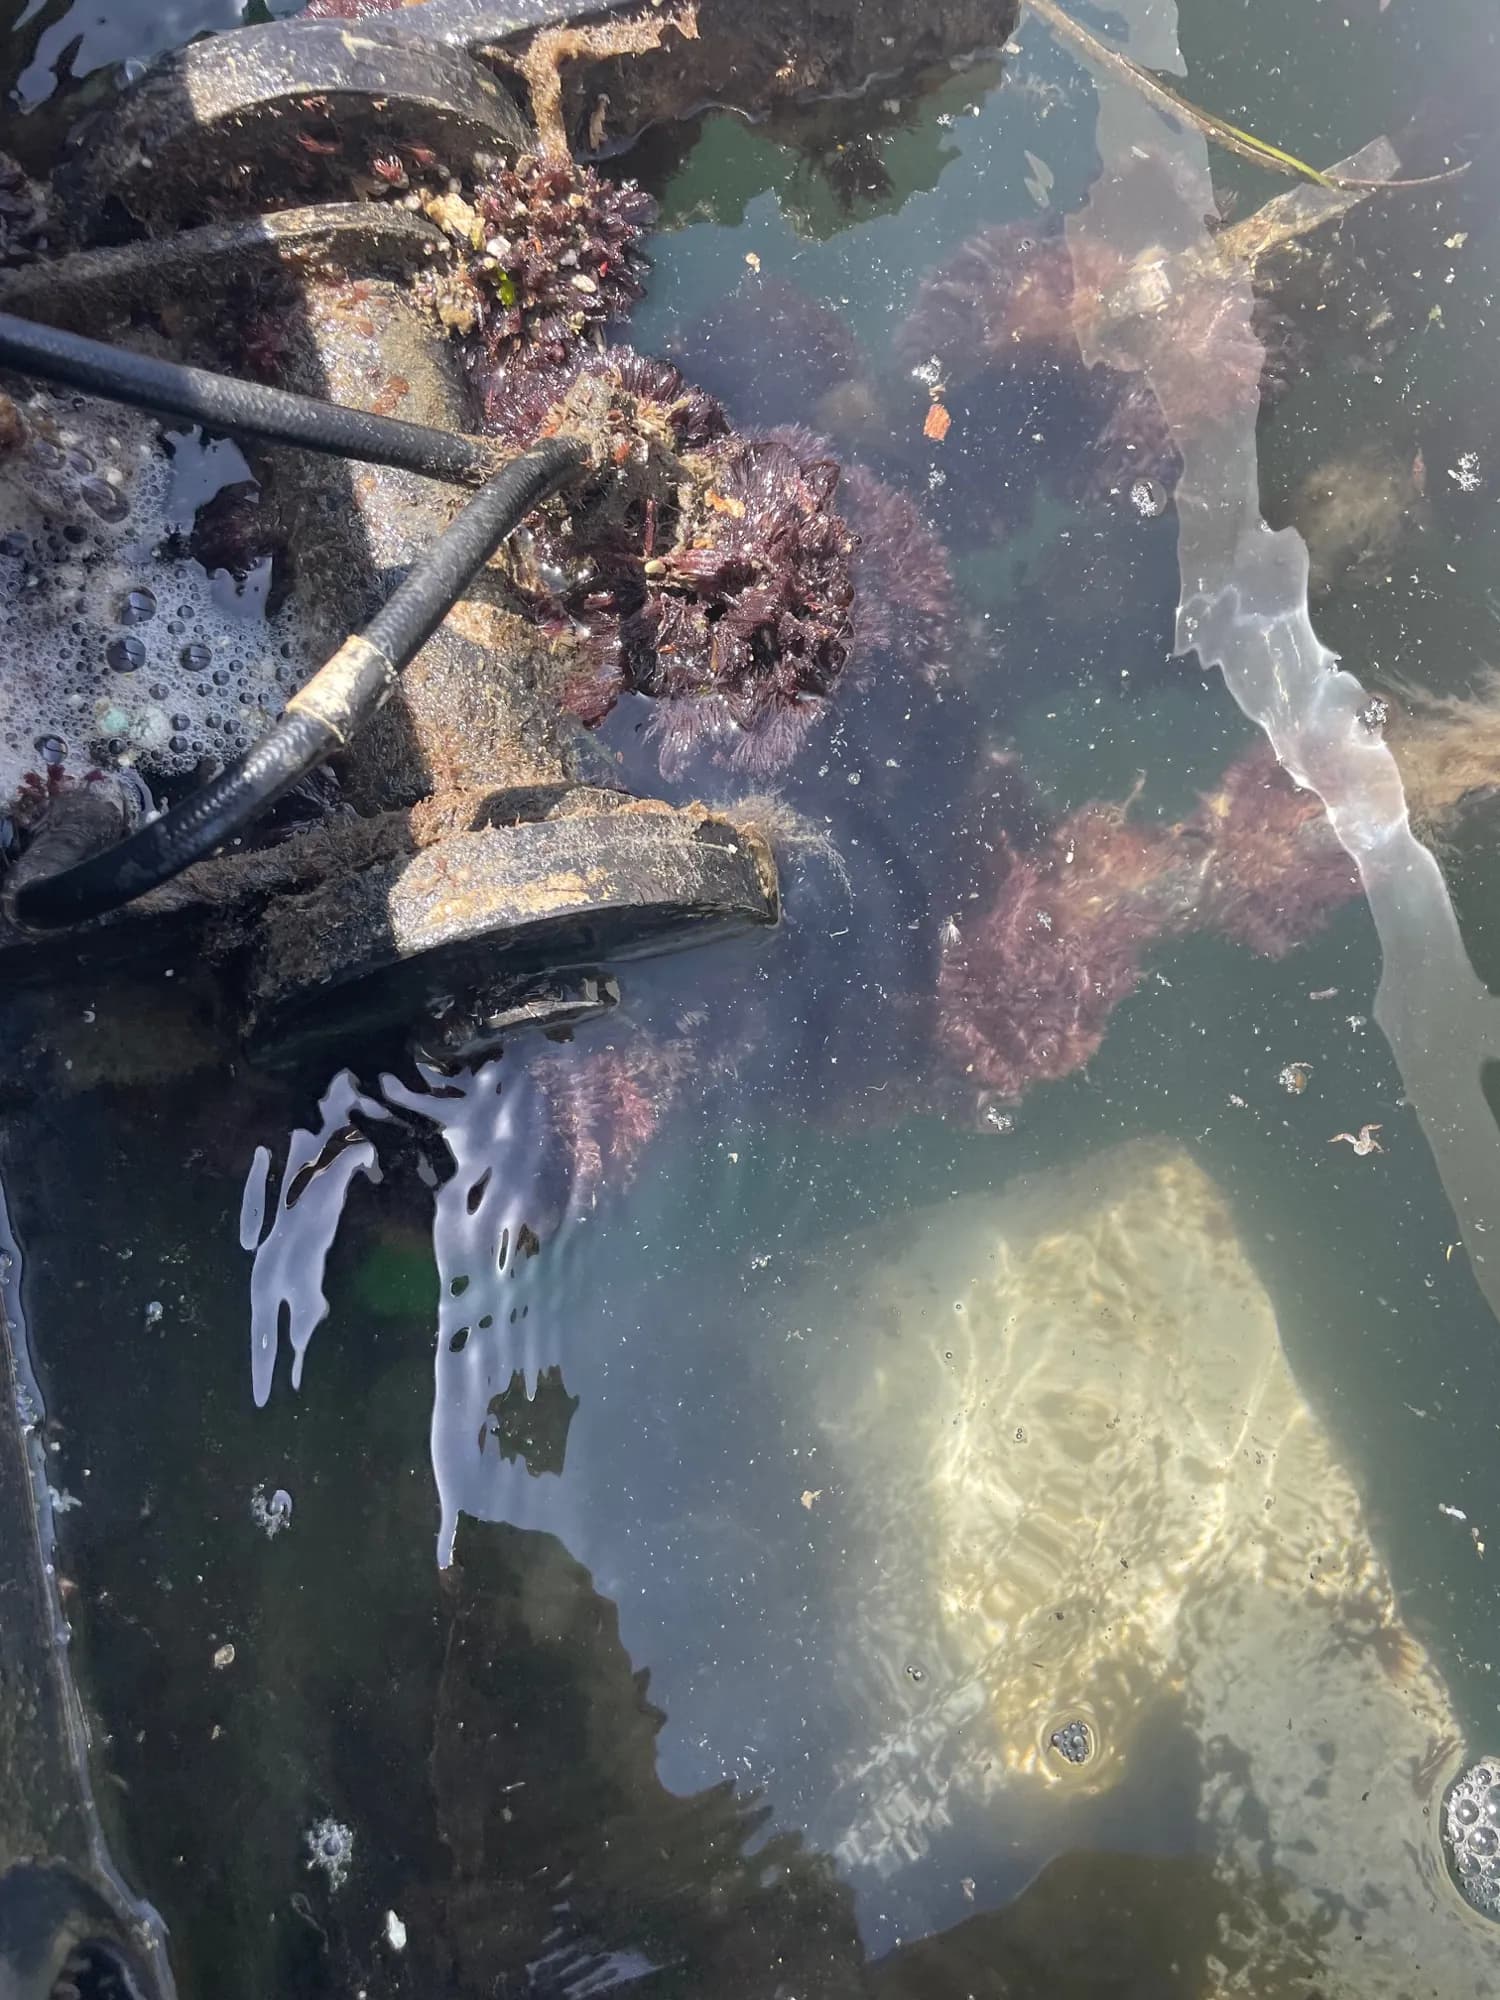
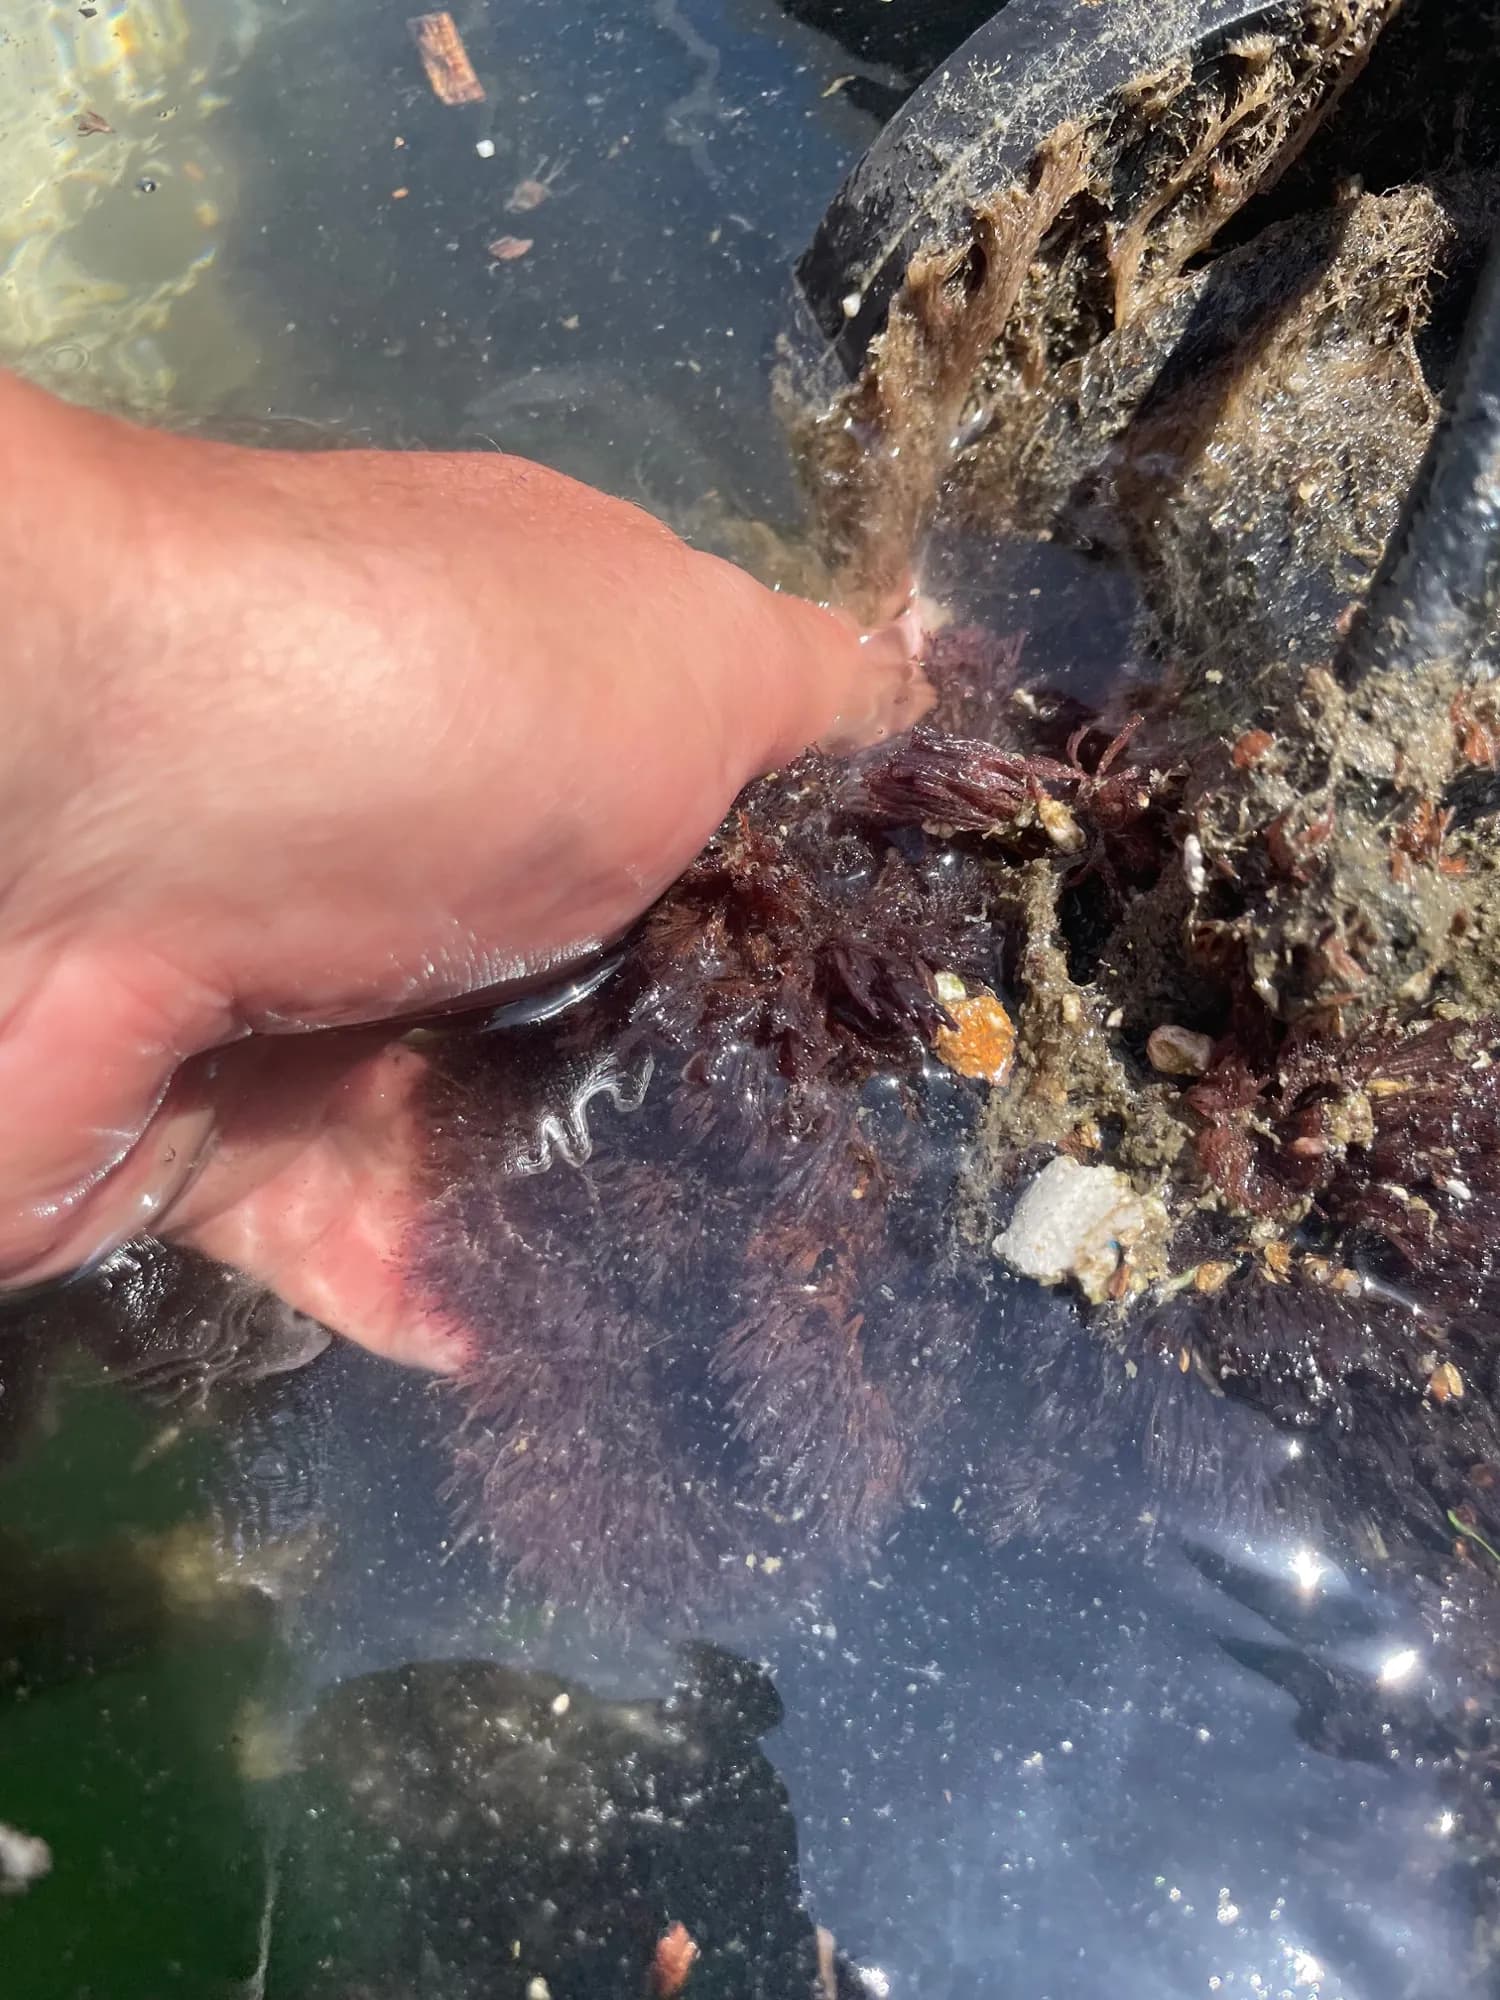
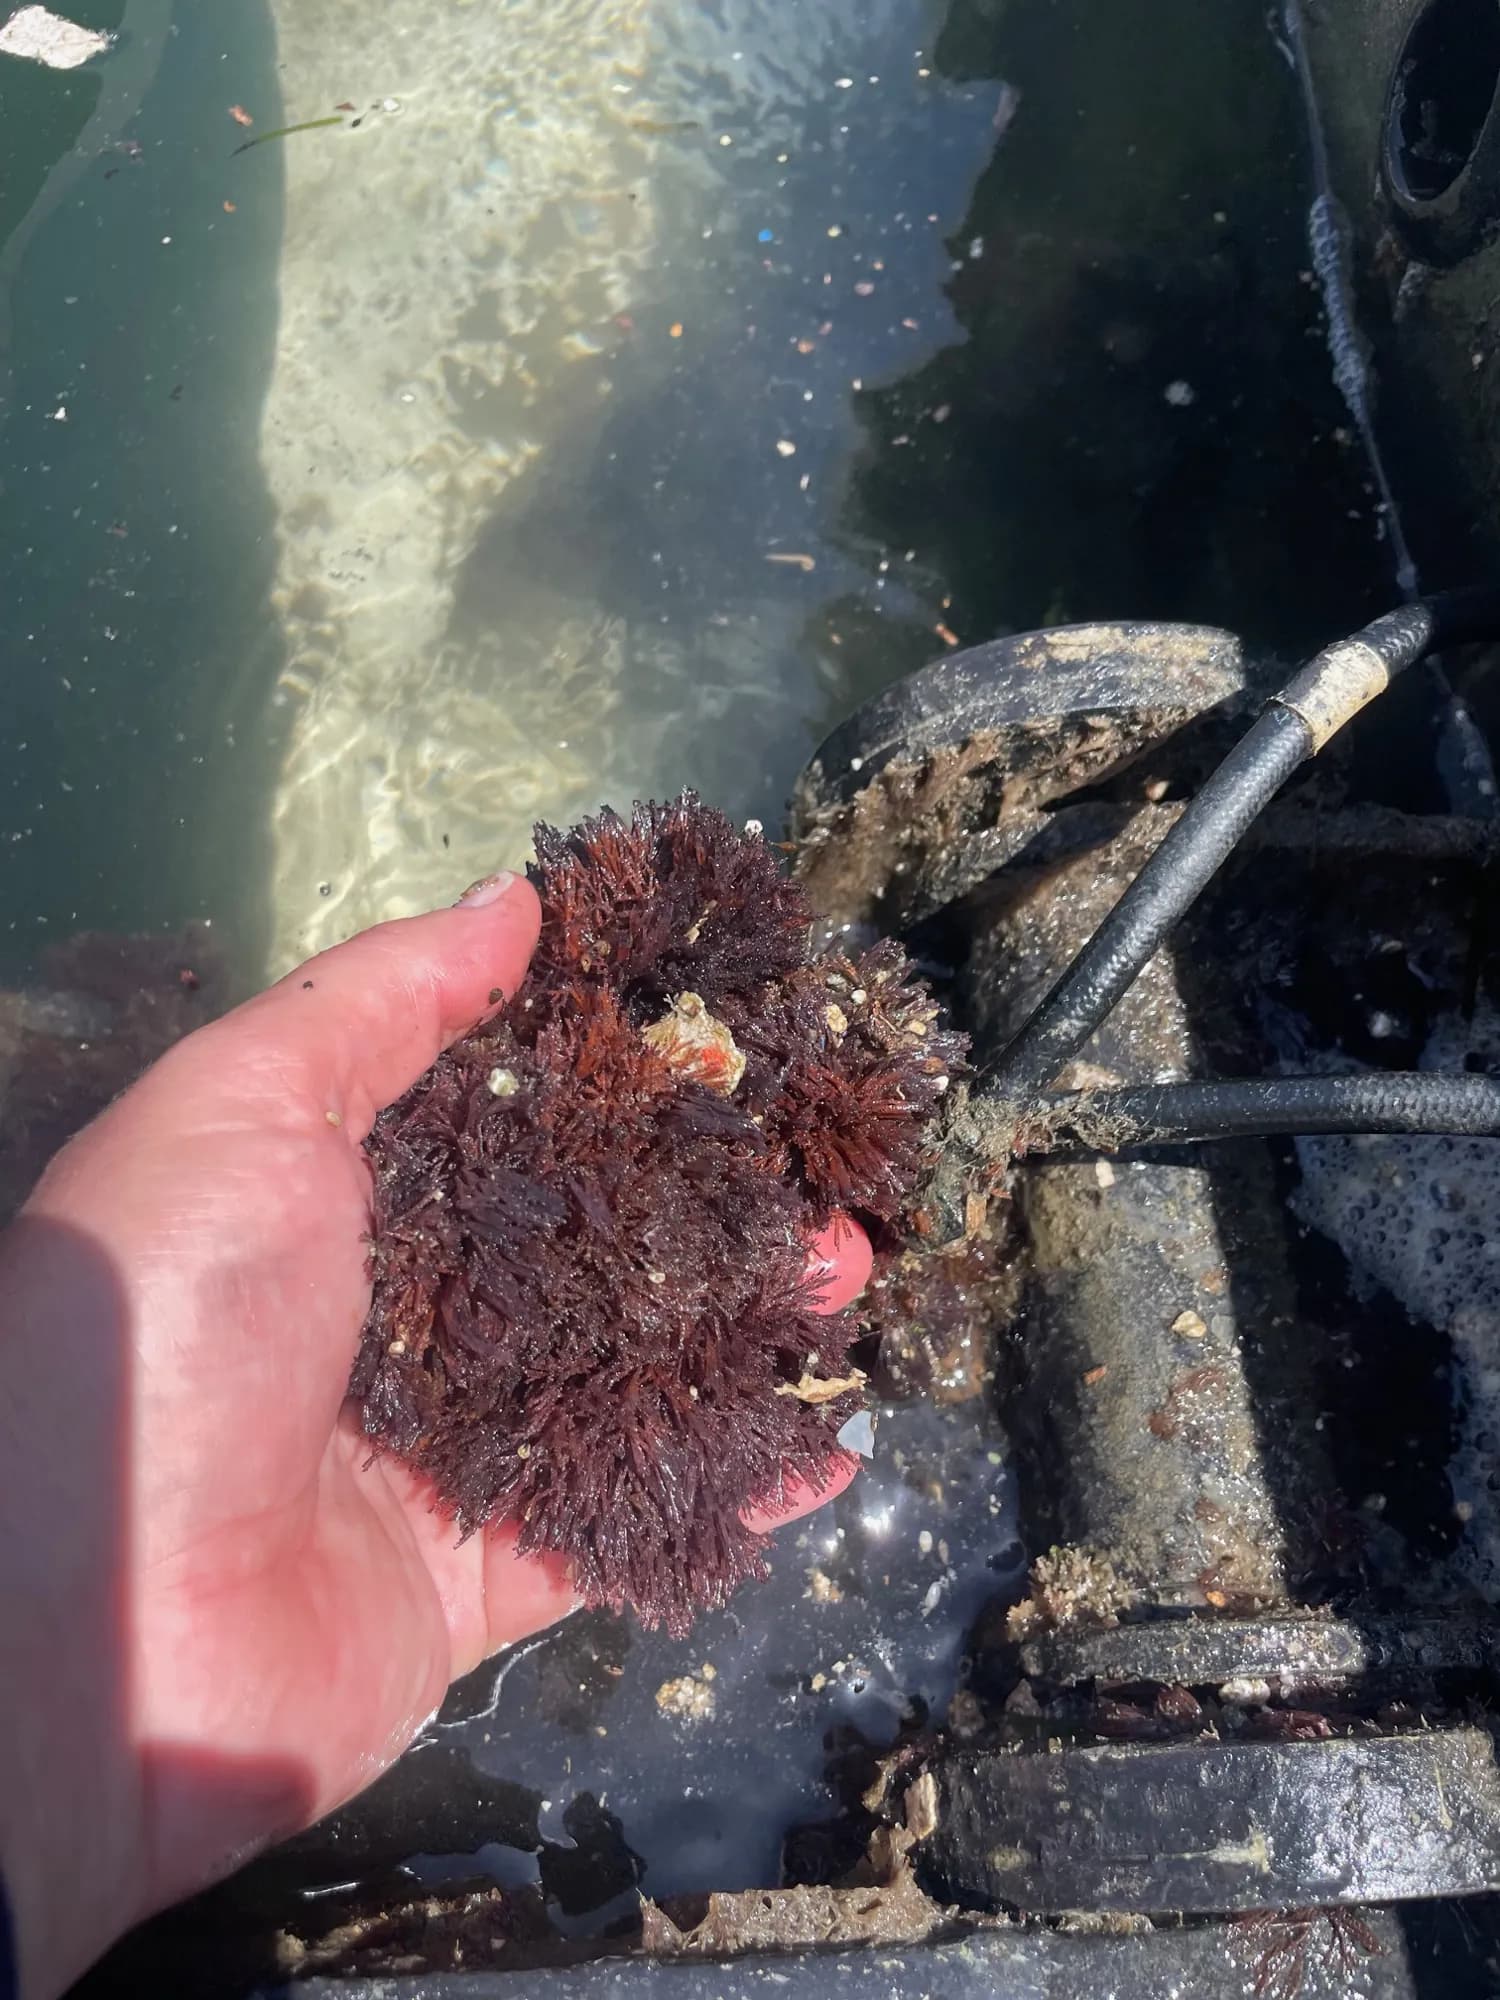
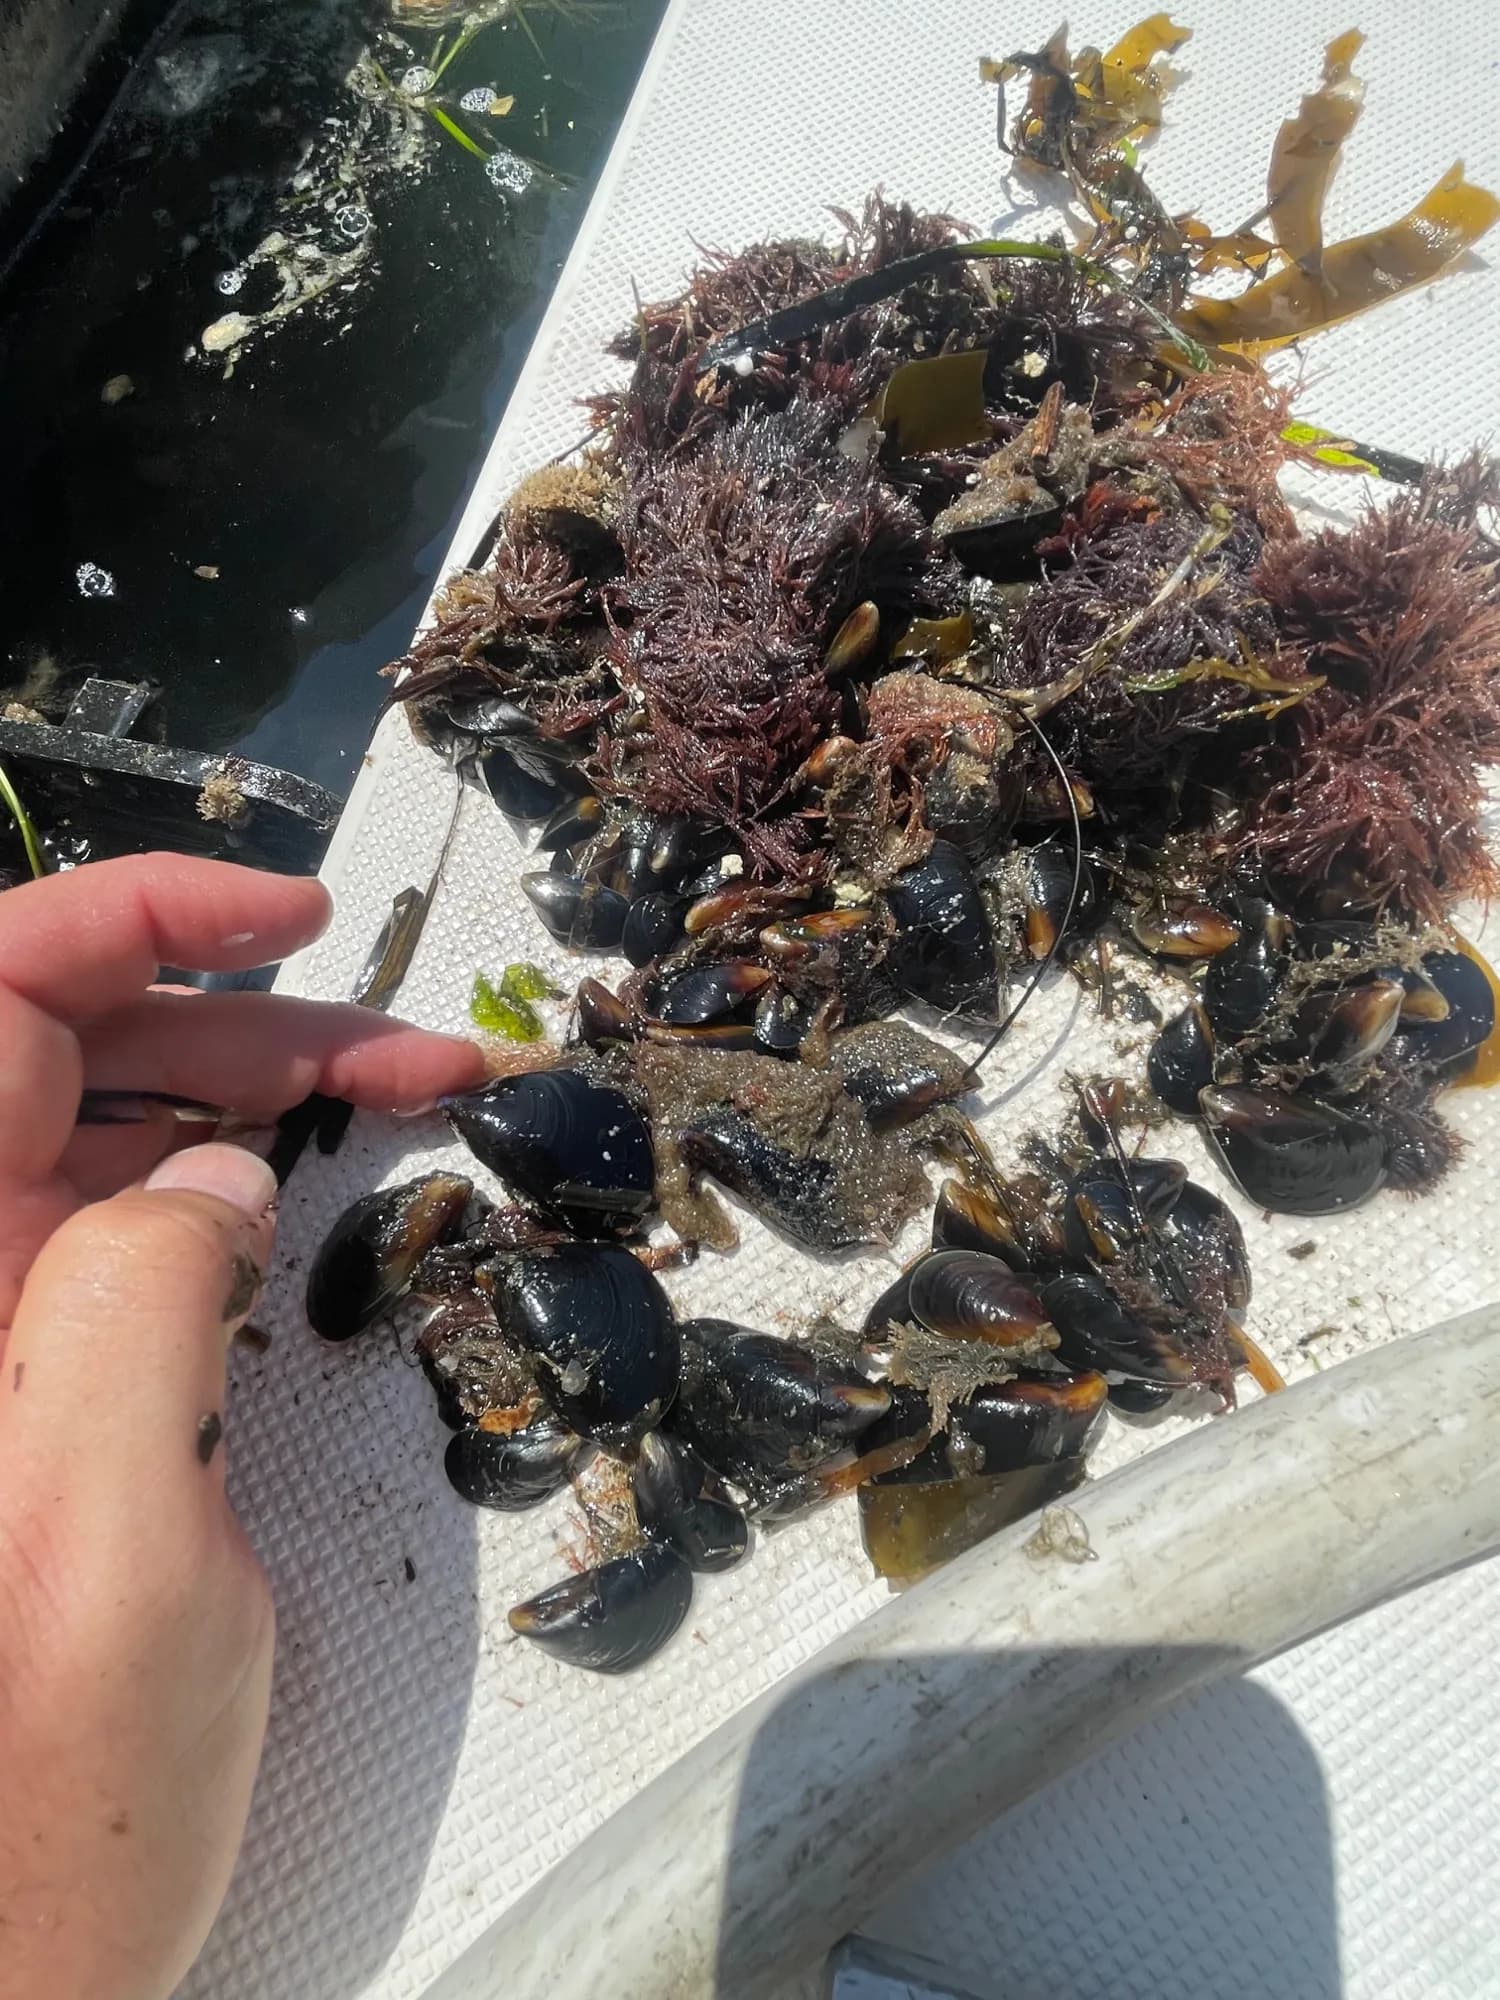
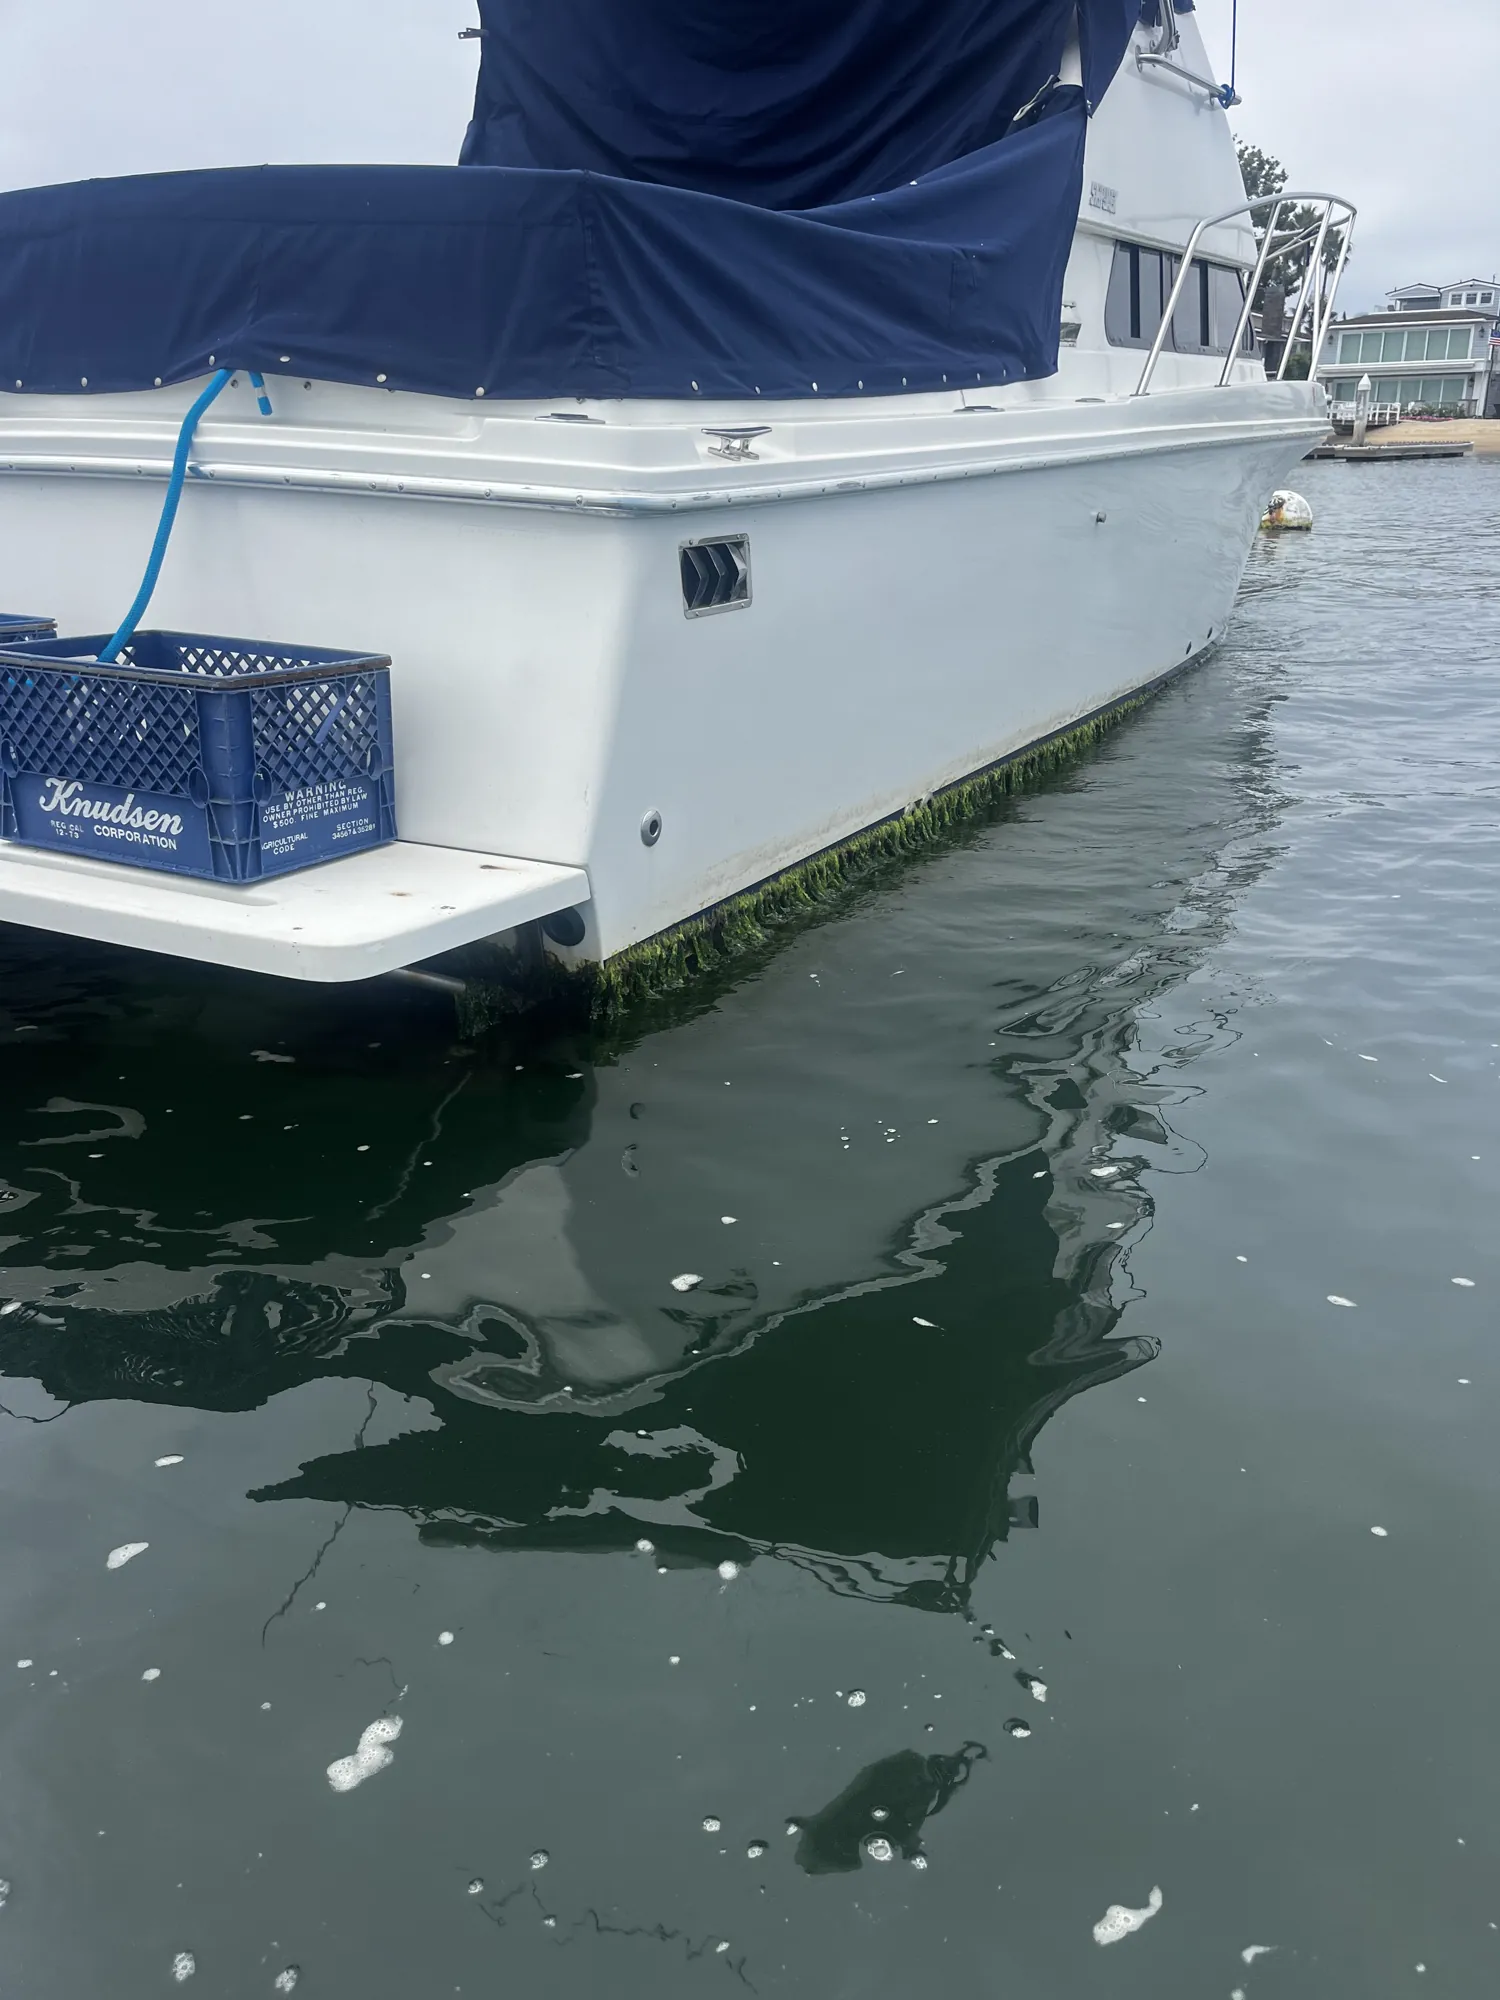
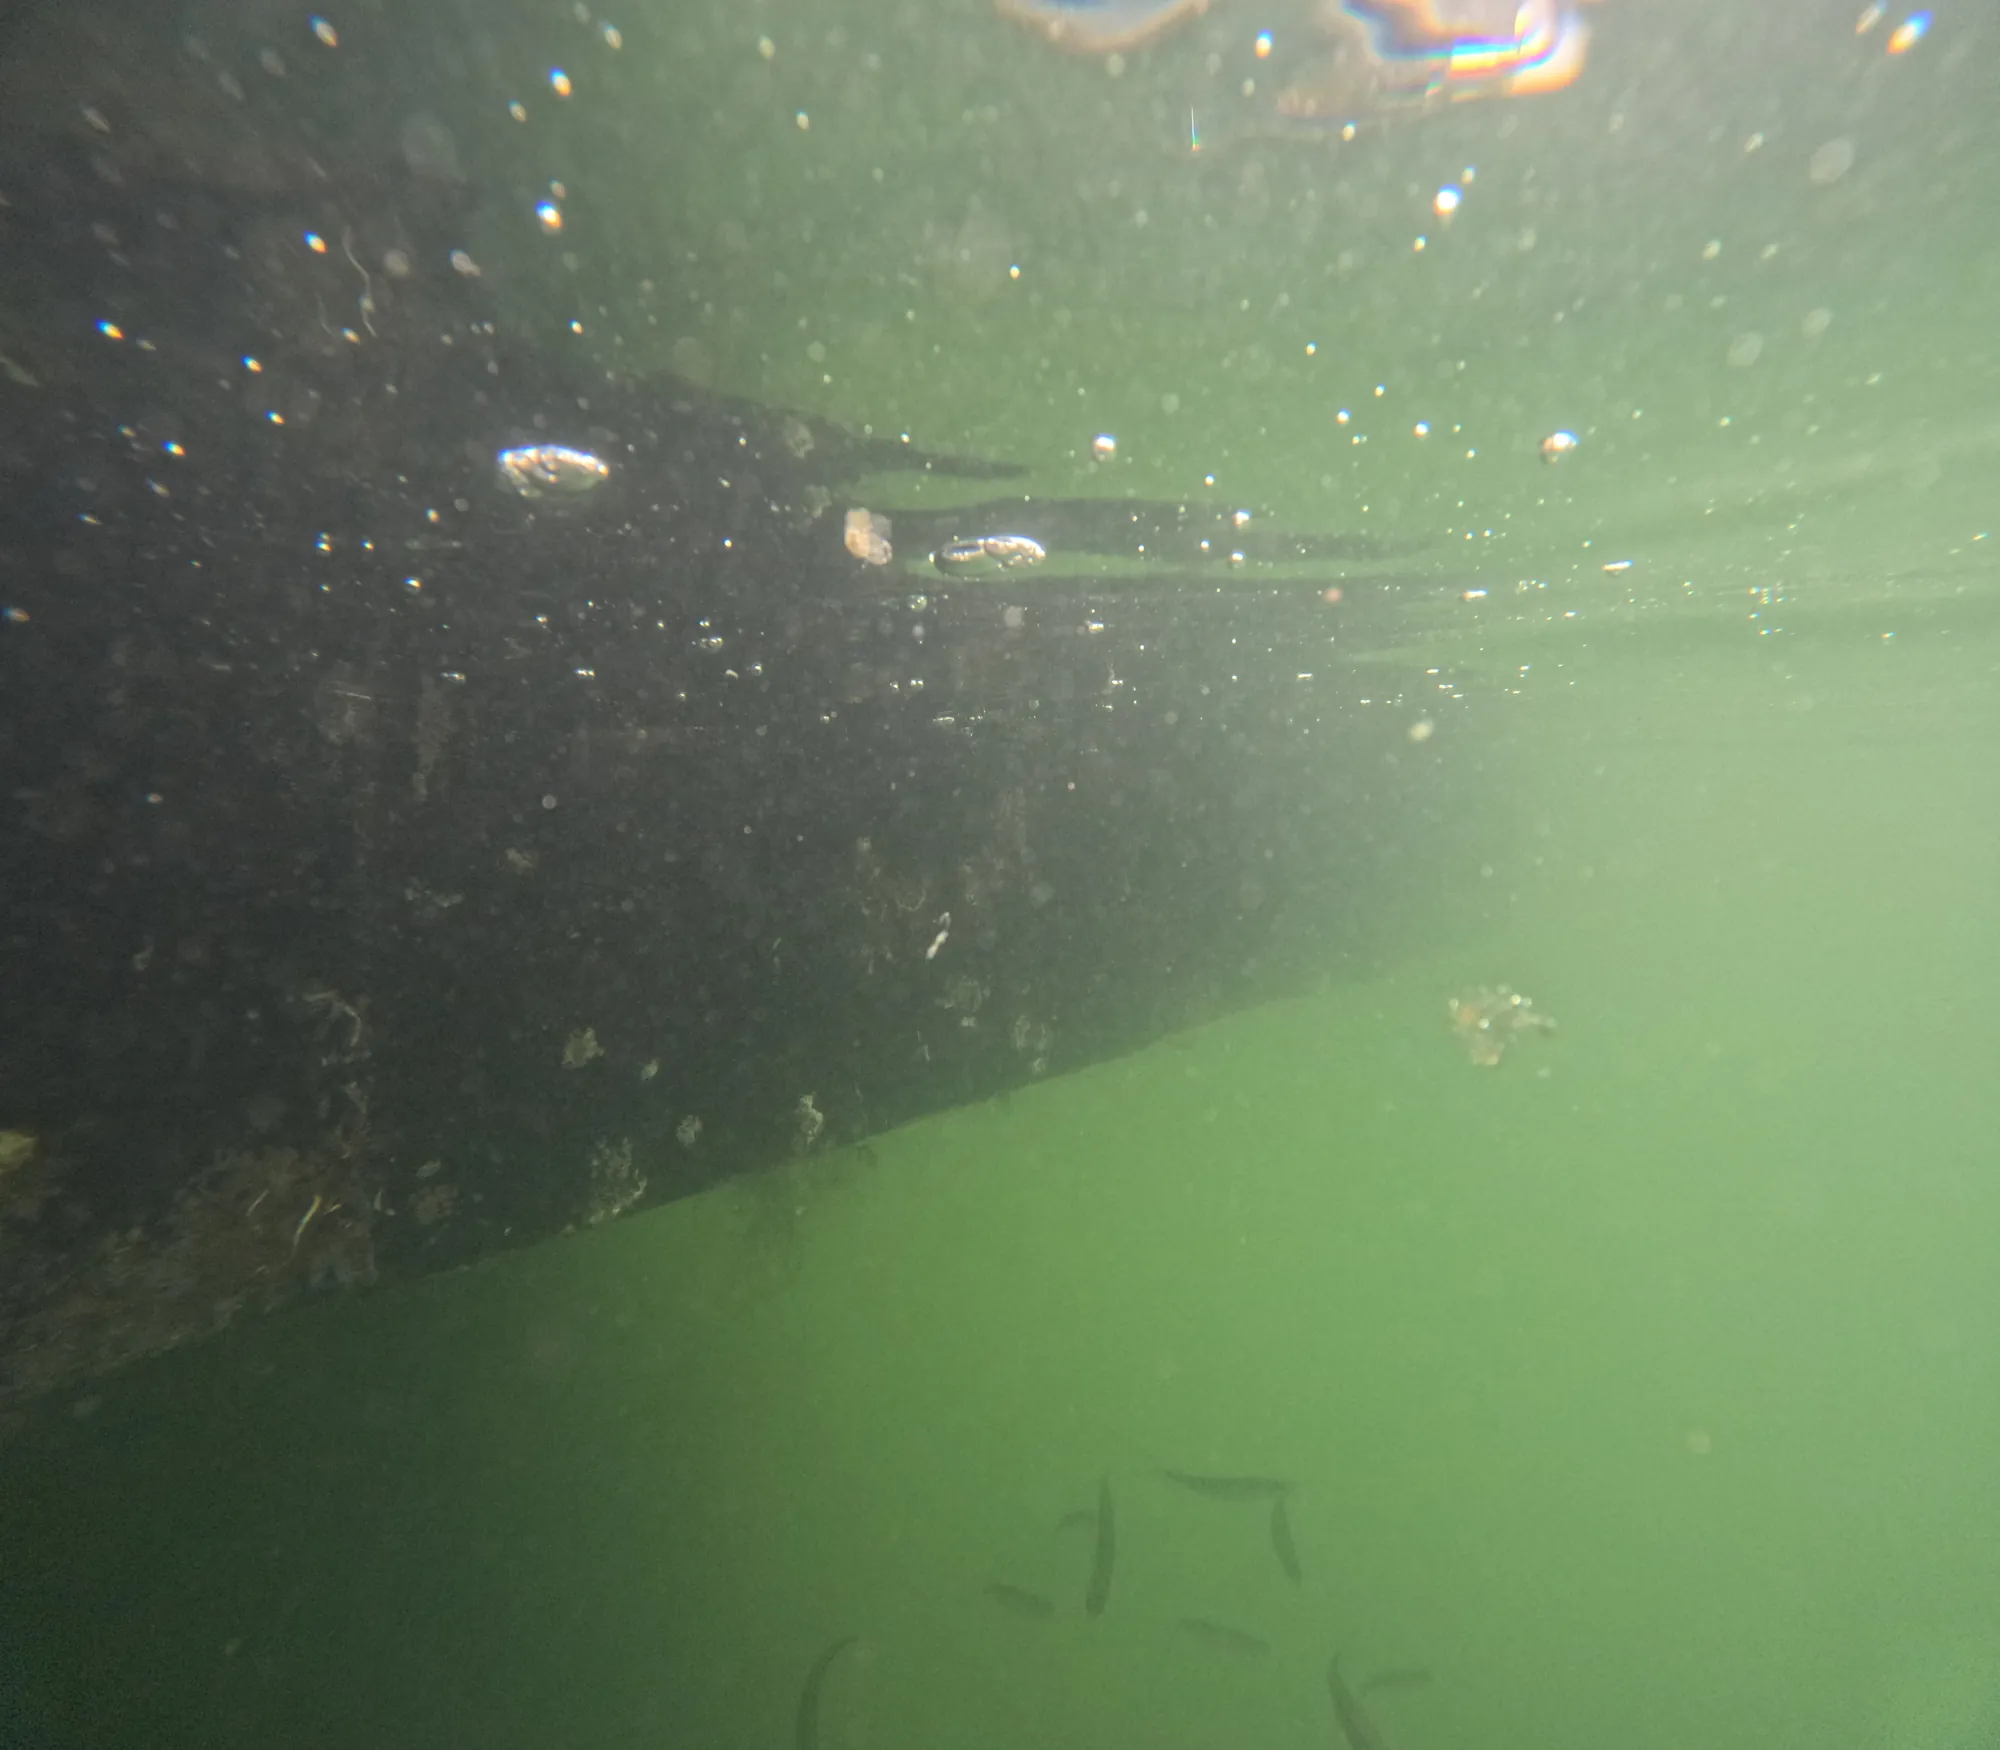
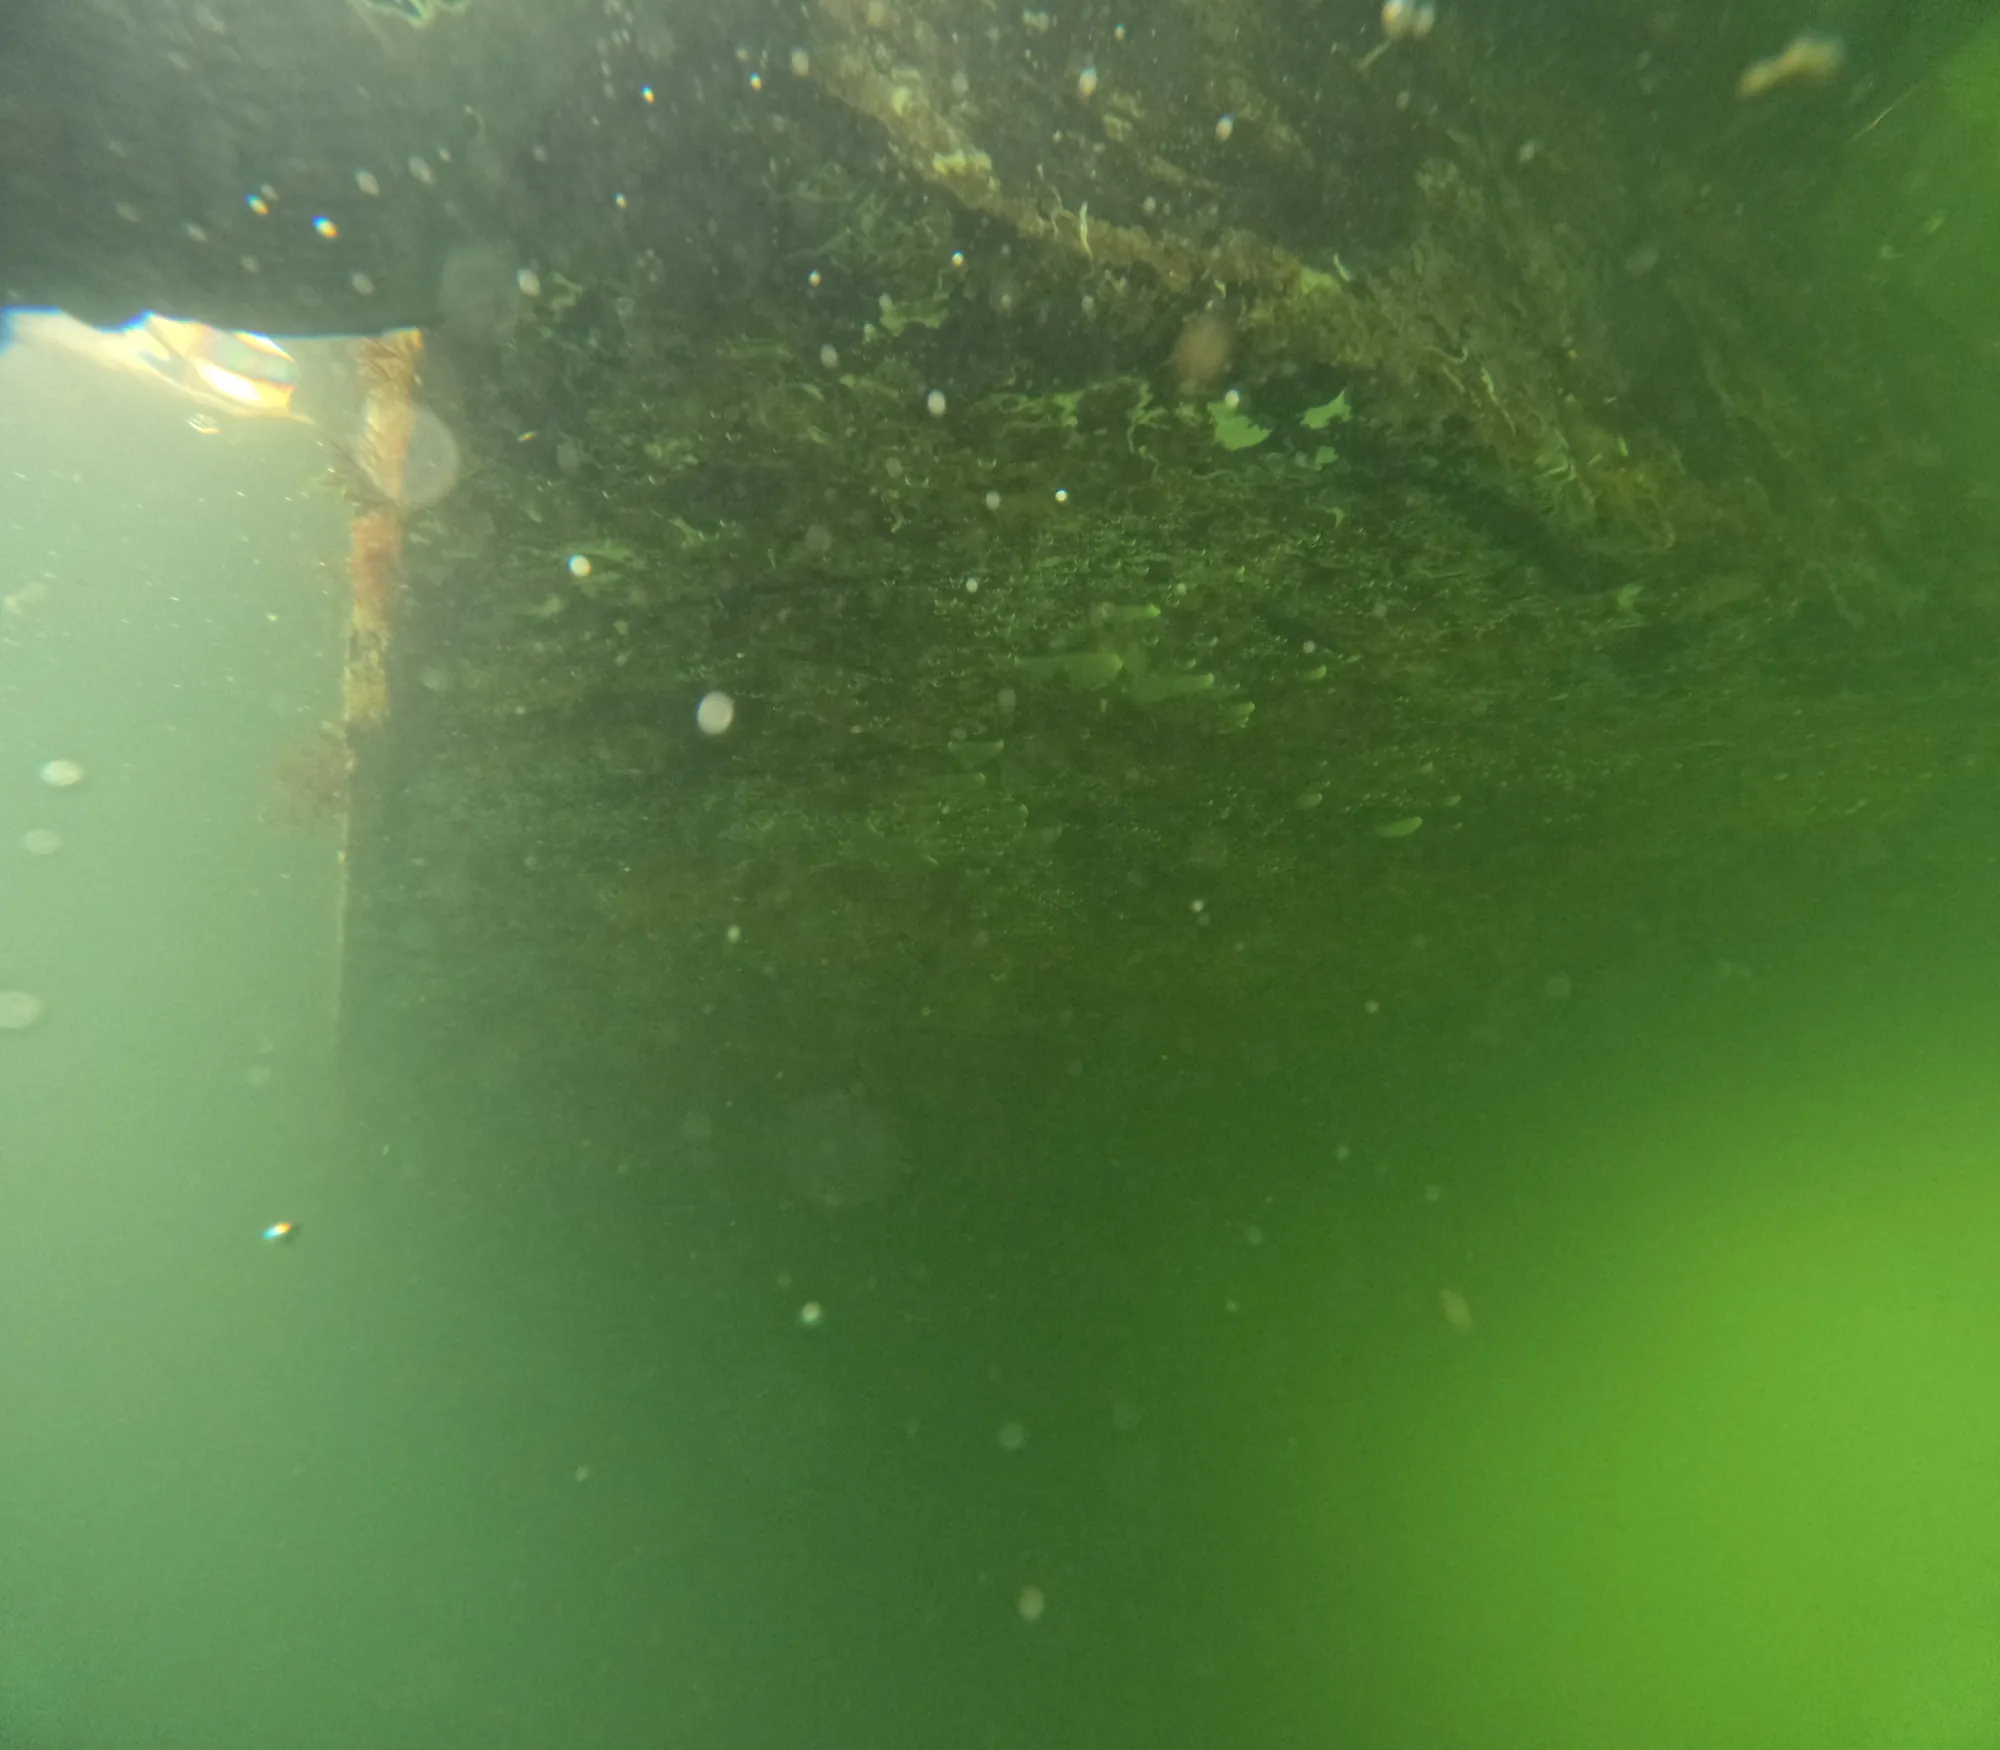
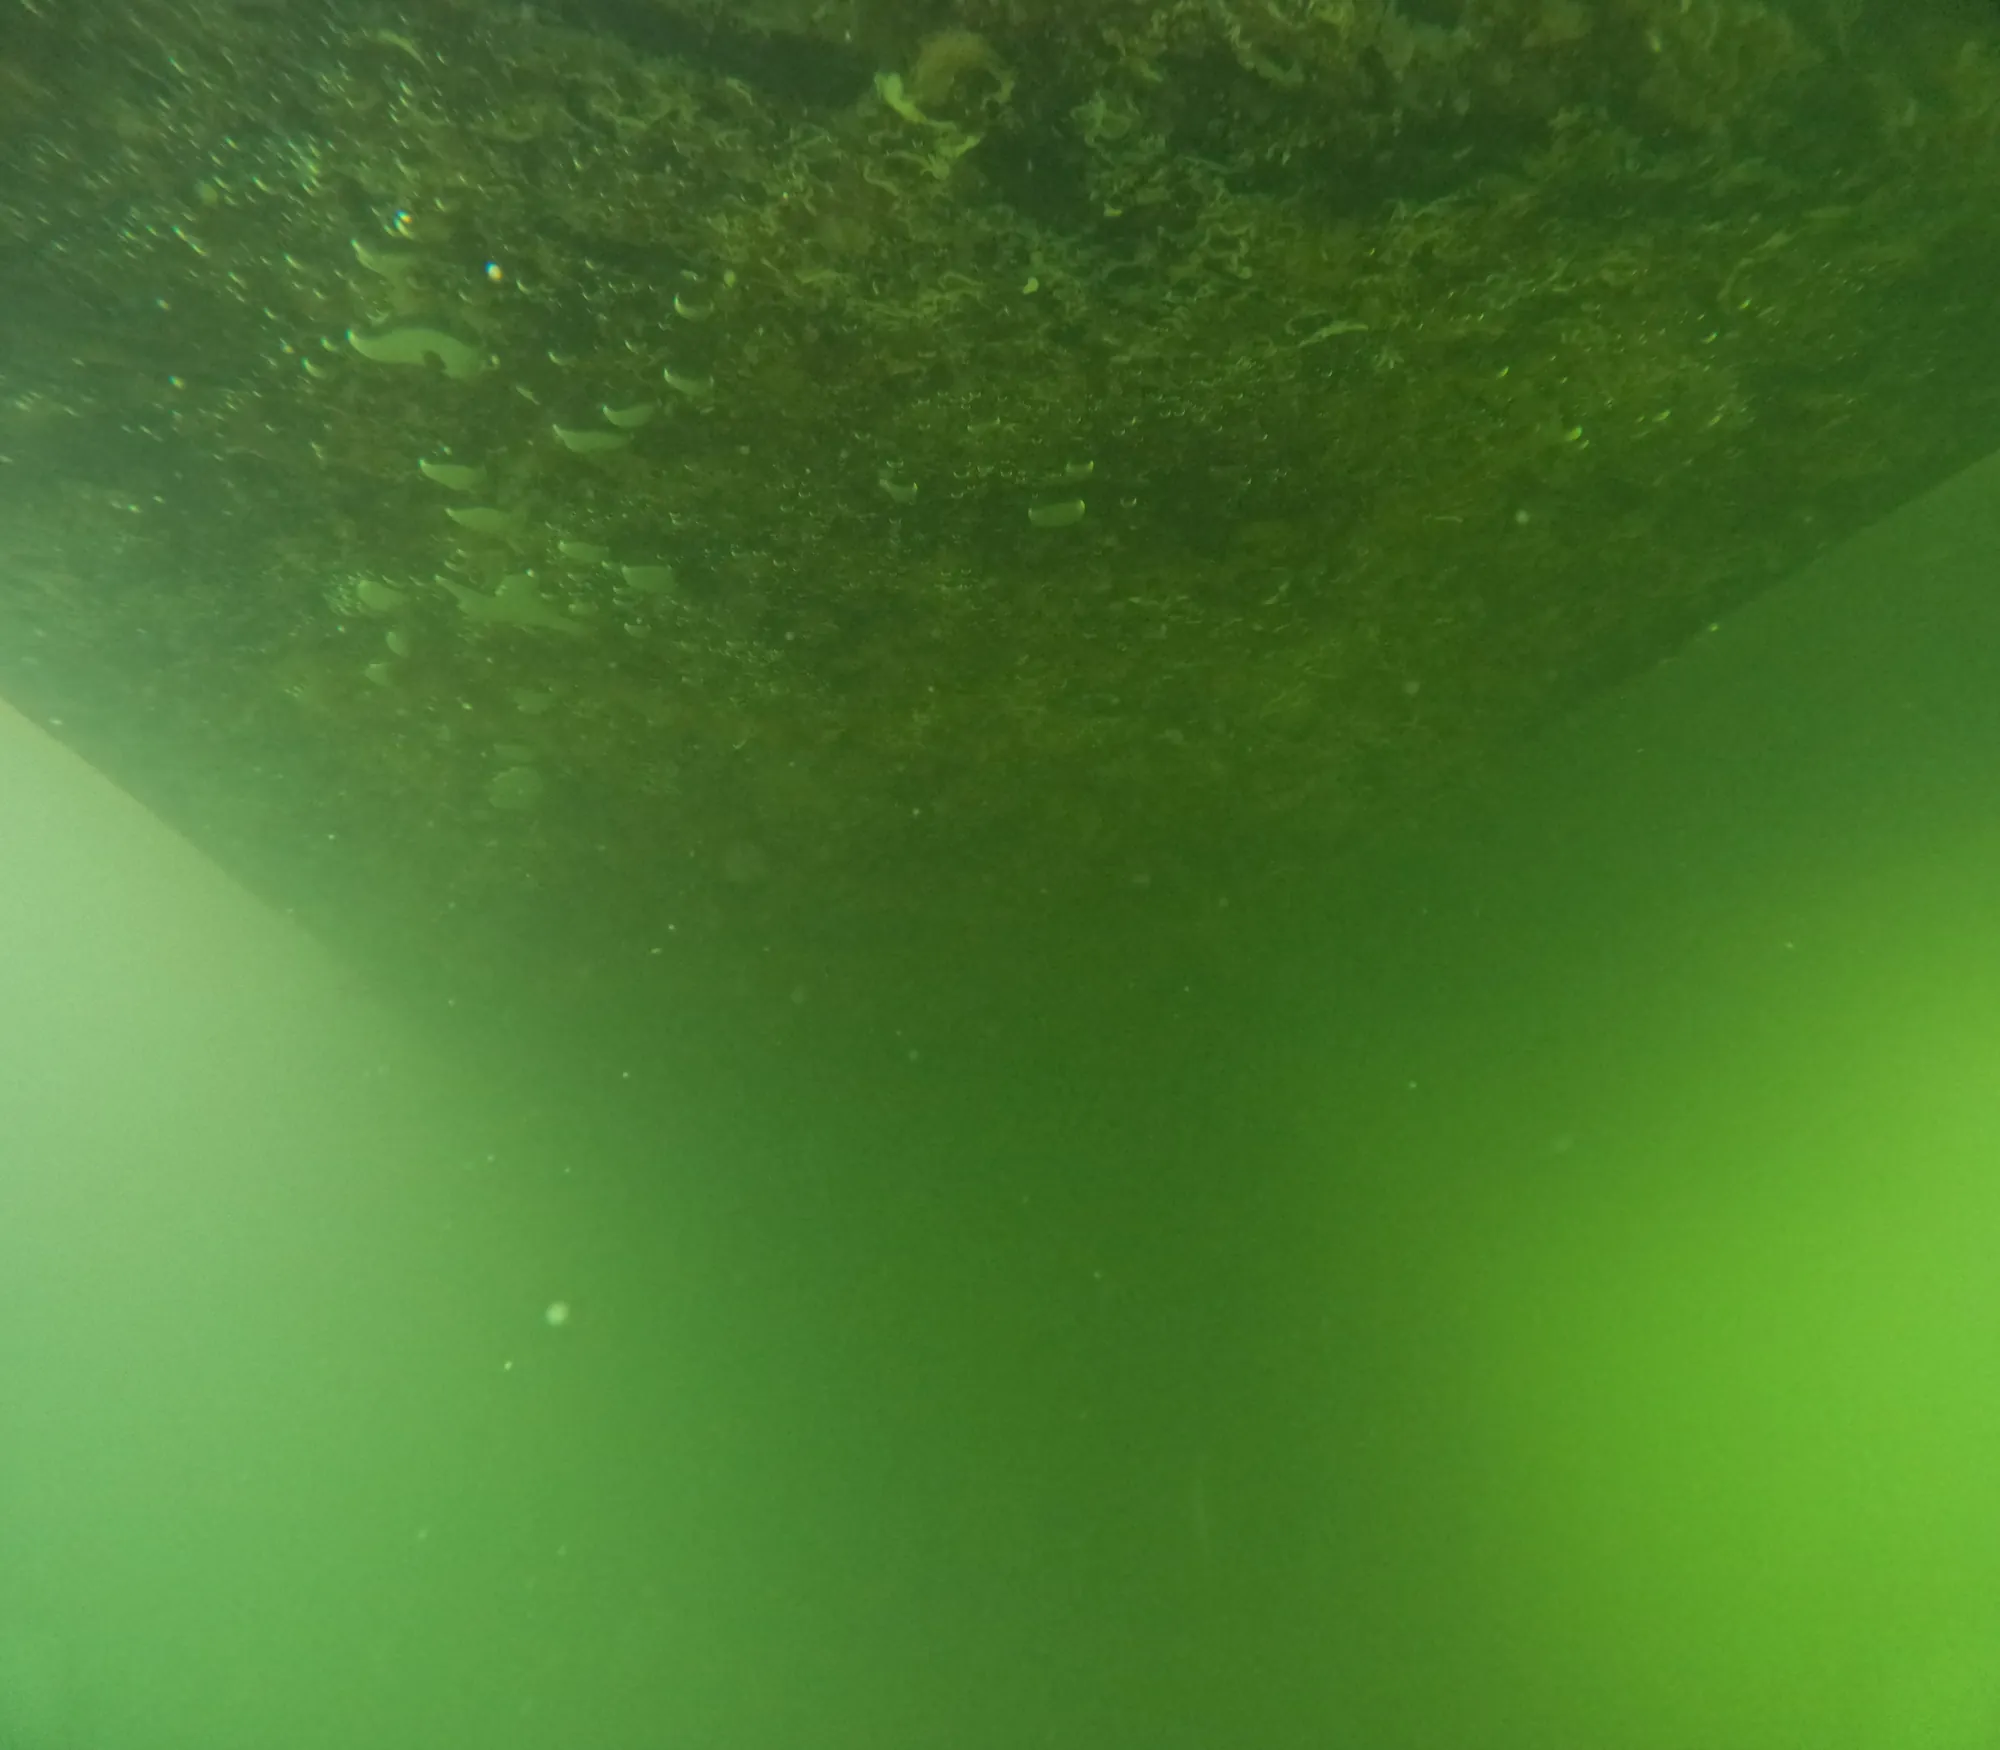
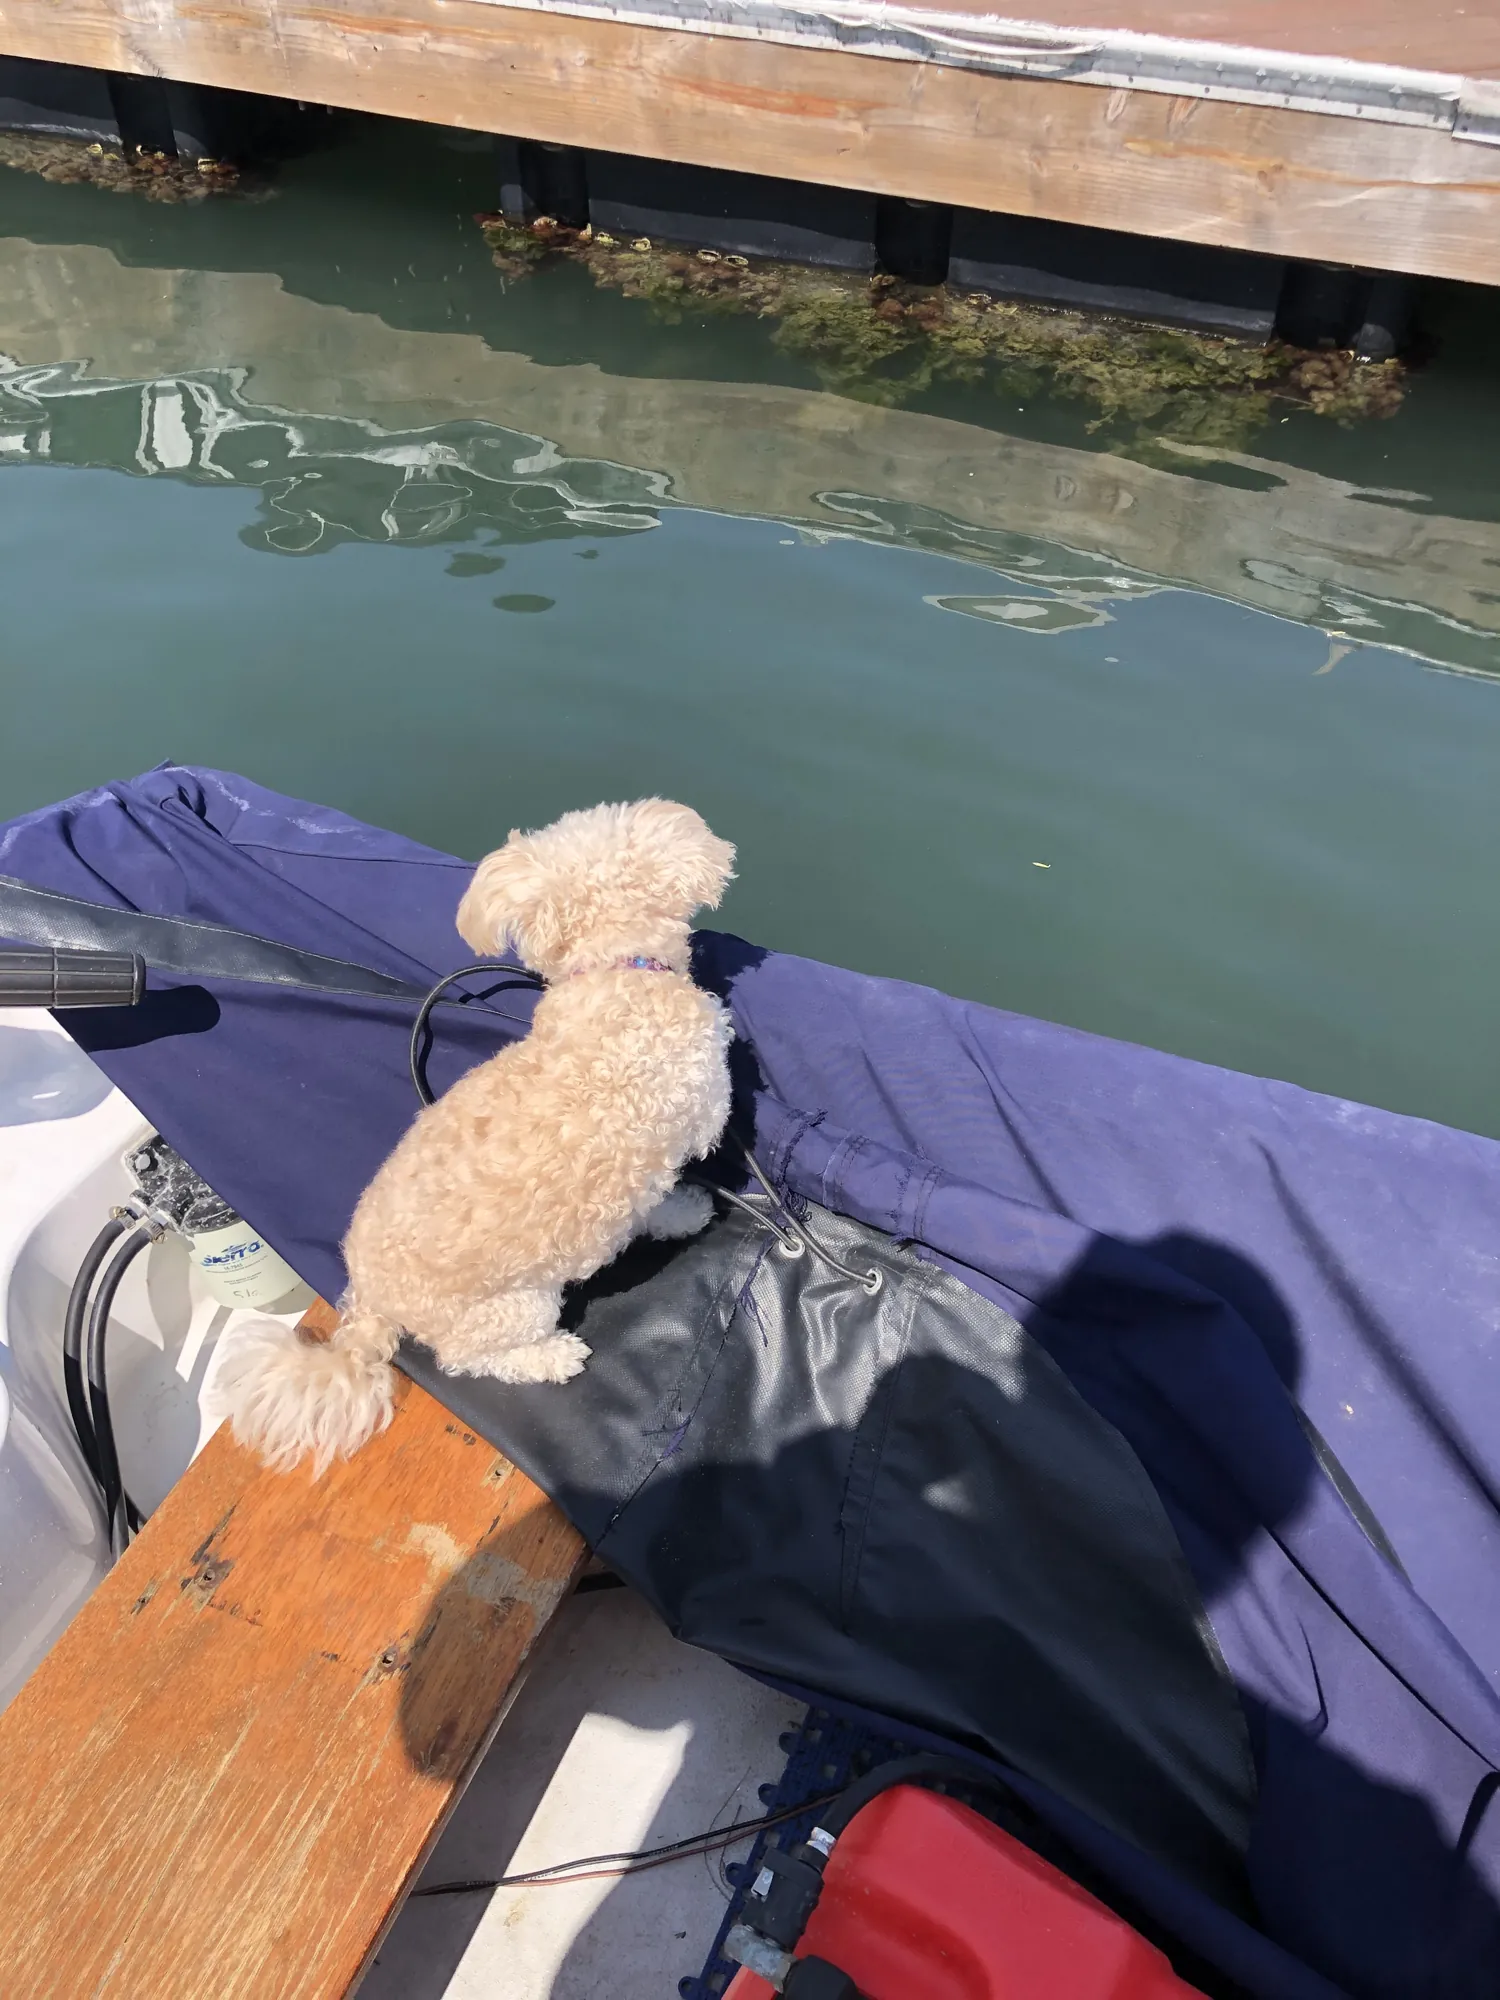
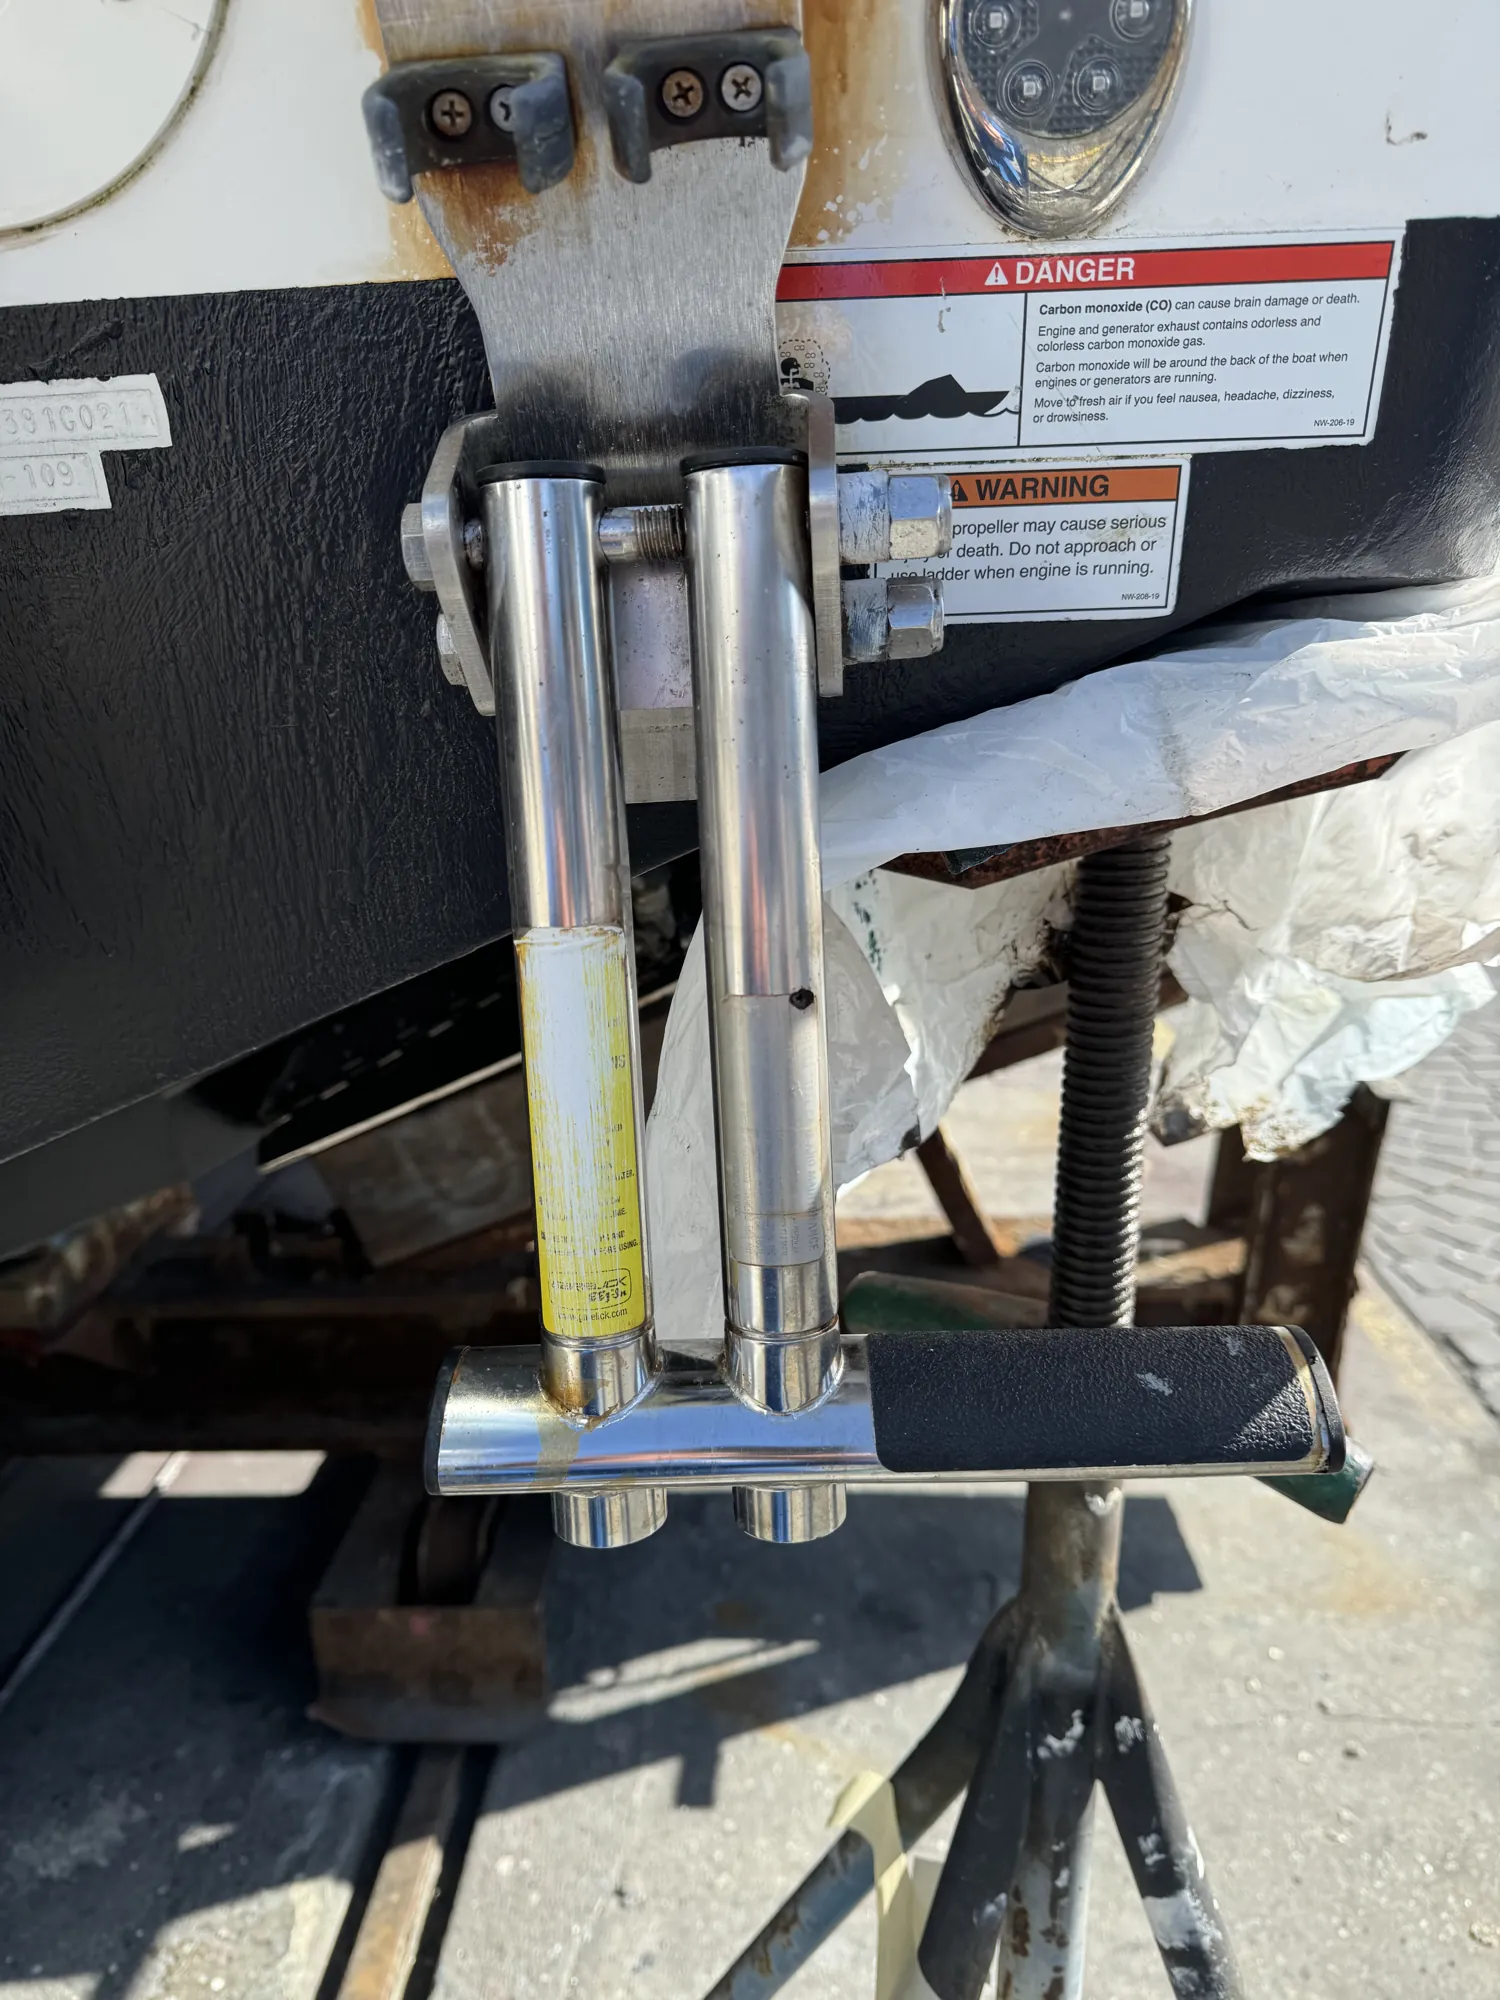
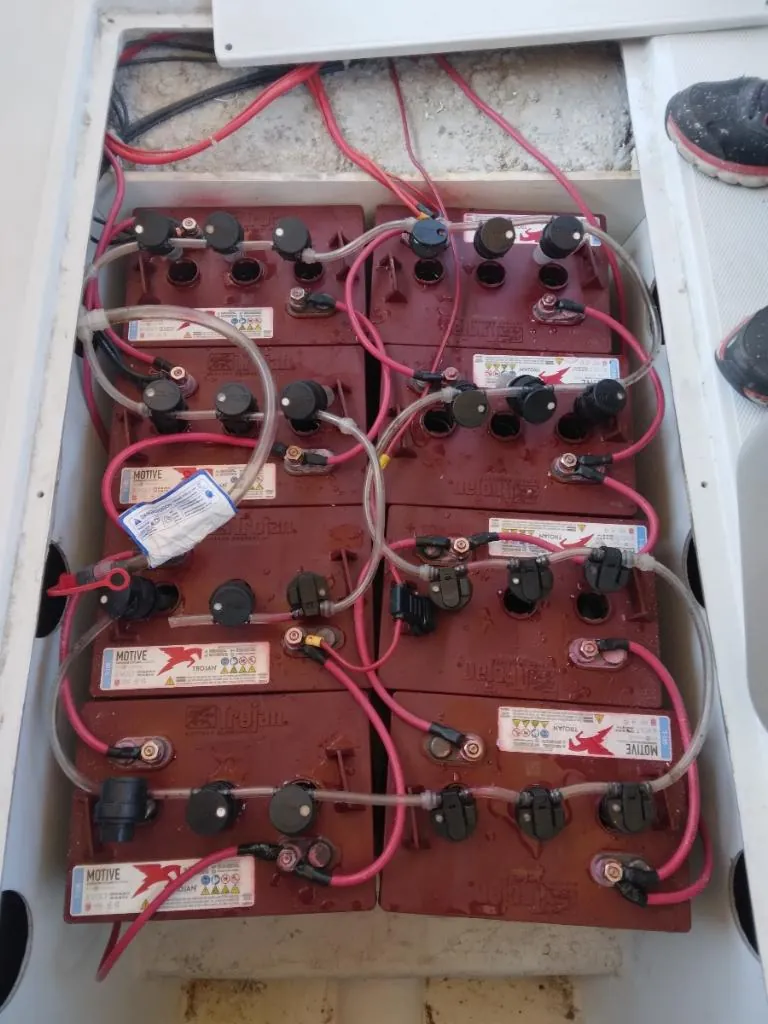
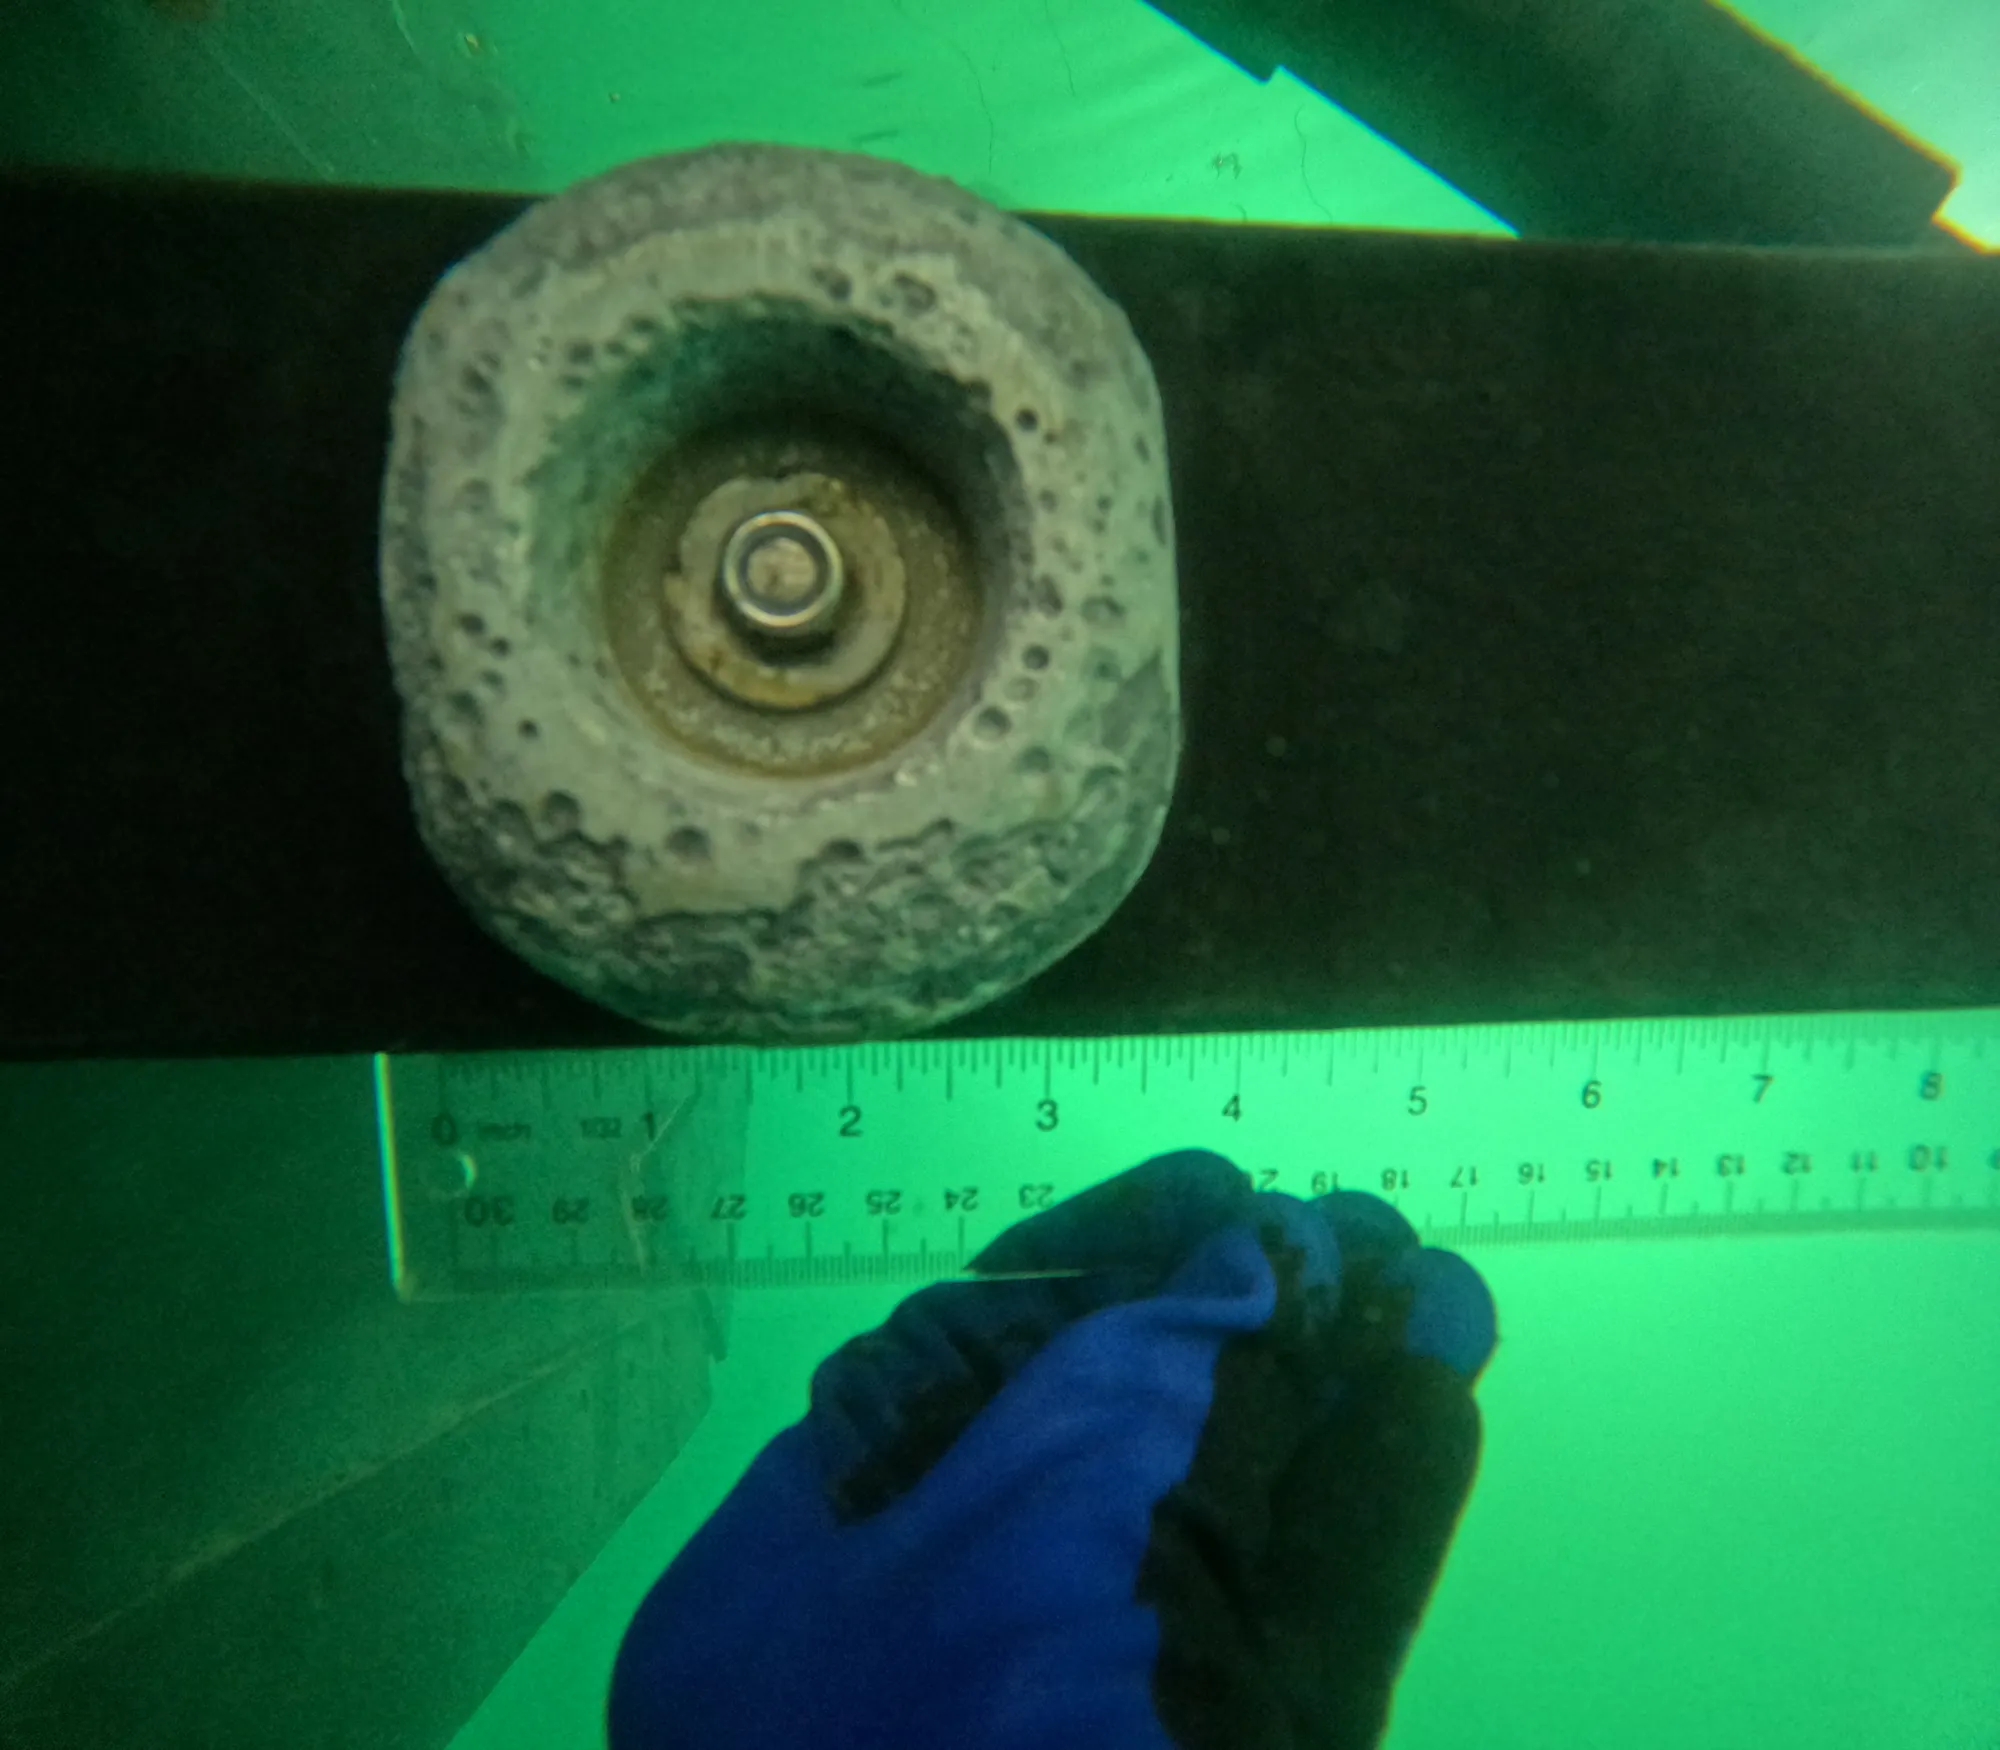
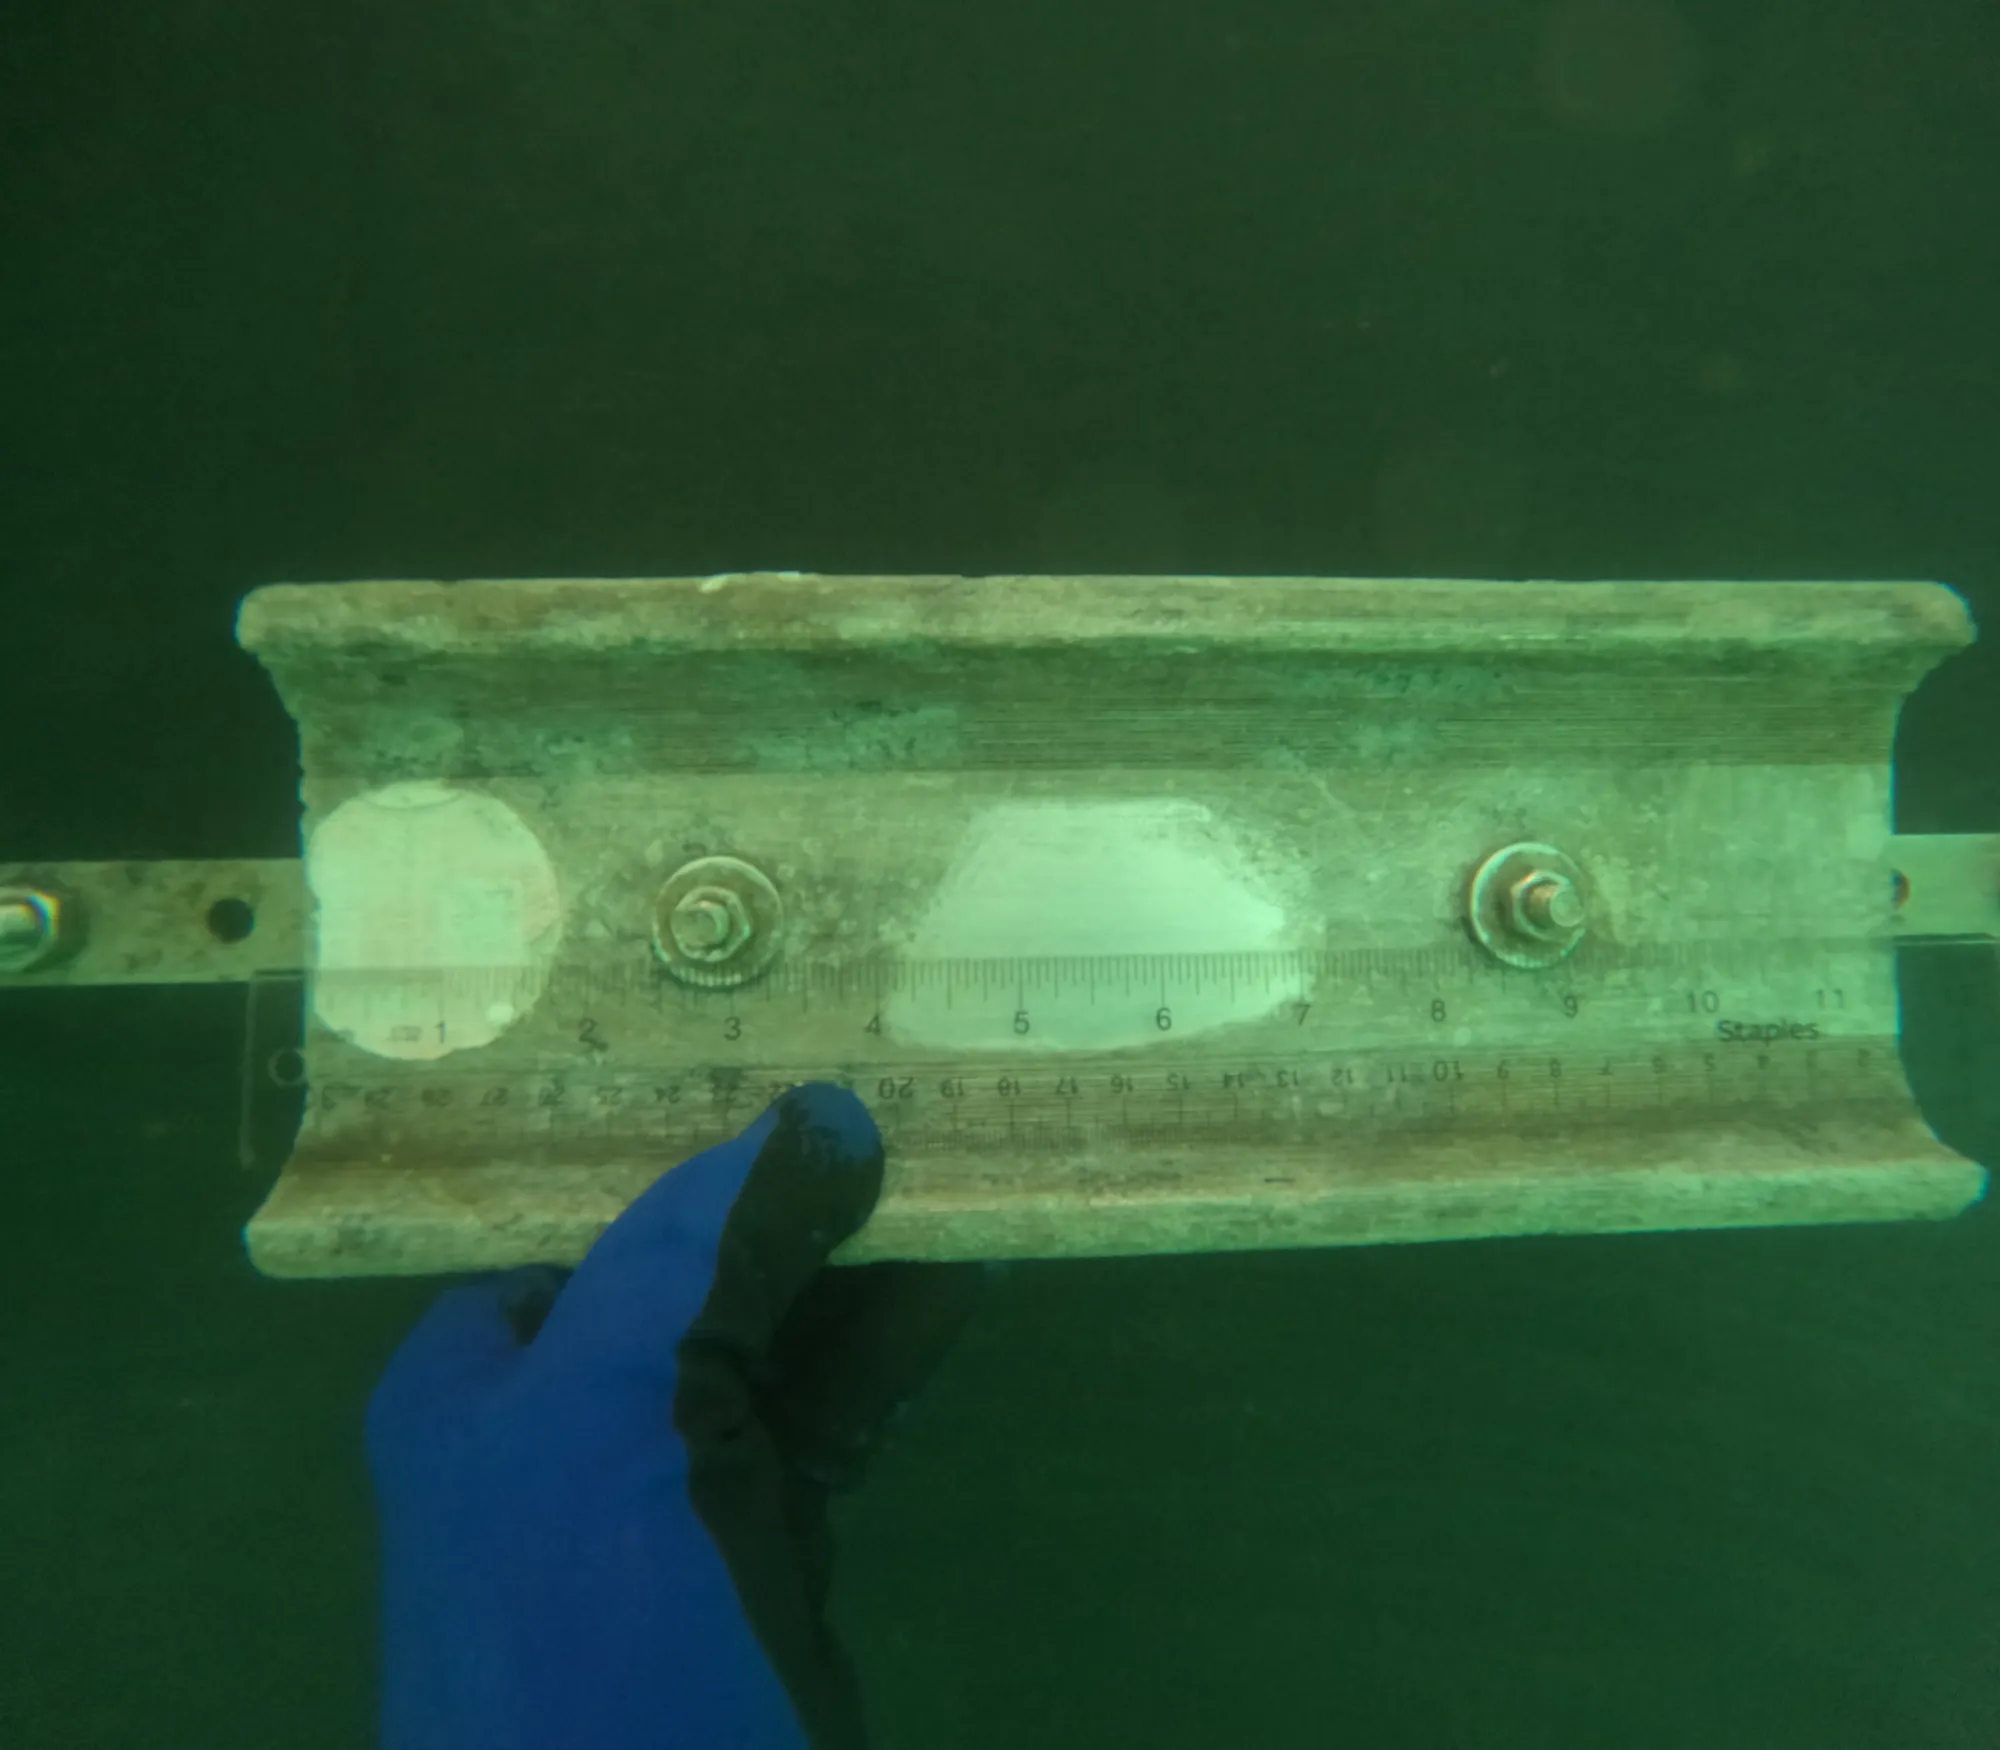
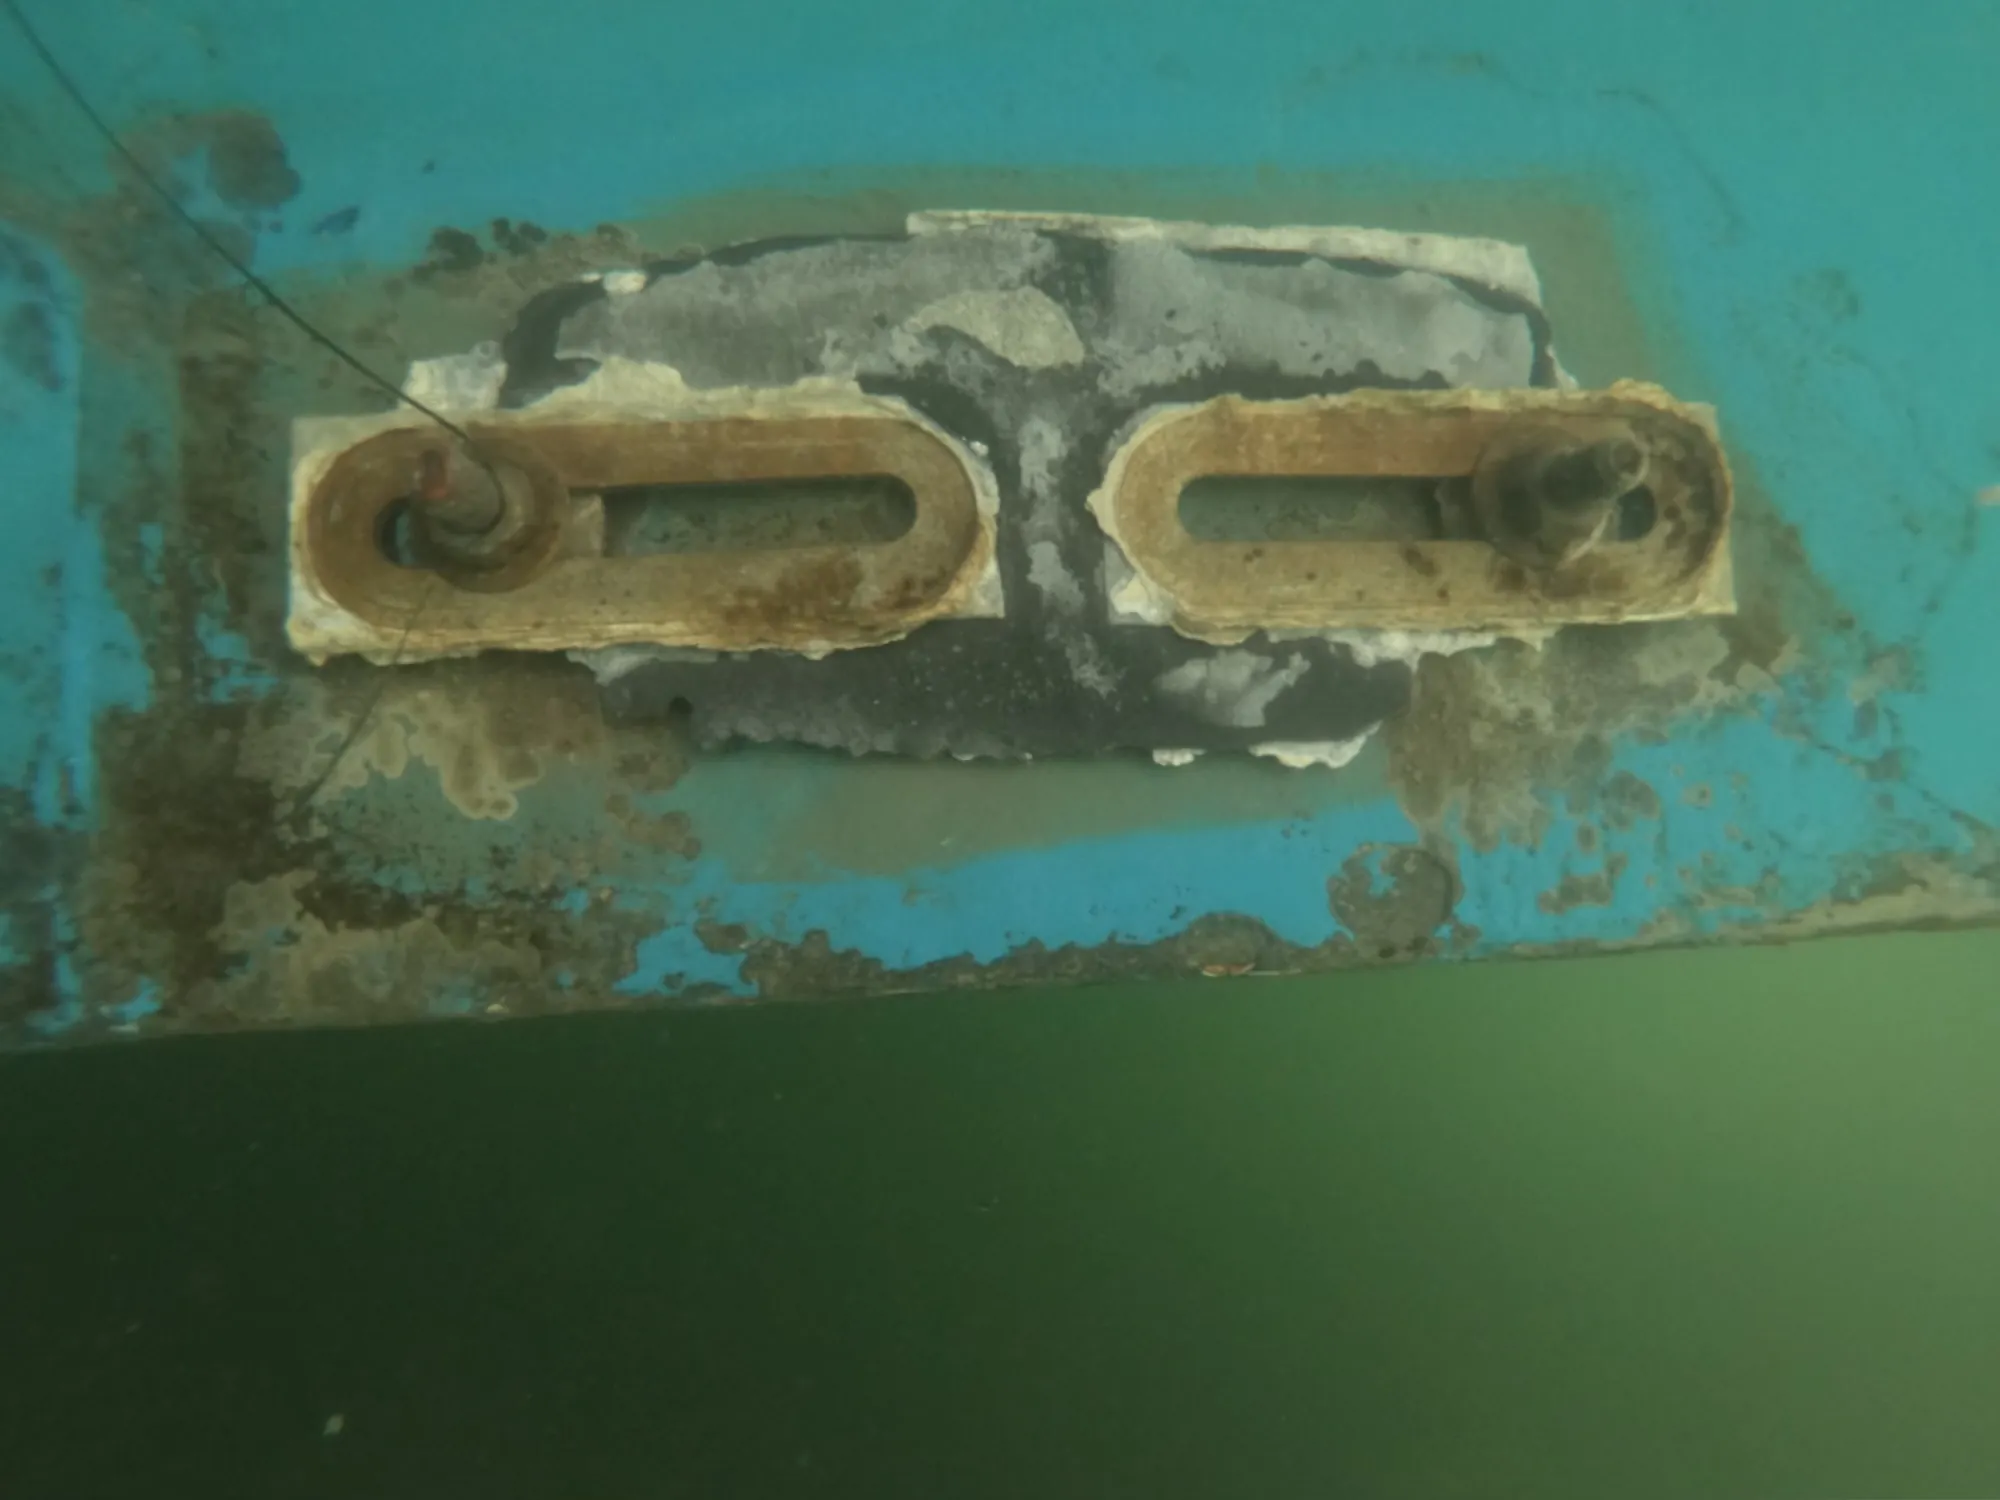
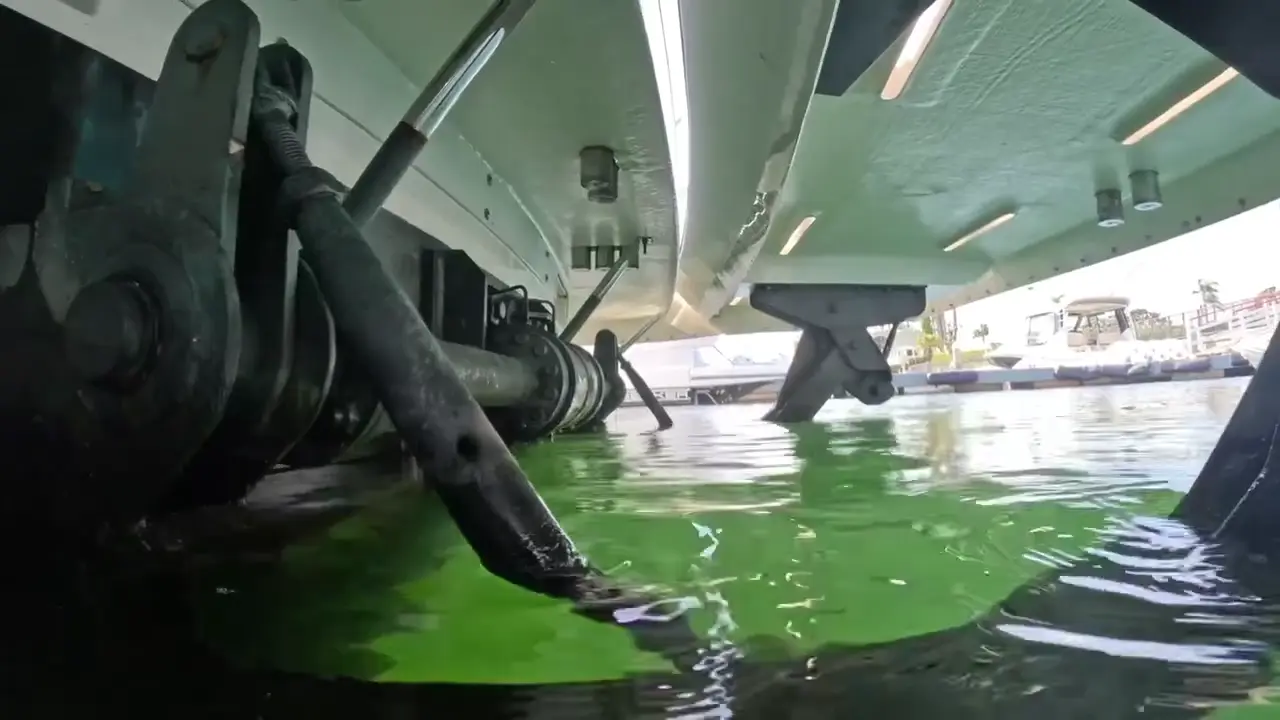
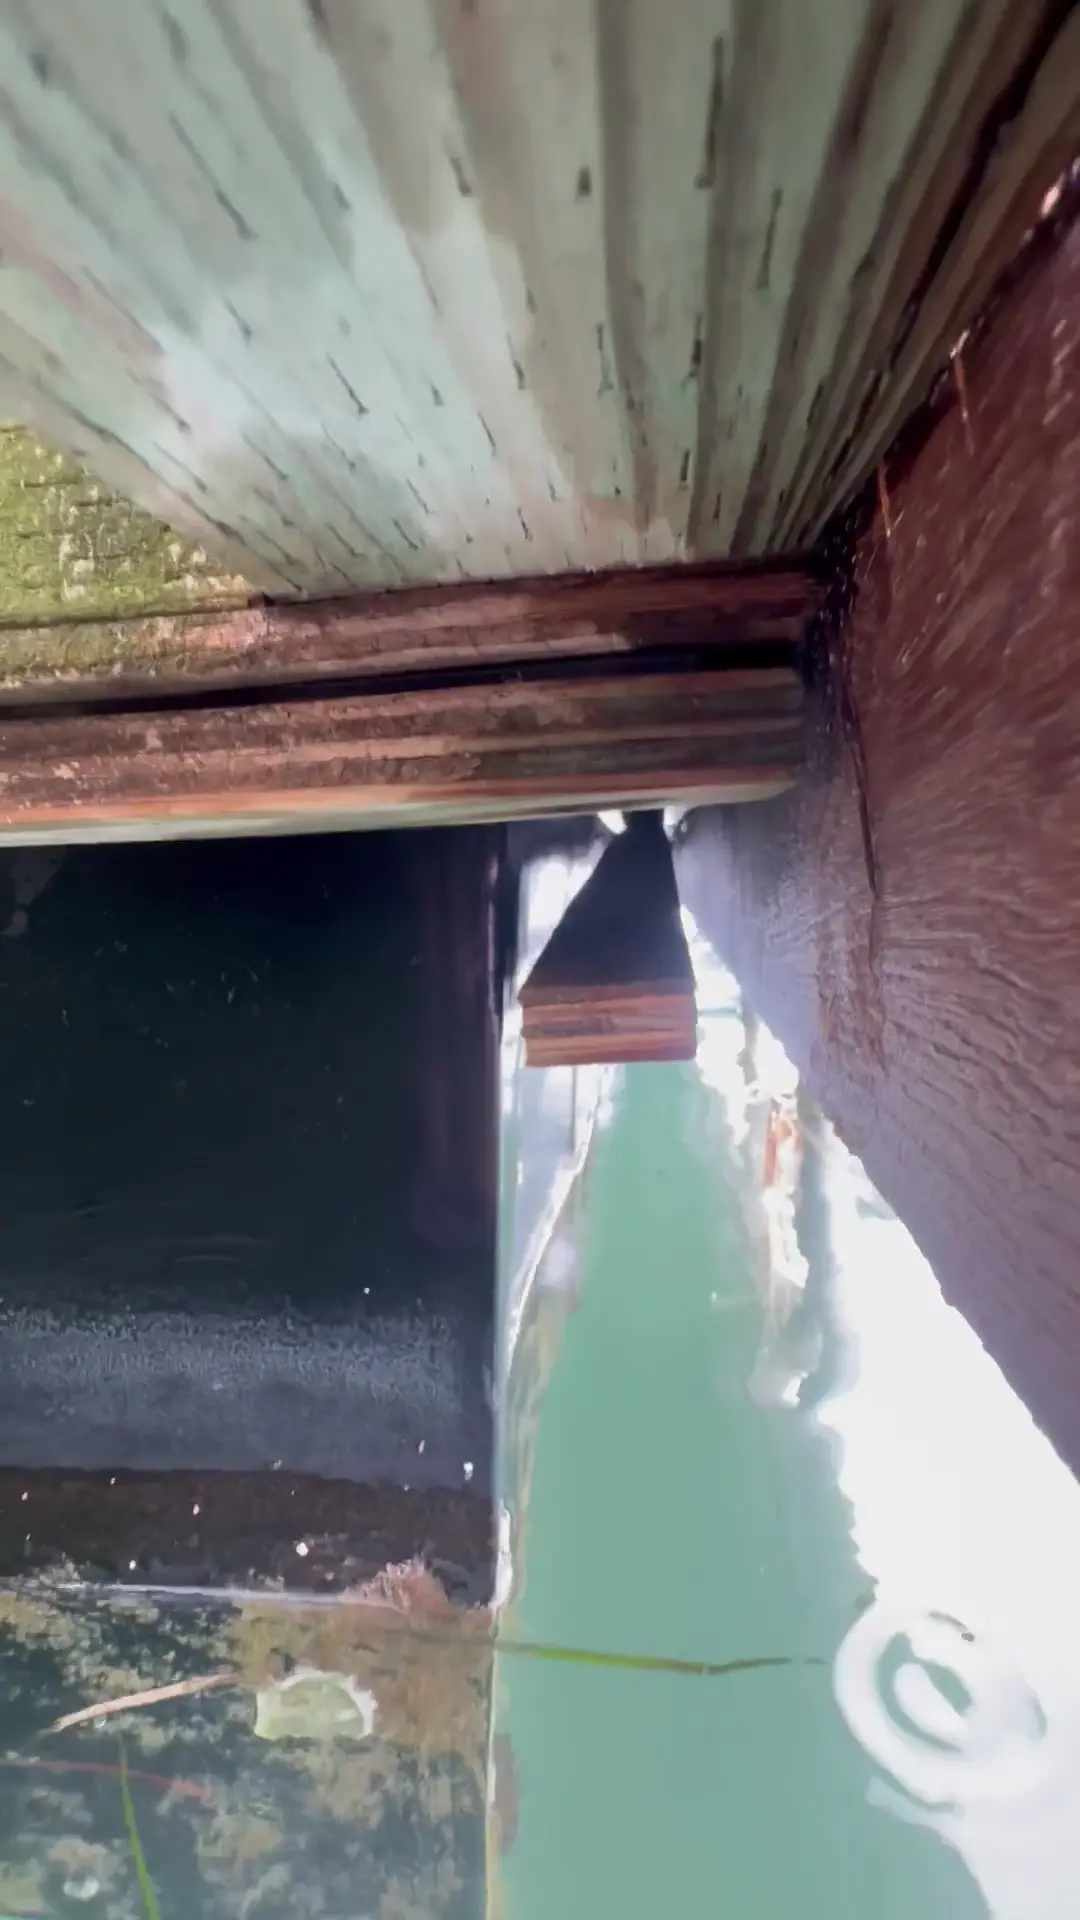
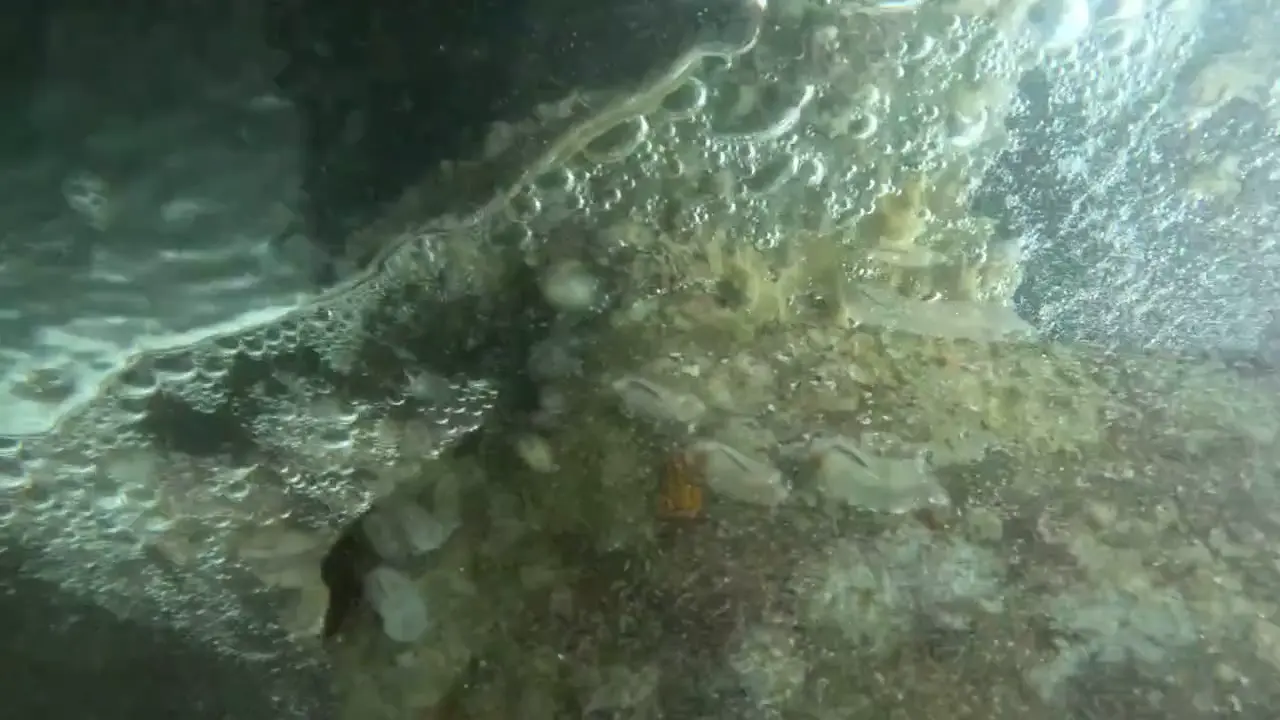
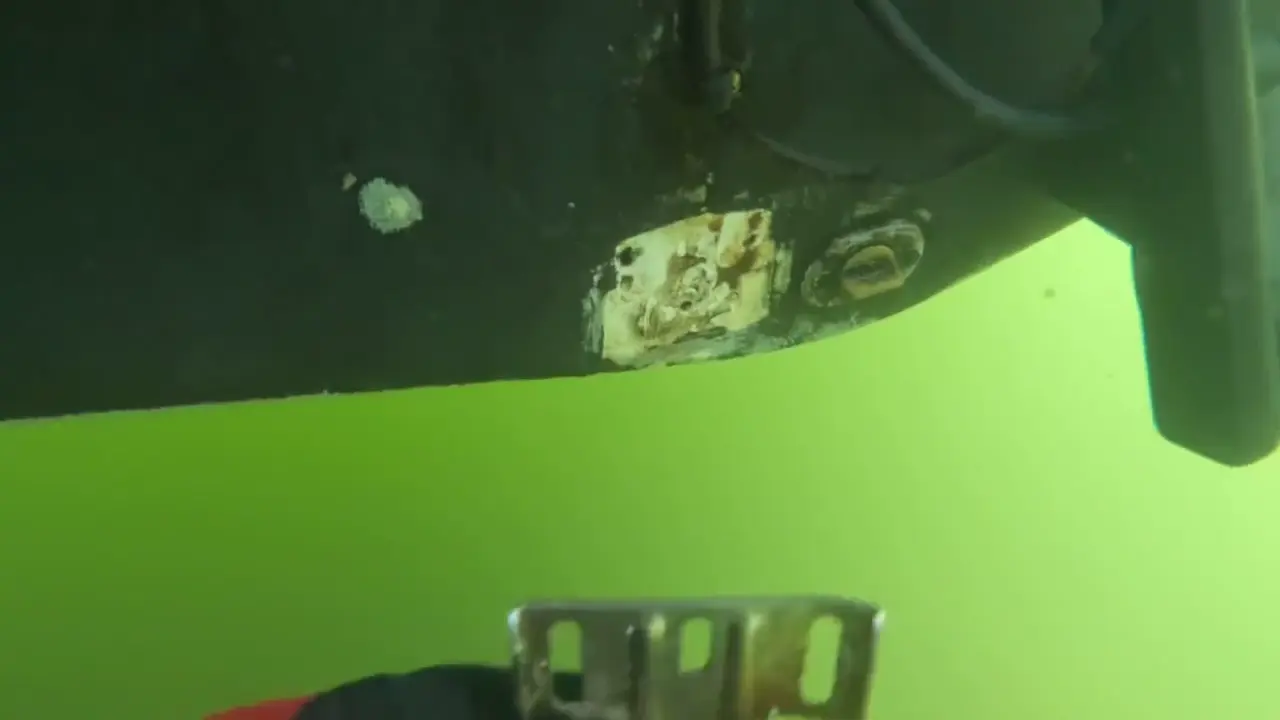
Growth inside swim platform — hydrohoist system
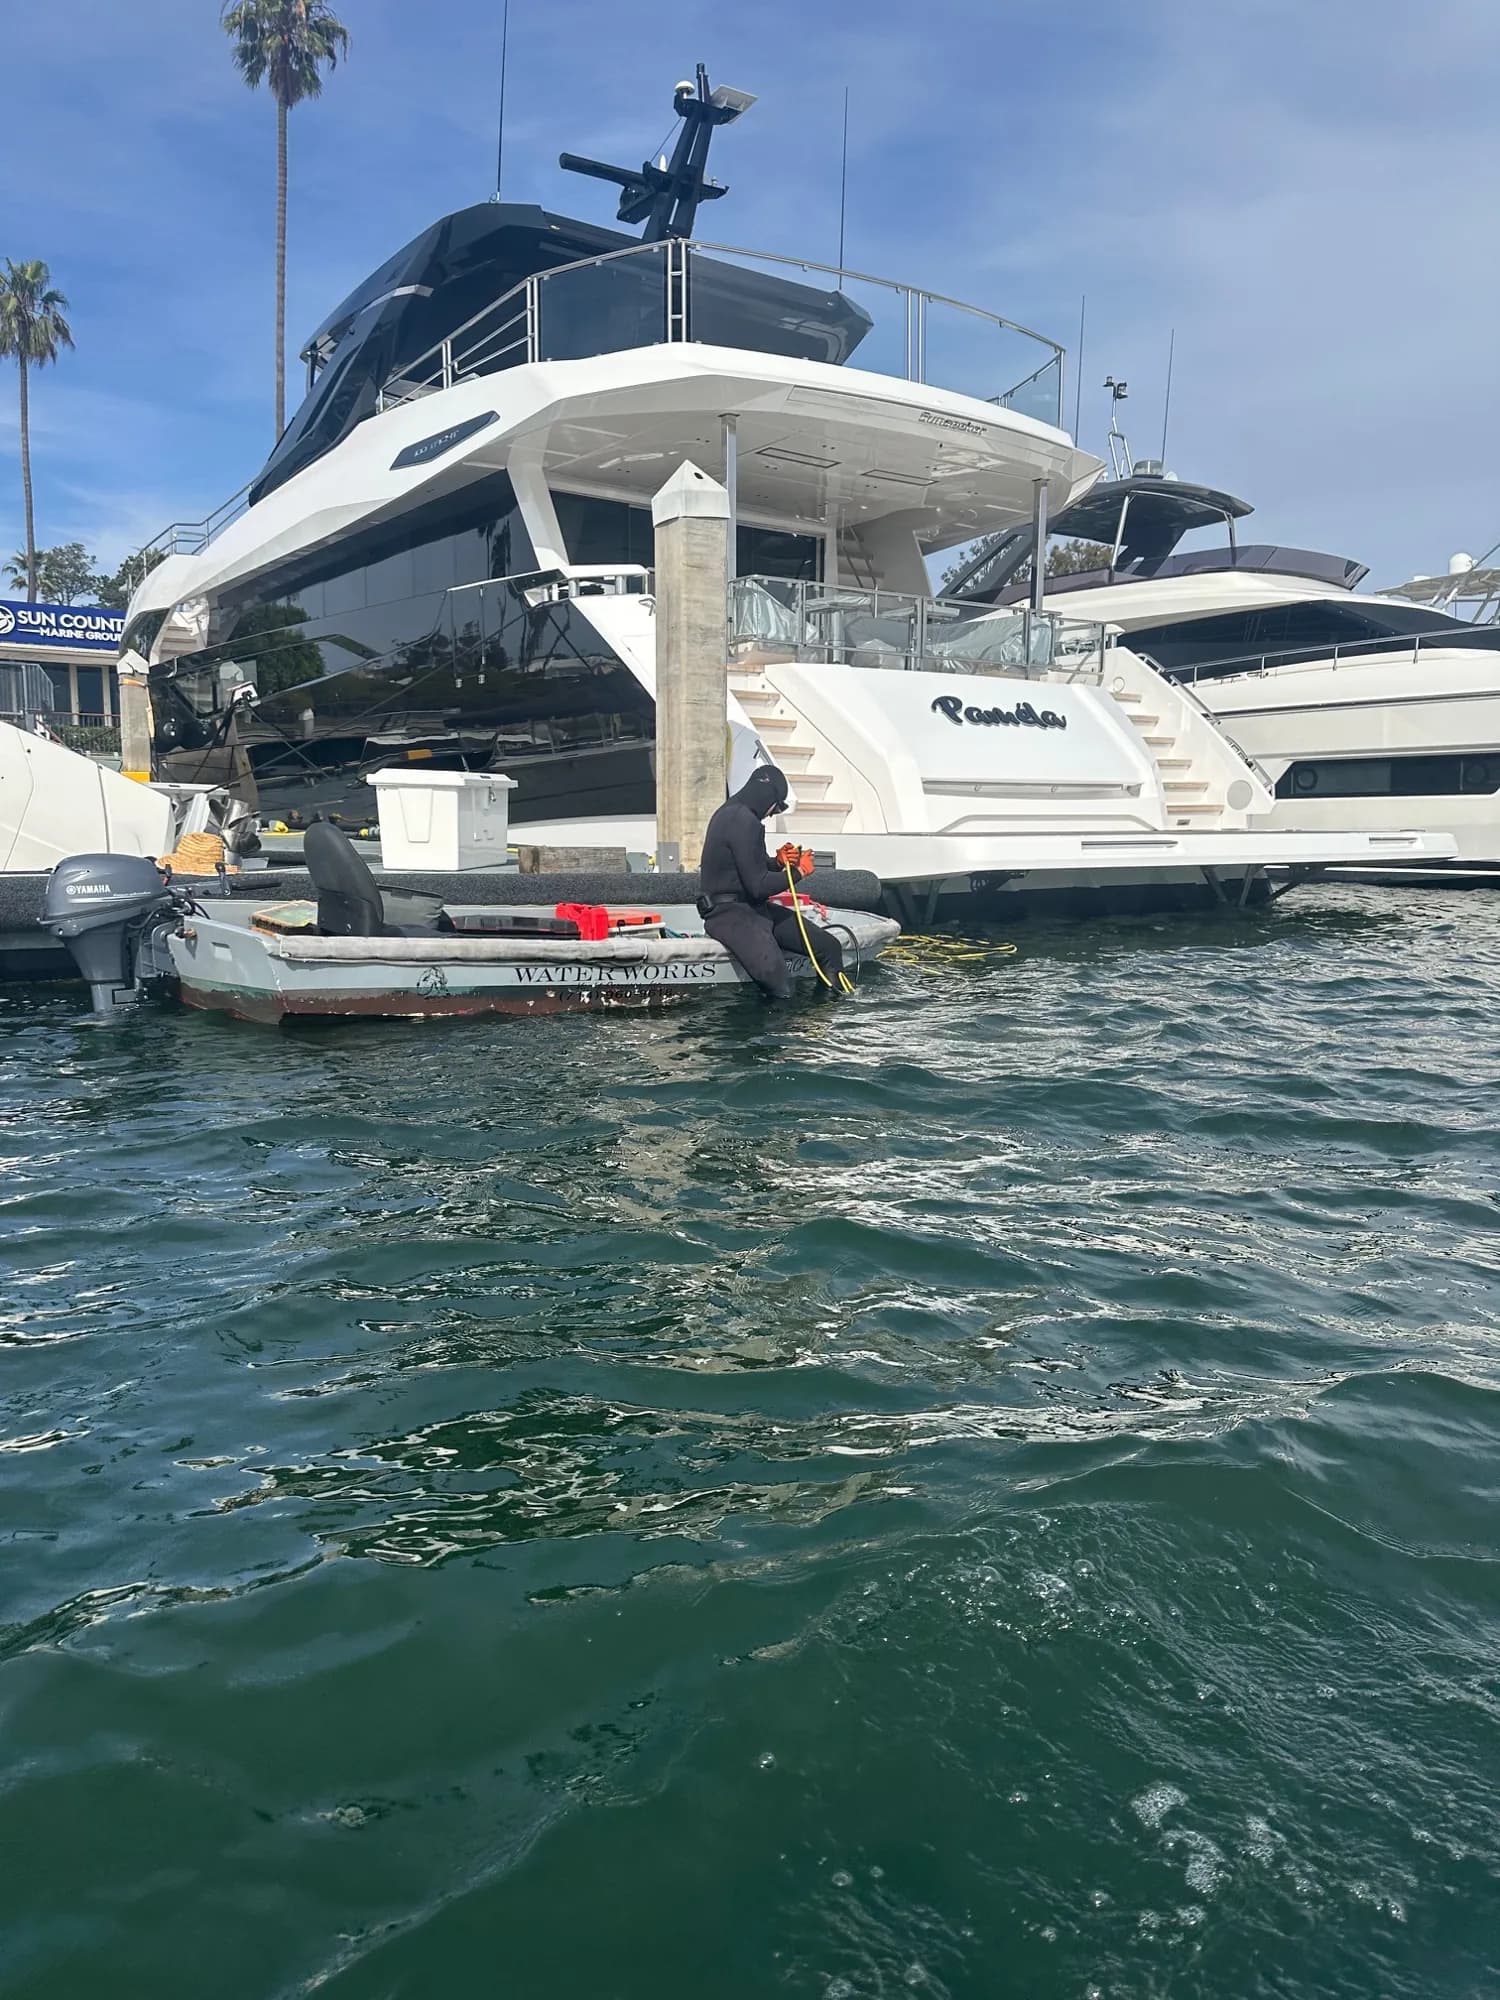
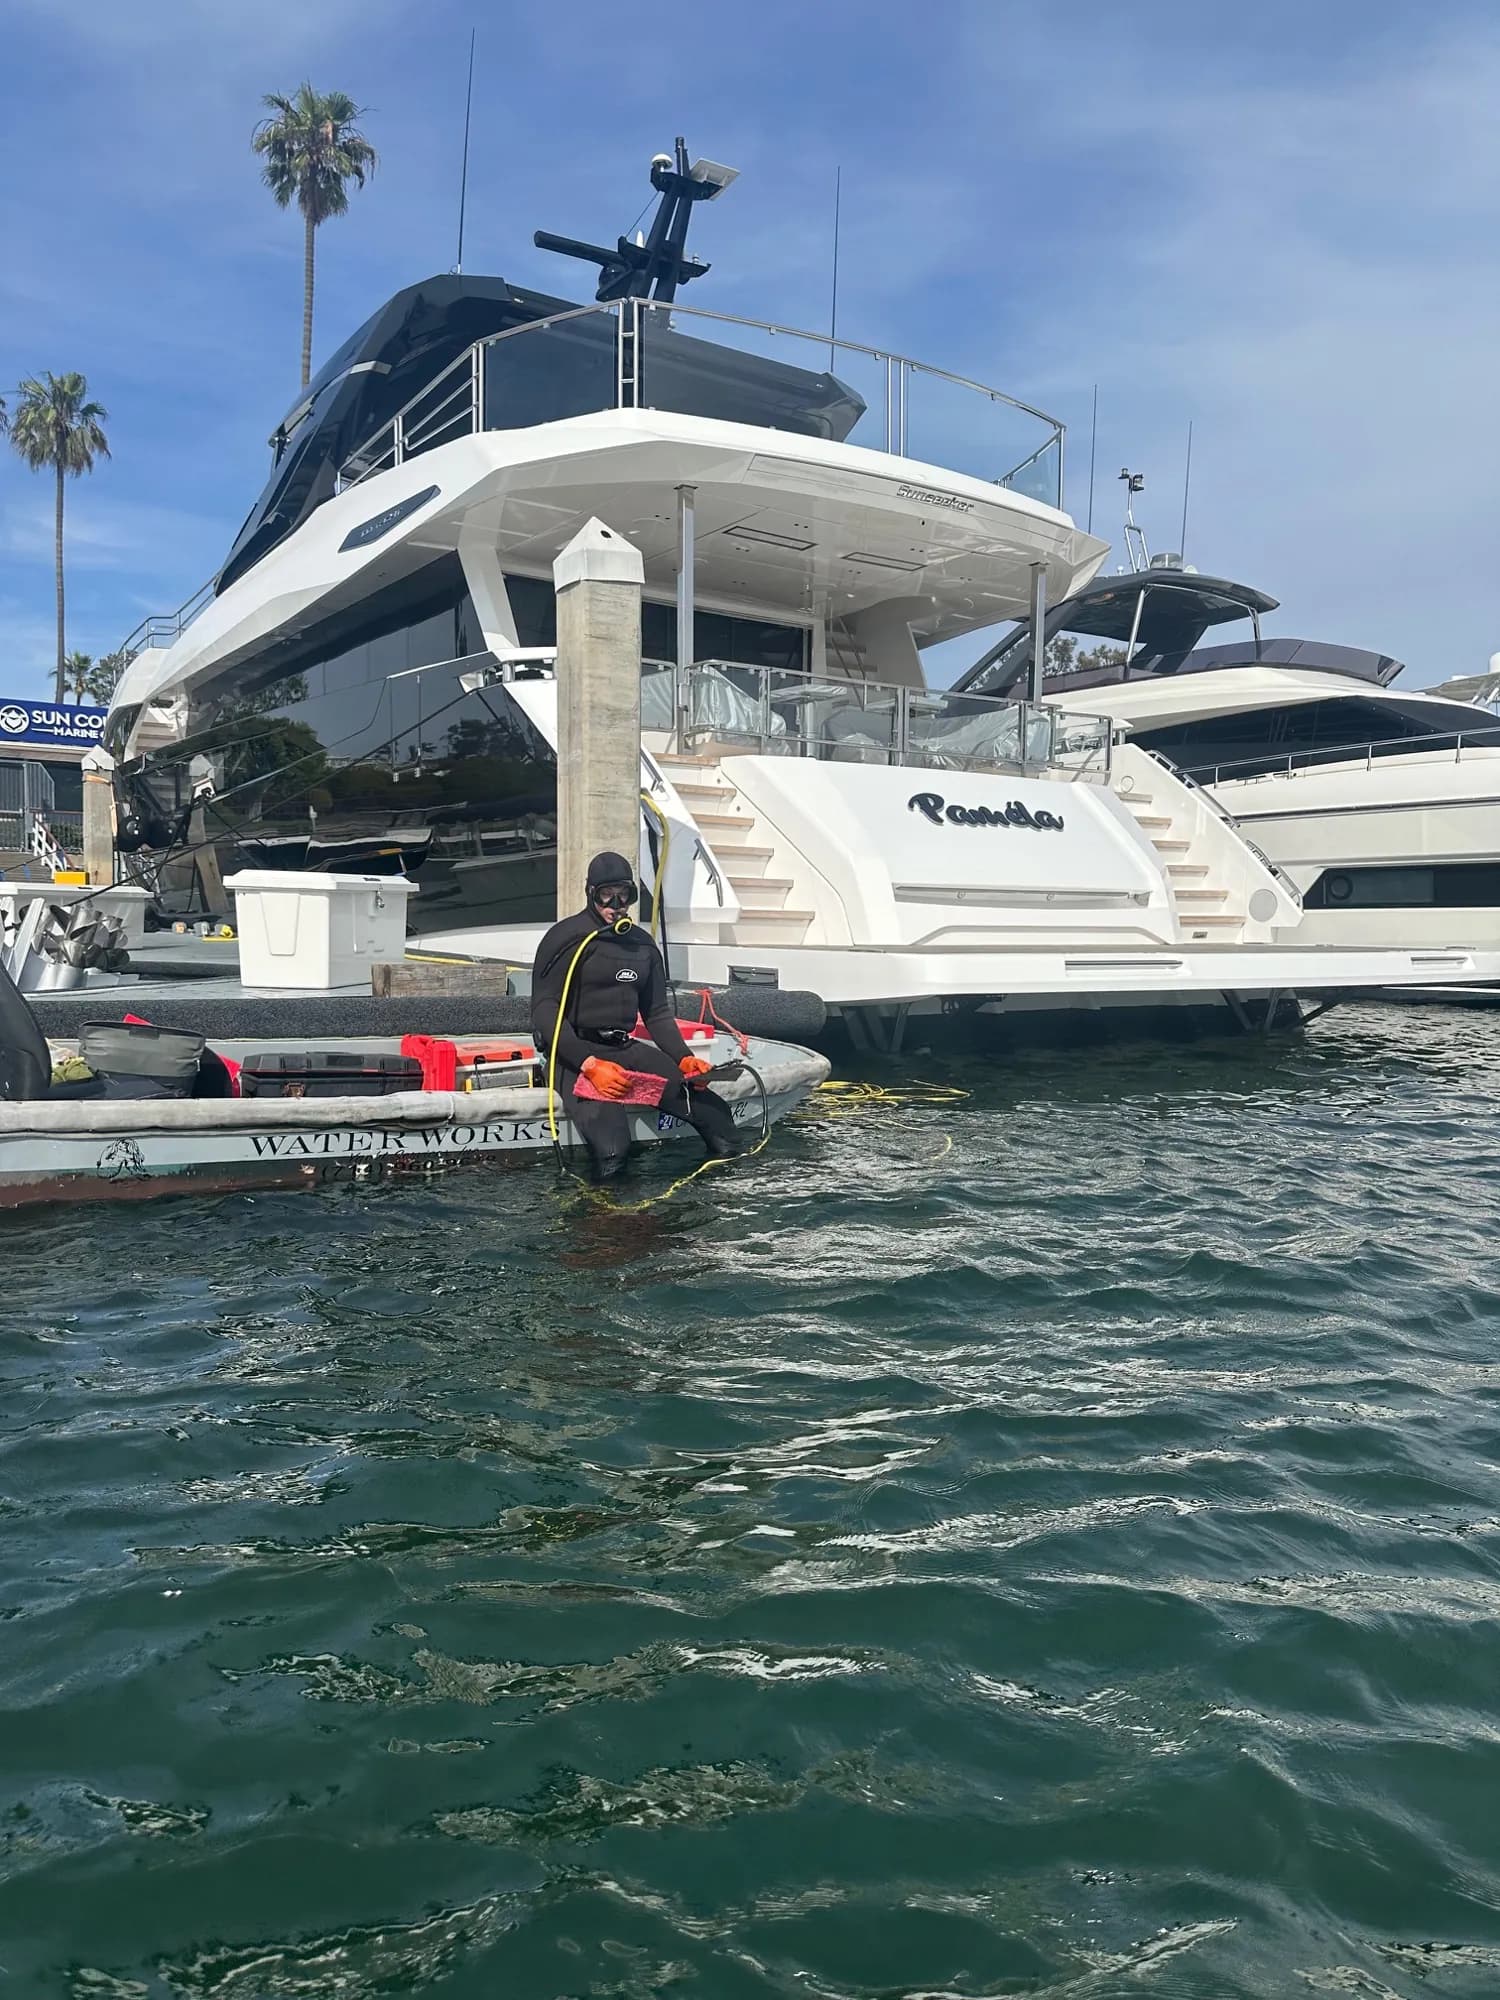
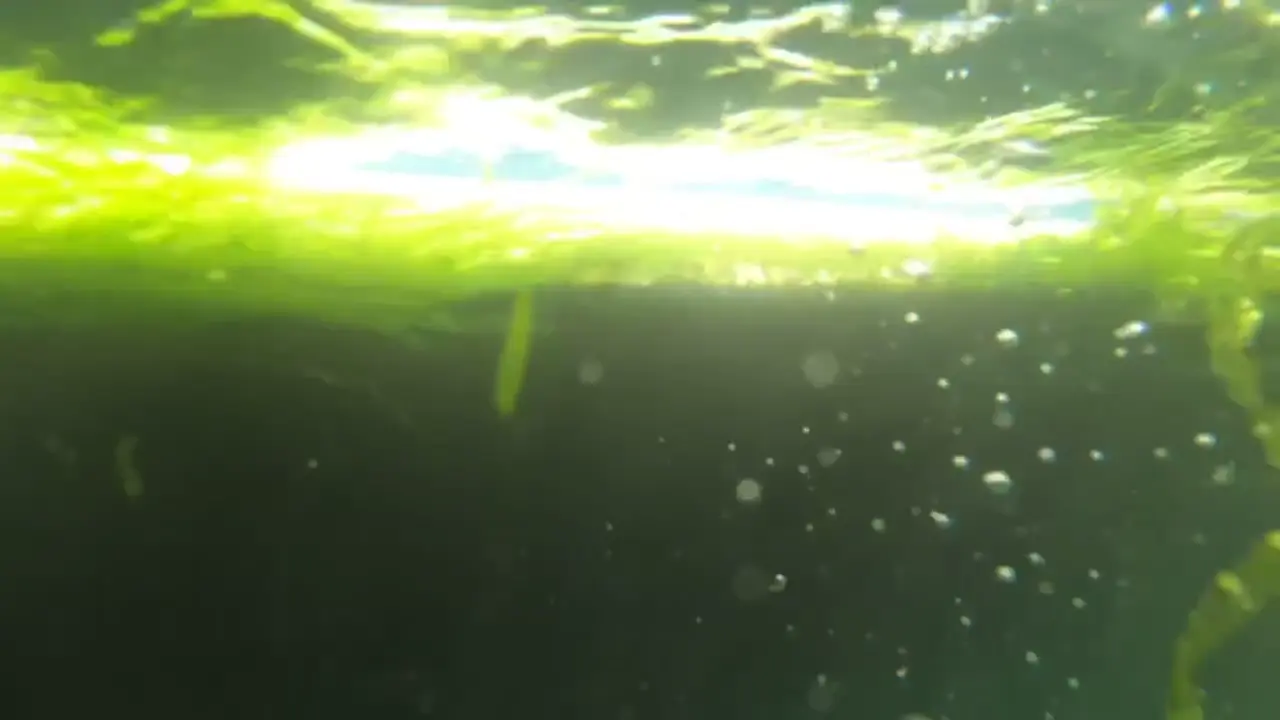
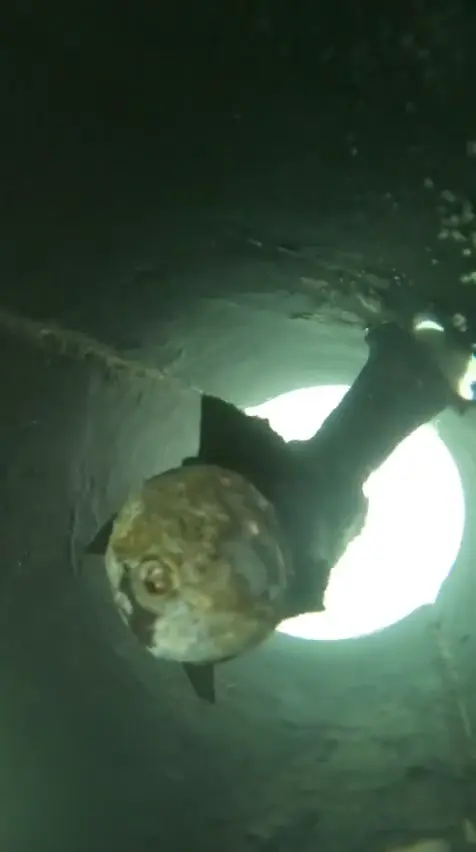
Diver-documented hull and bottom condition from our scheduled cleaning service across Newport, Huntington, and Long Beach harbors.
Loading…
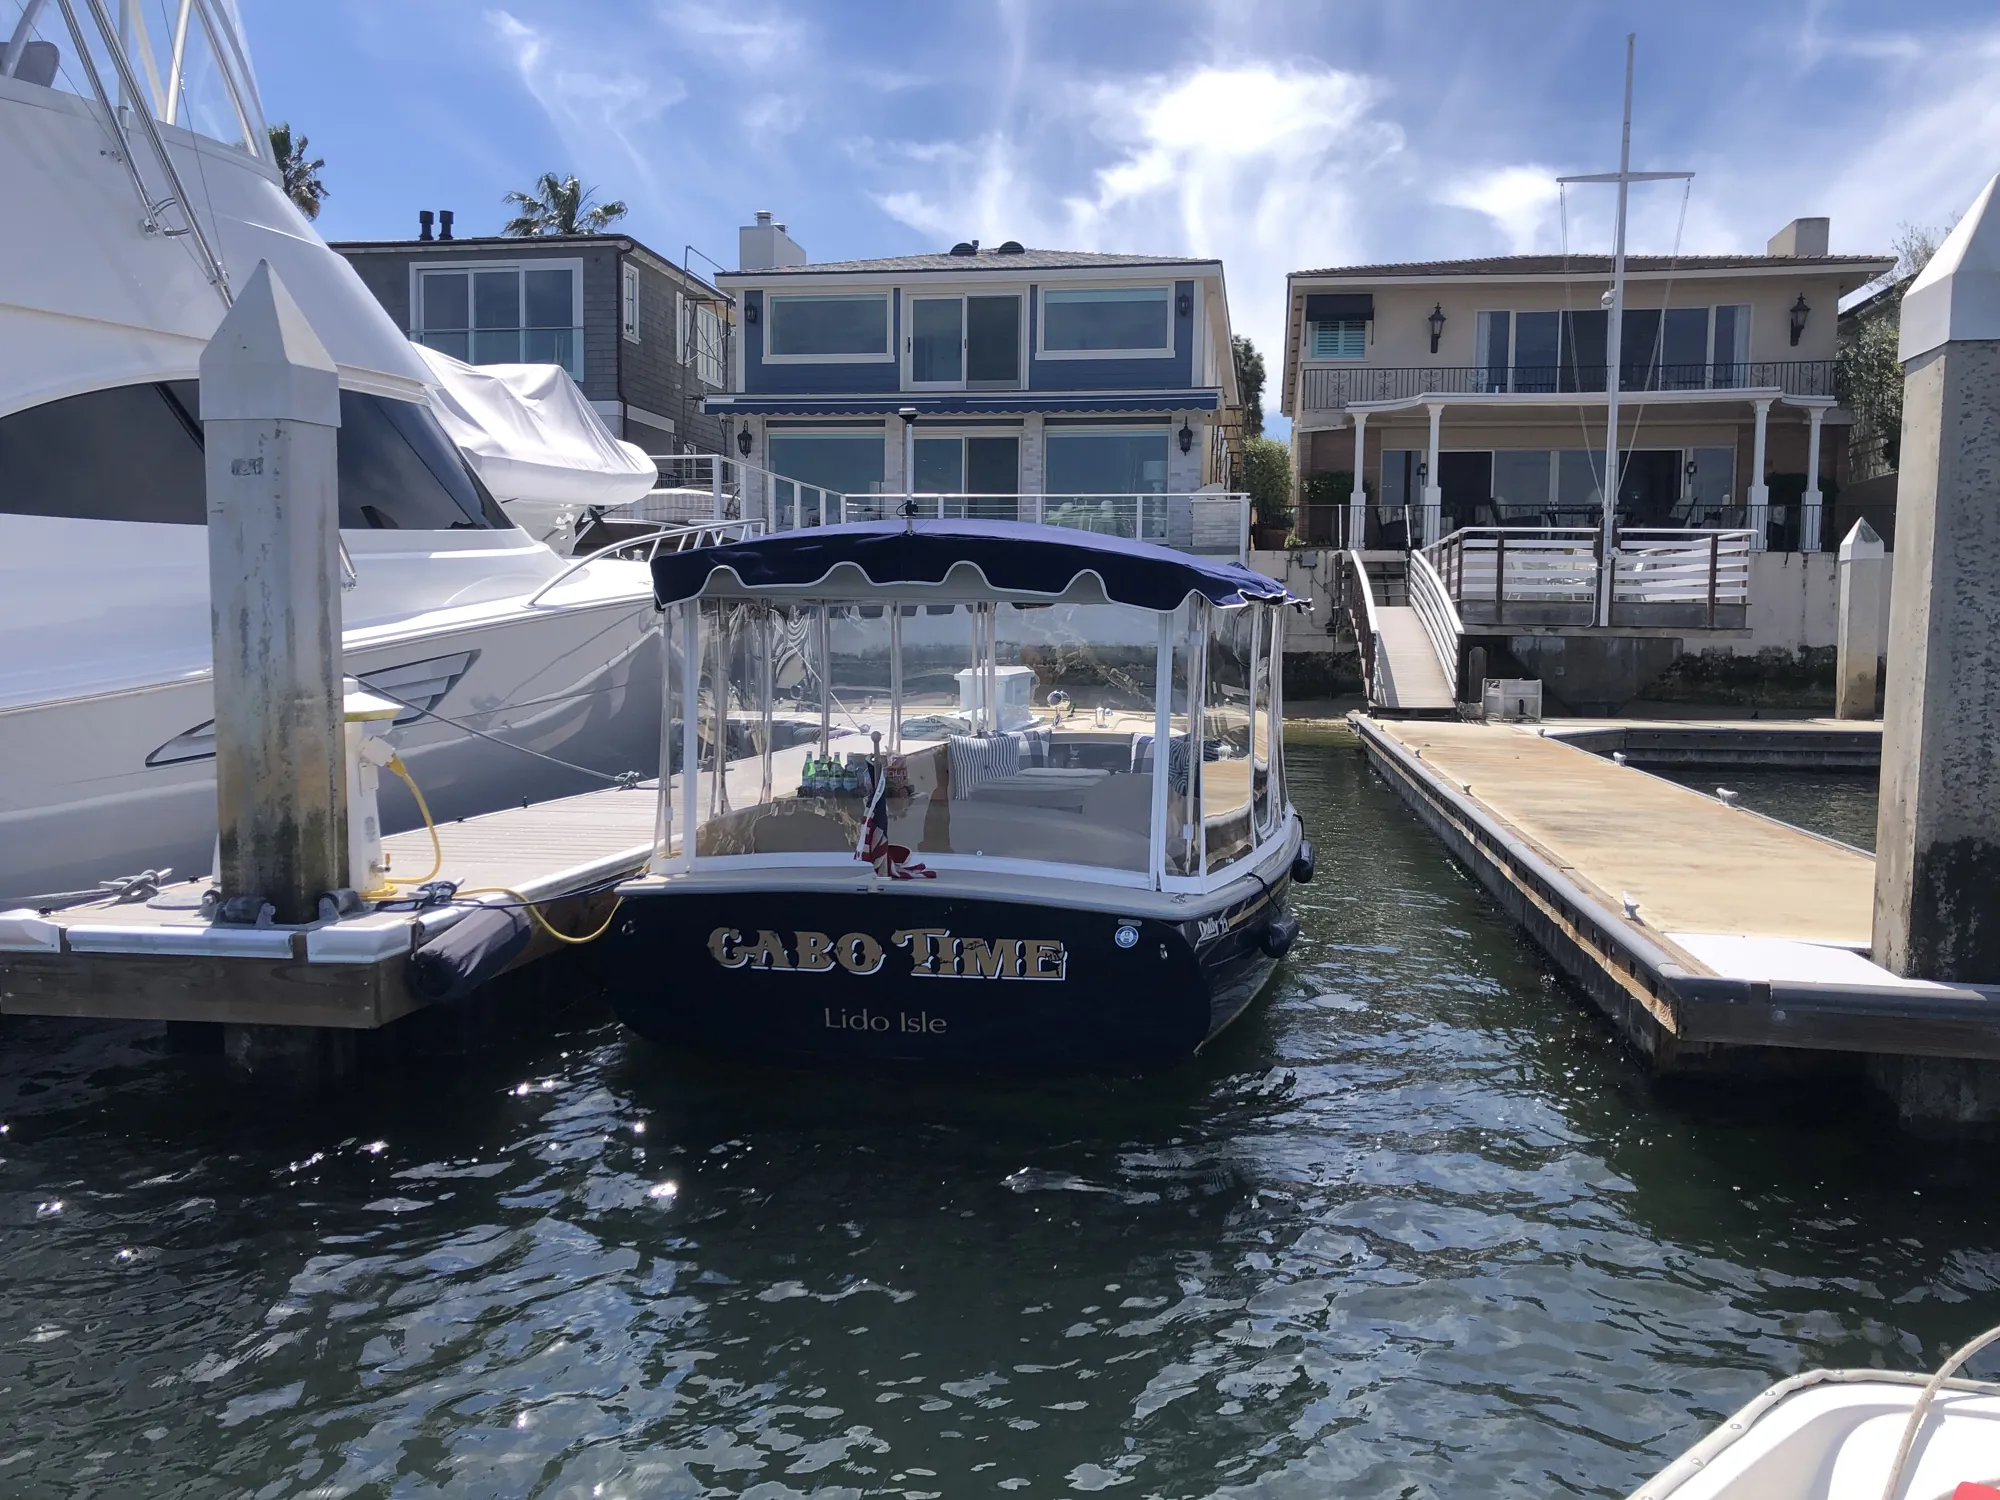
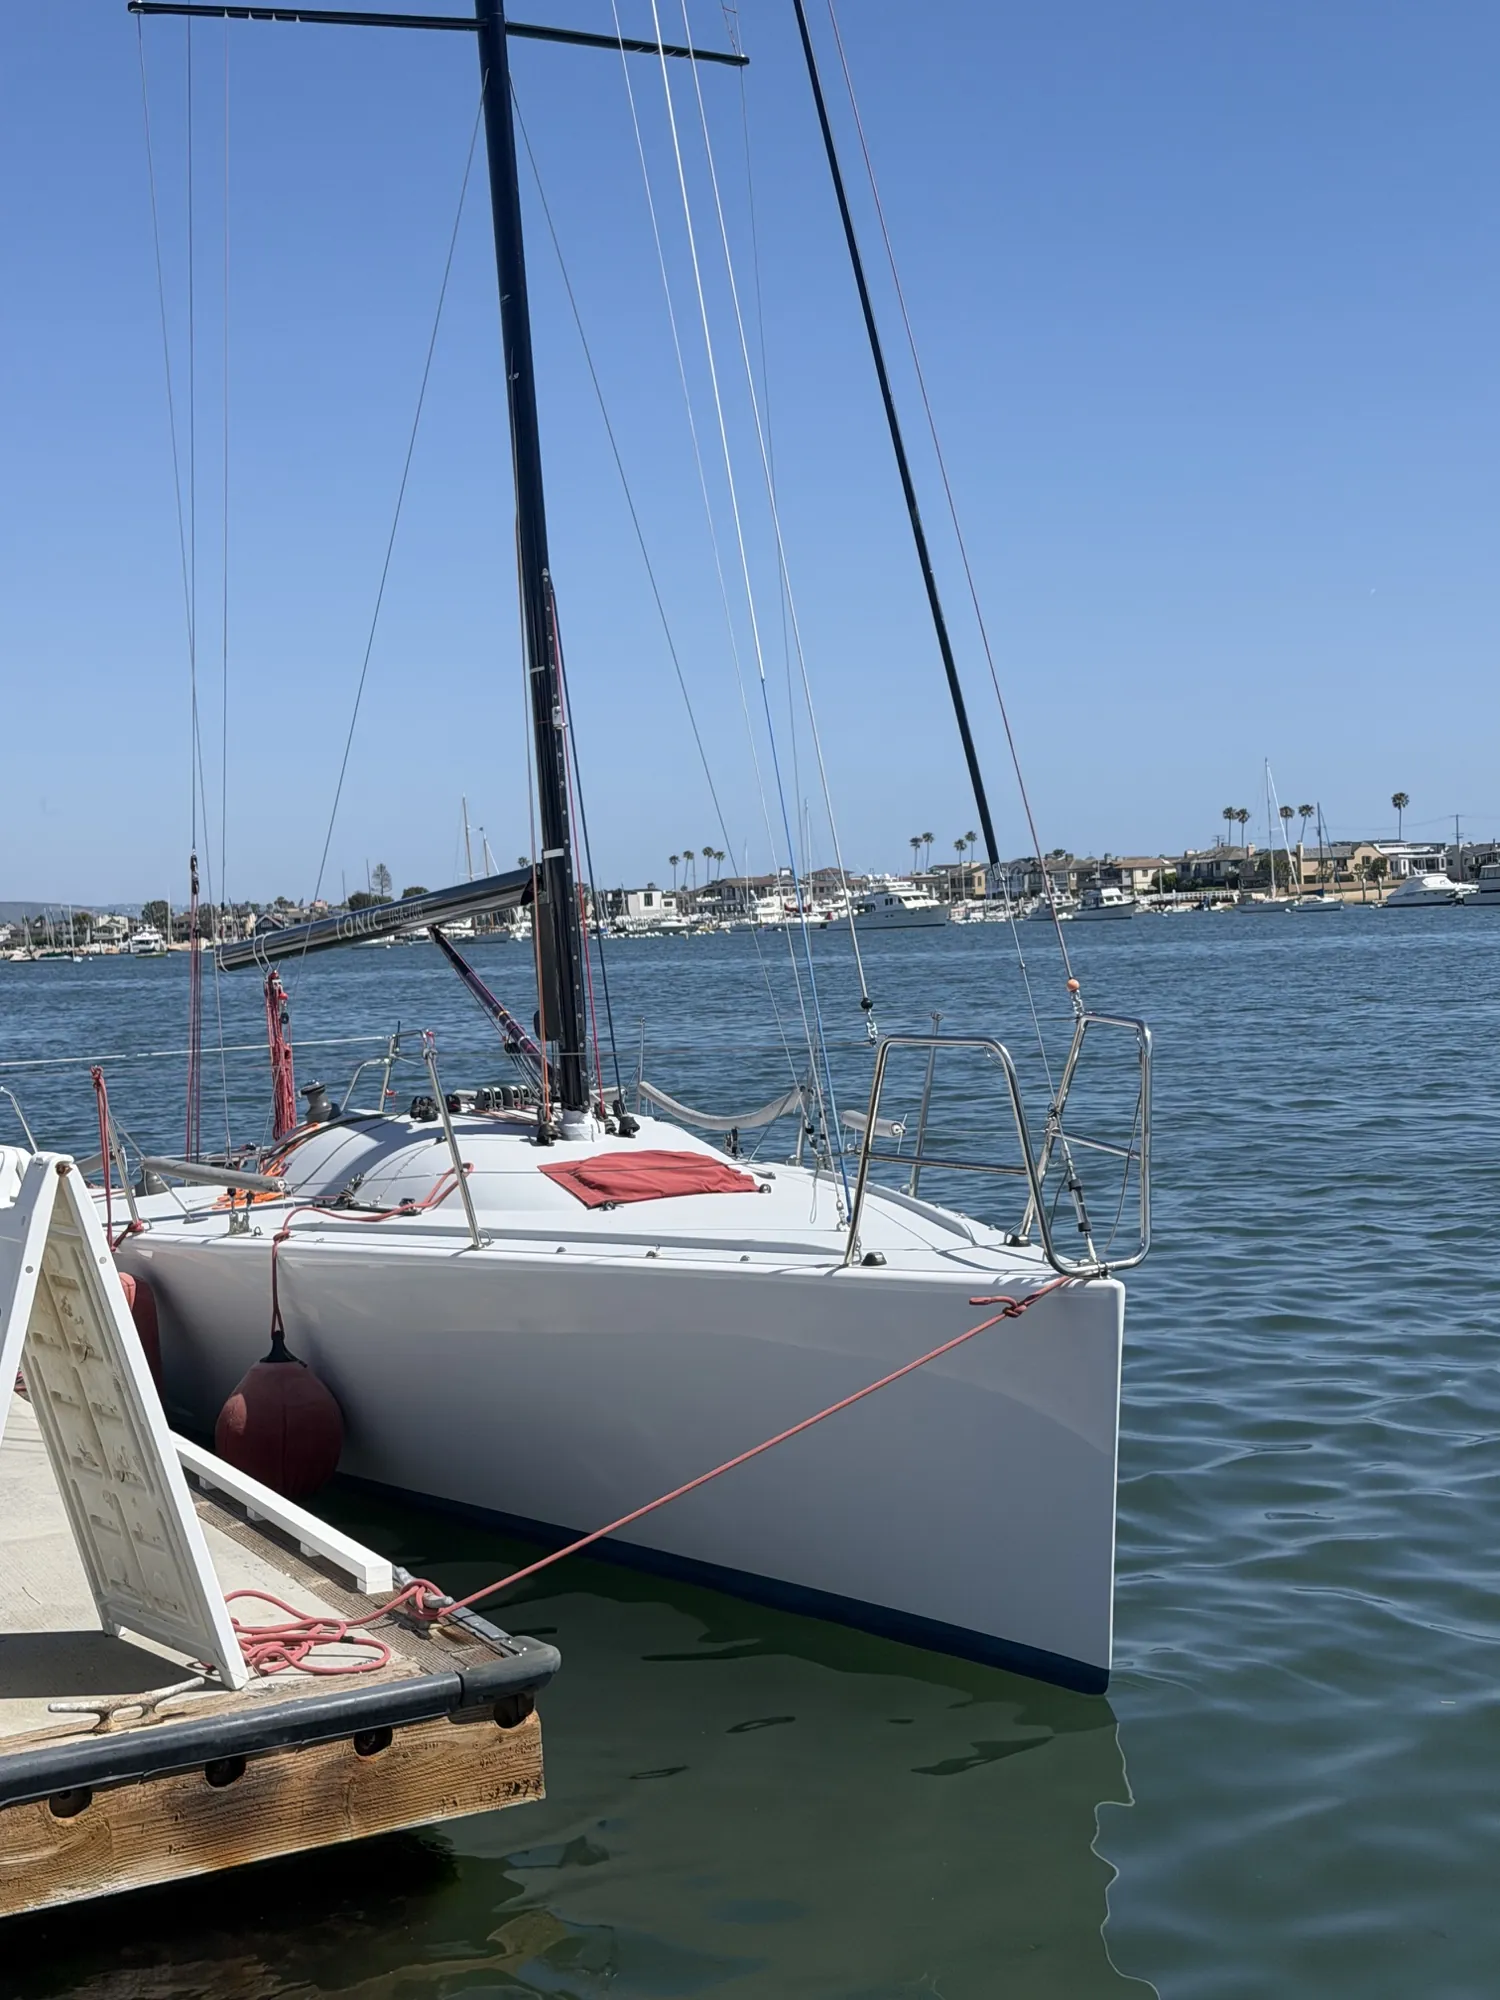
From Below the Waterline
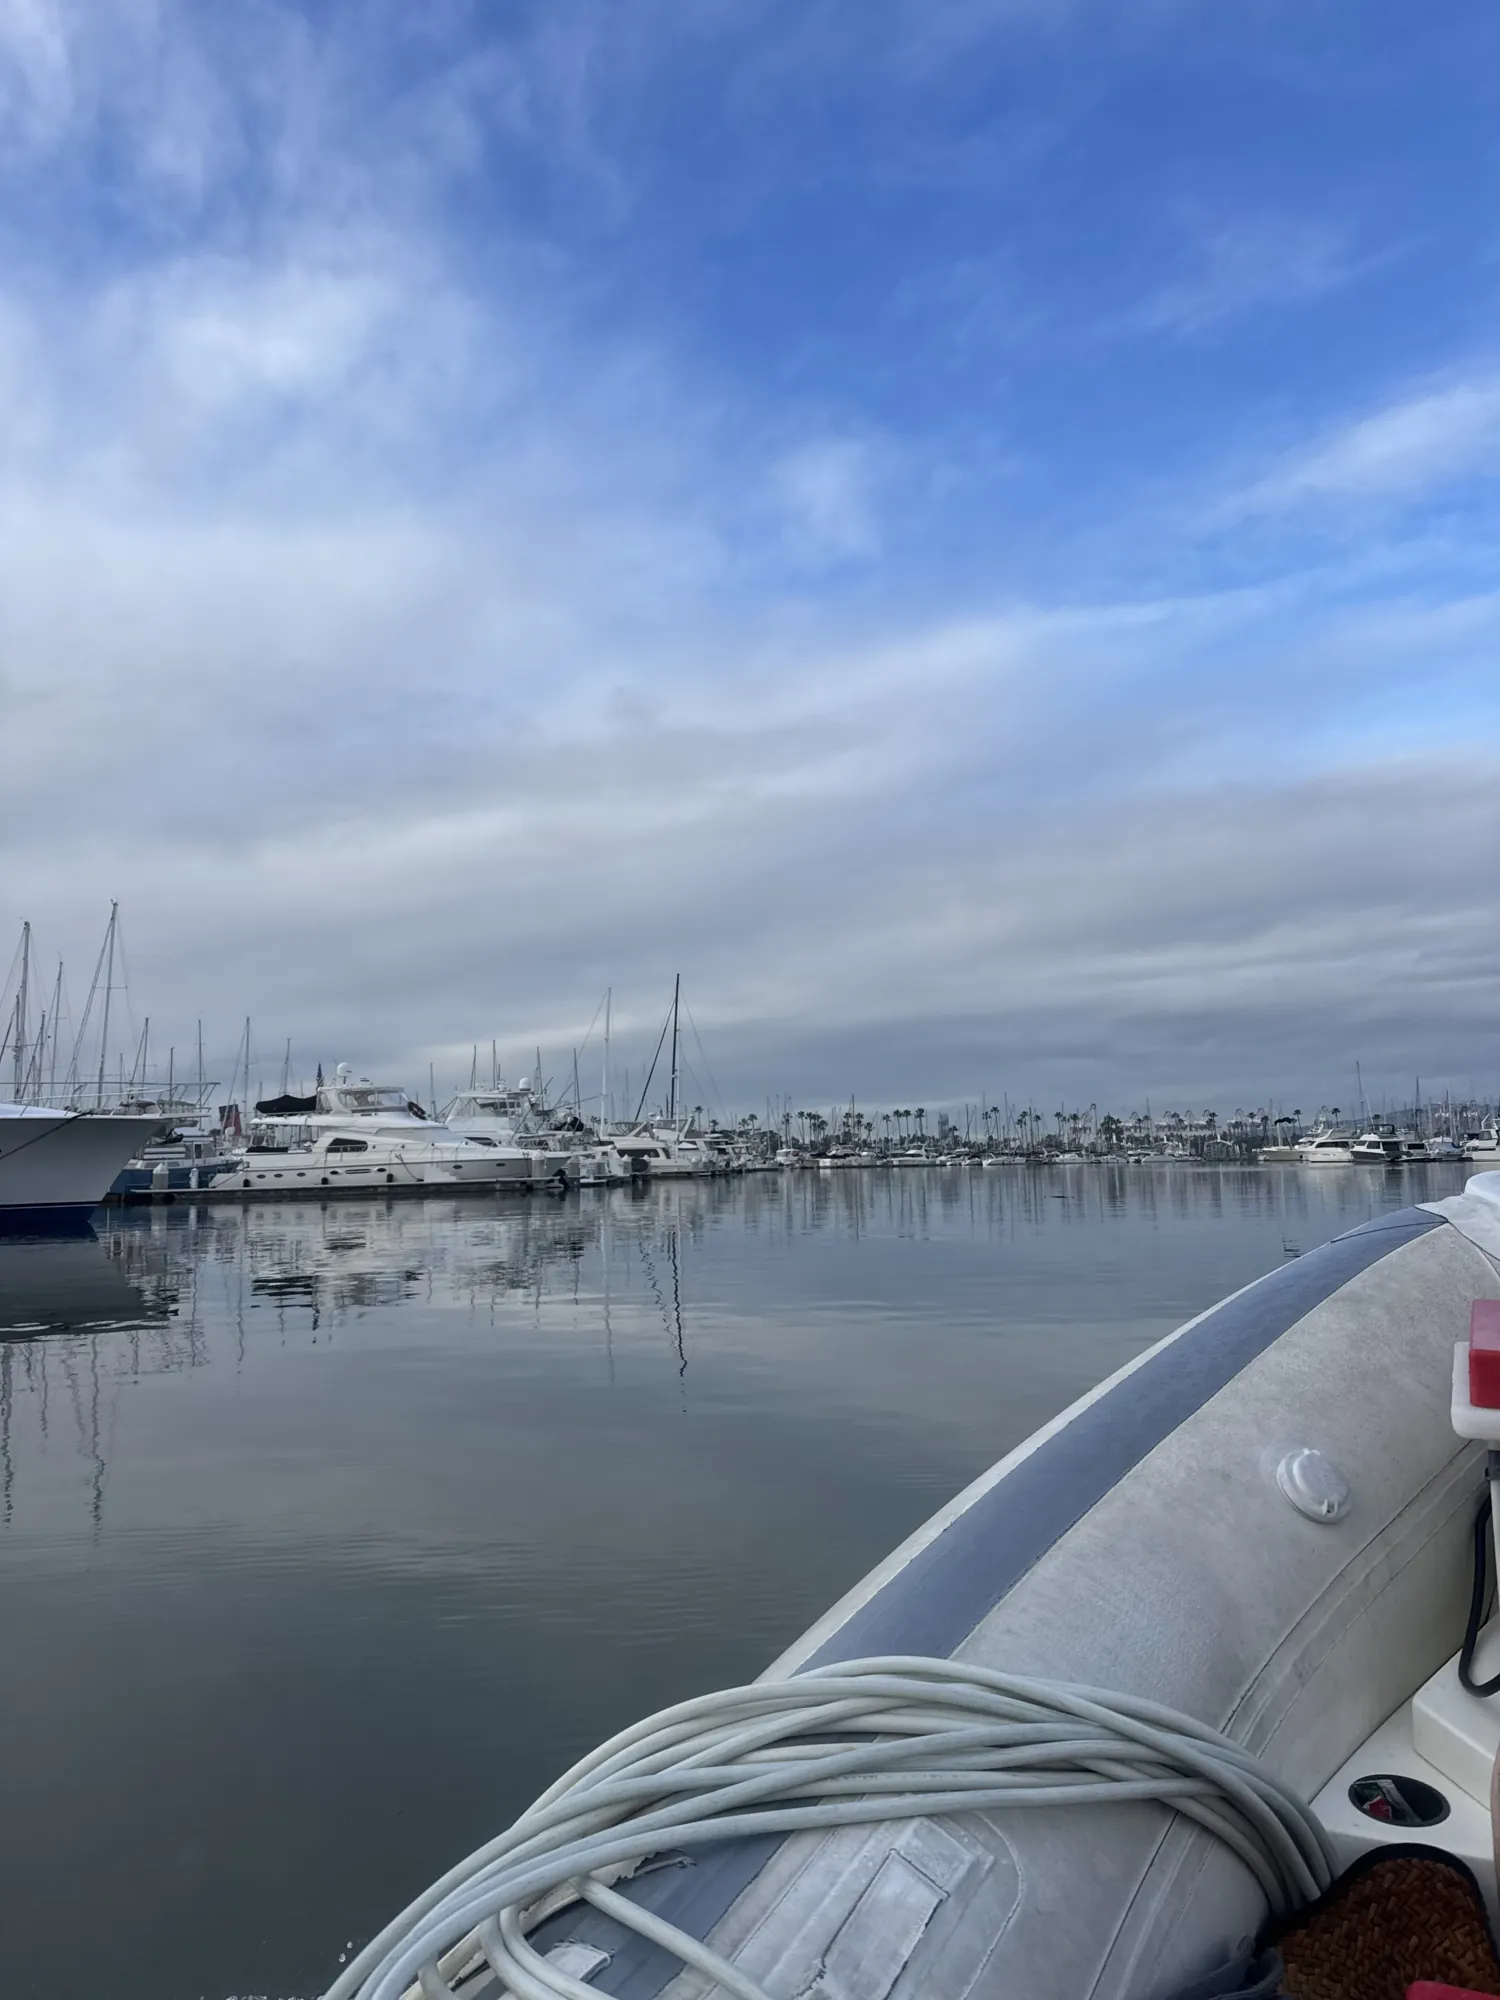
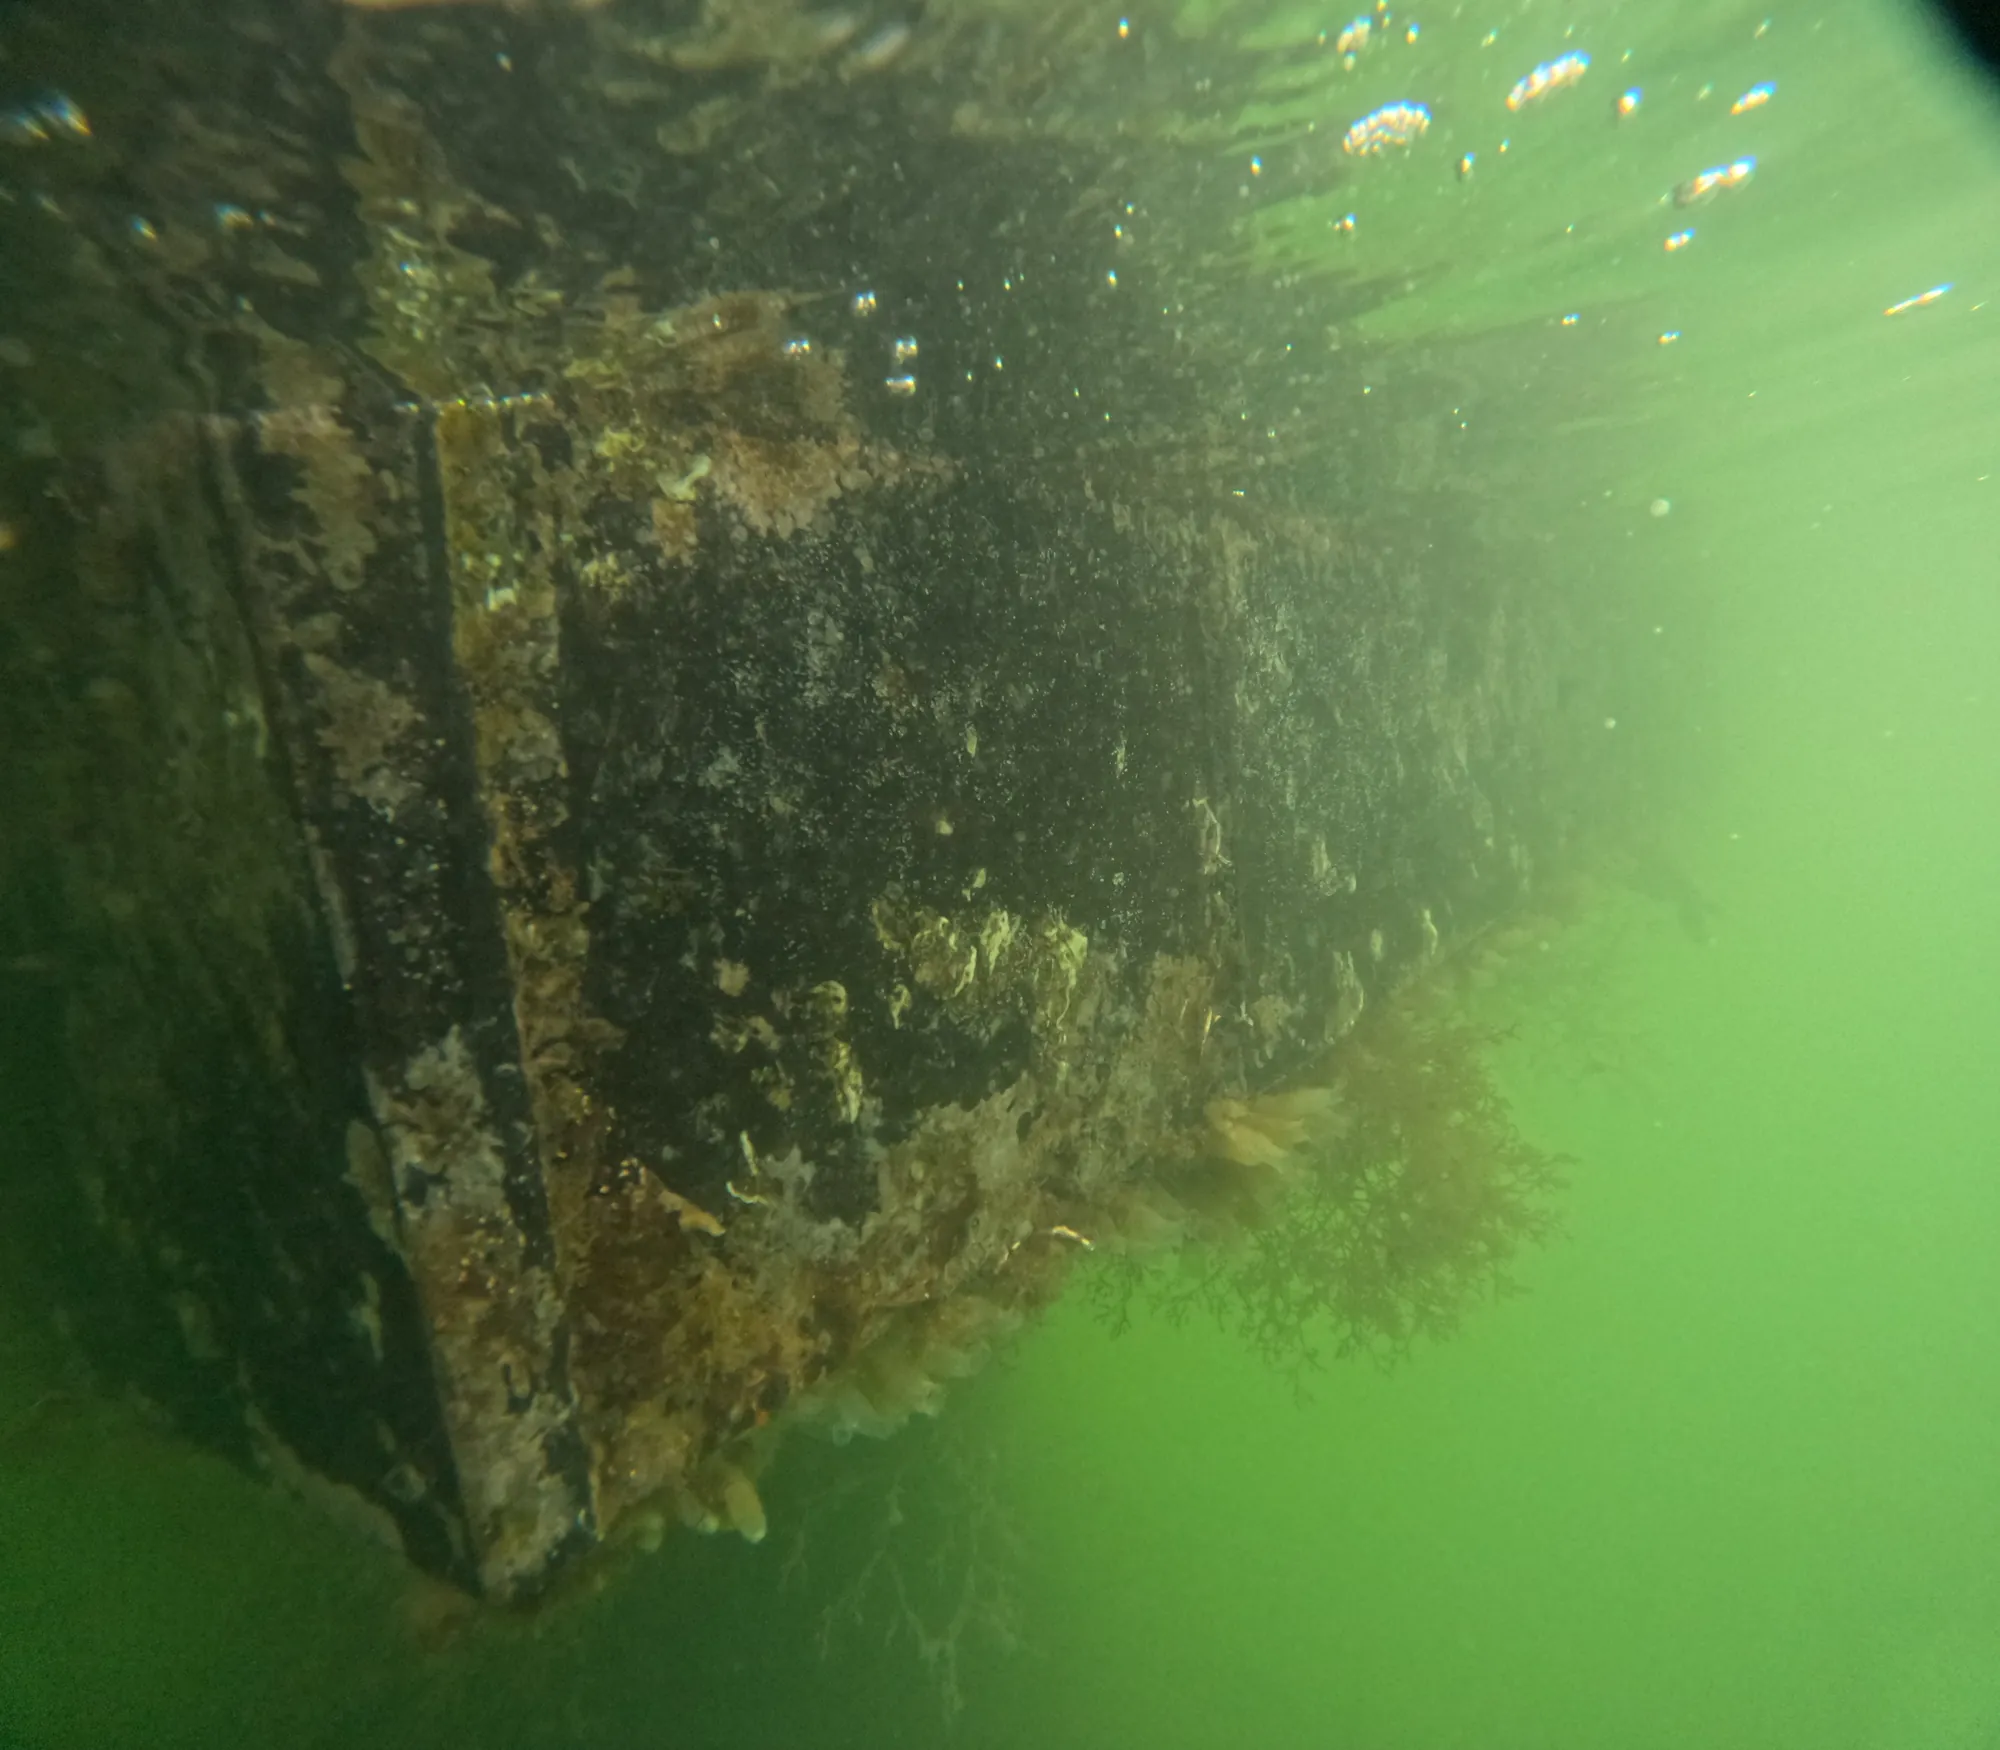
Our divers document every job. Real photography from beneath the waterline across Southern California's harbors.
Diver-documented hull and bottom condition from our scheduled cleaning service across Newport, Huntington, and Long Beach harbors.
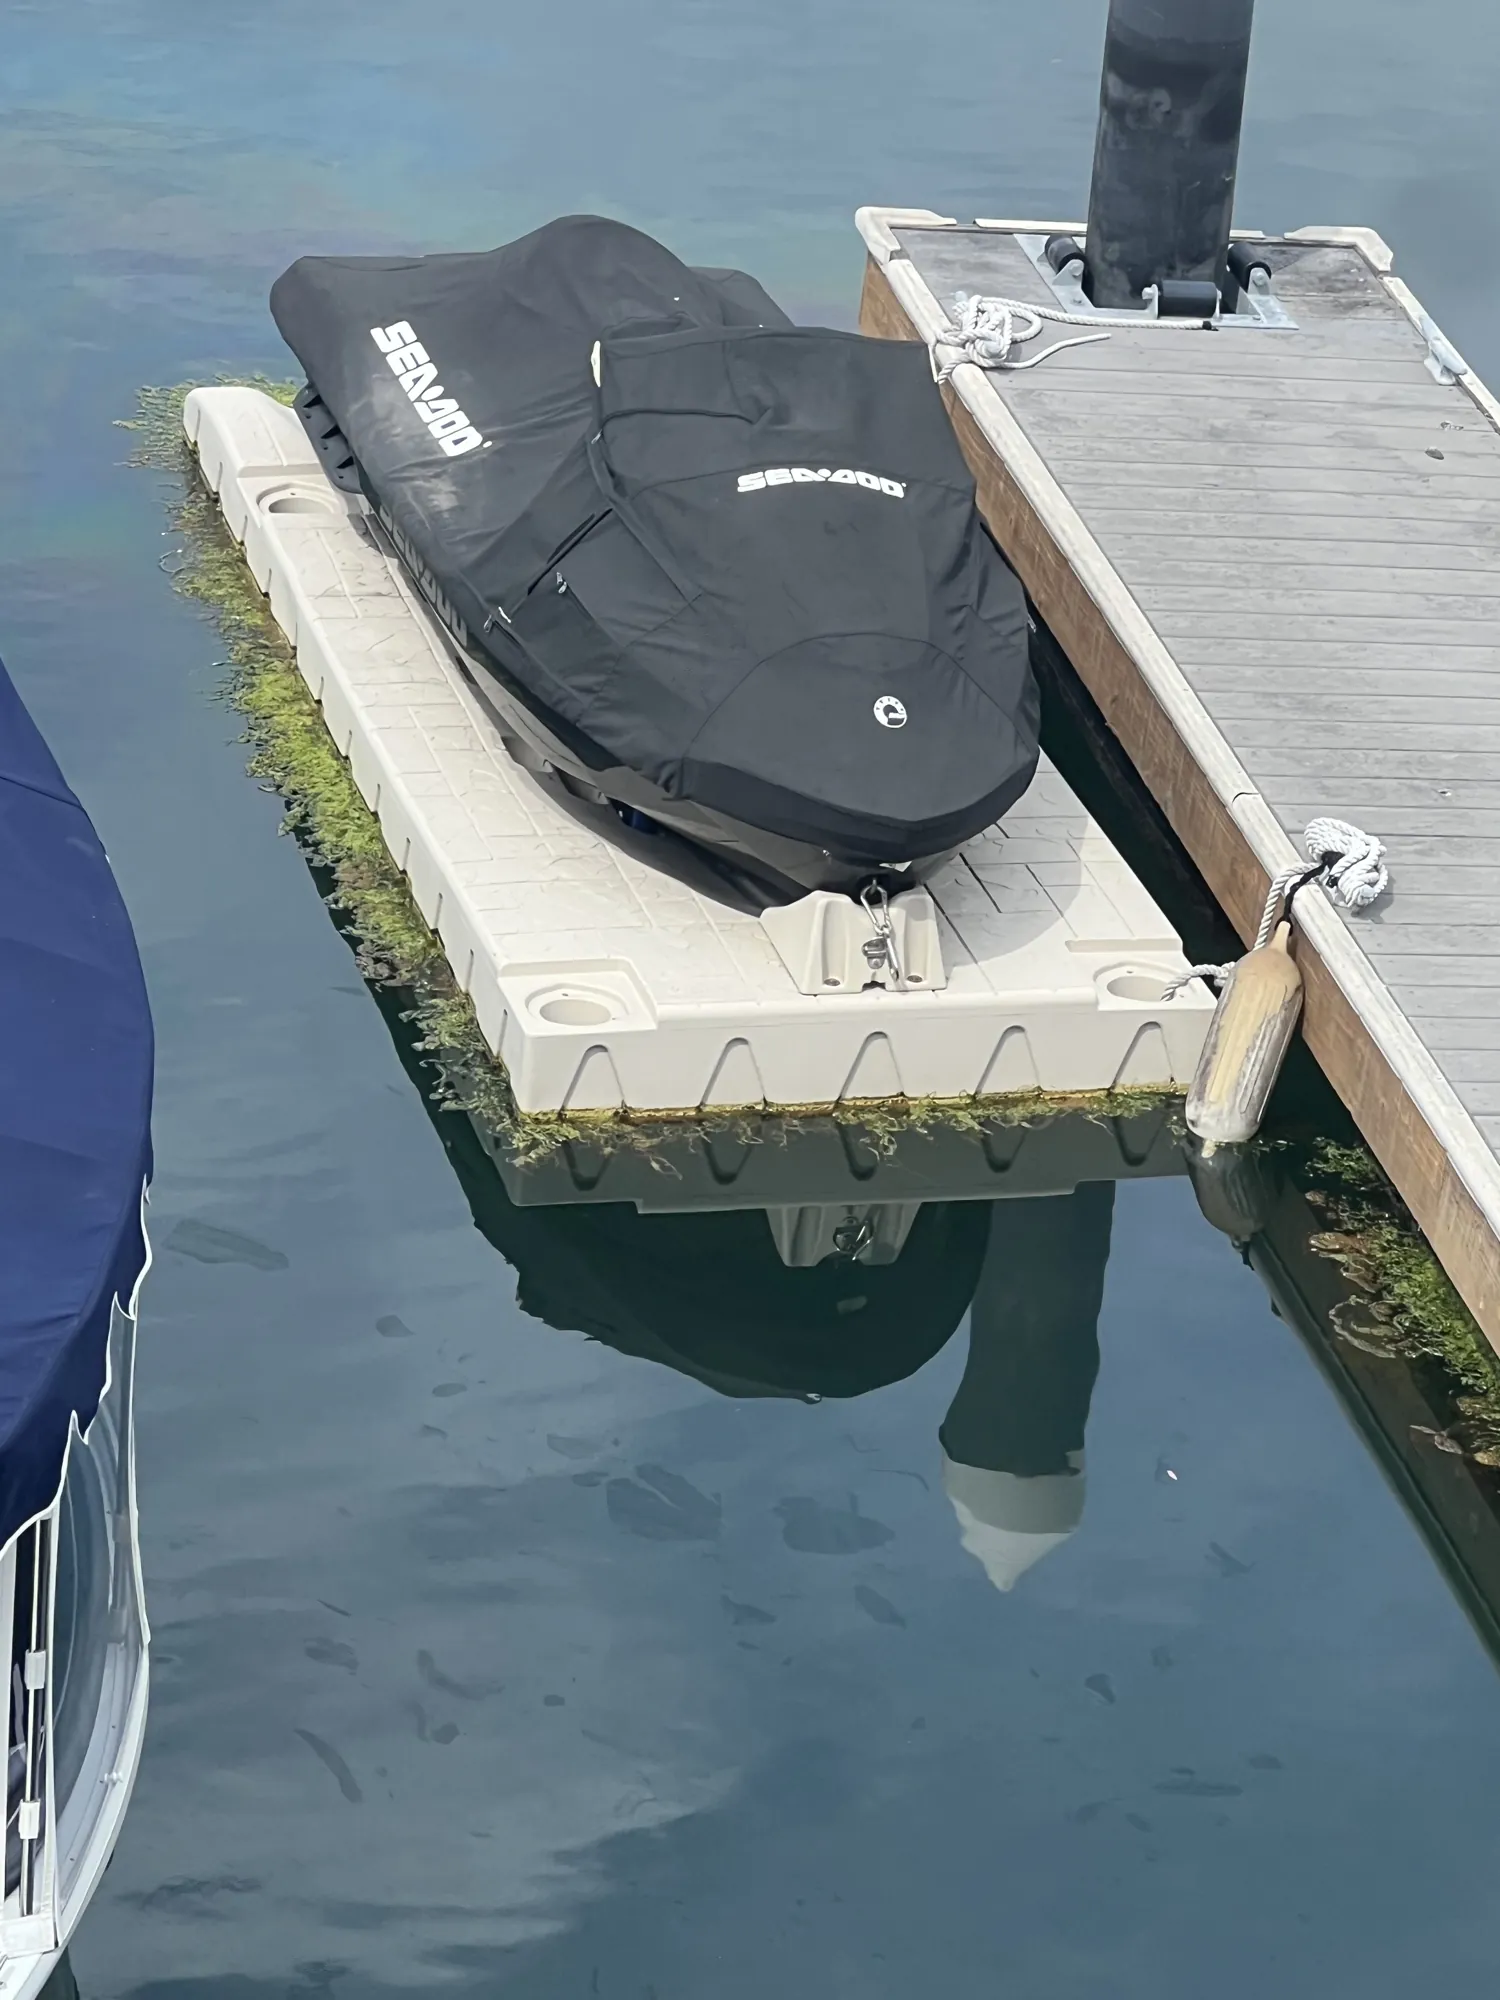
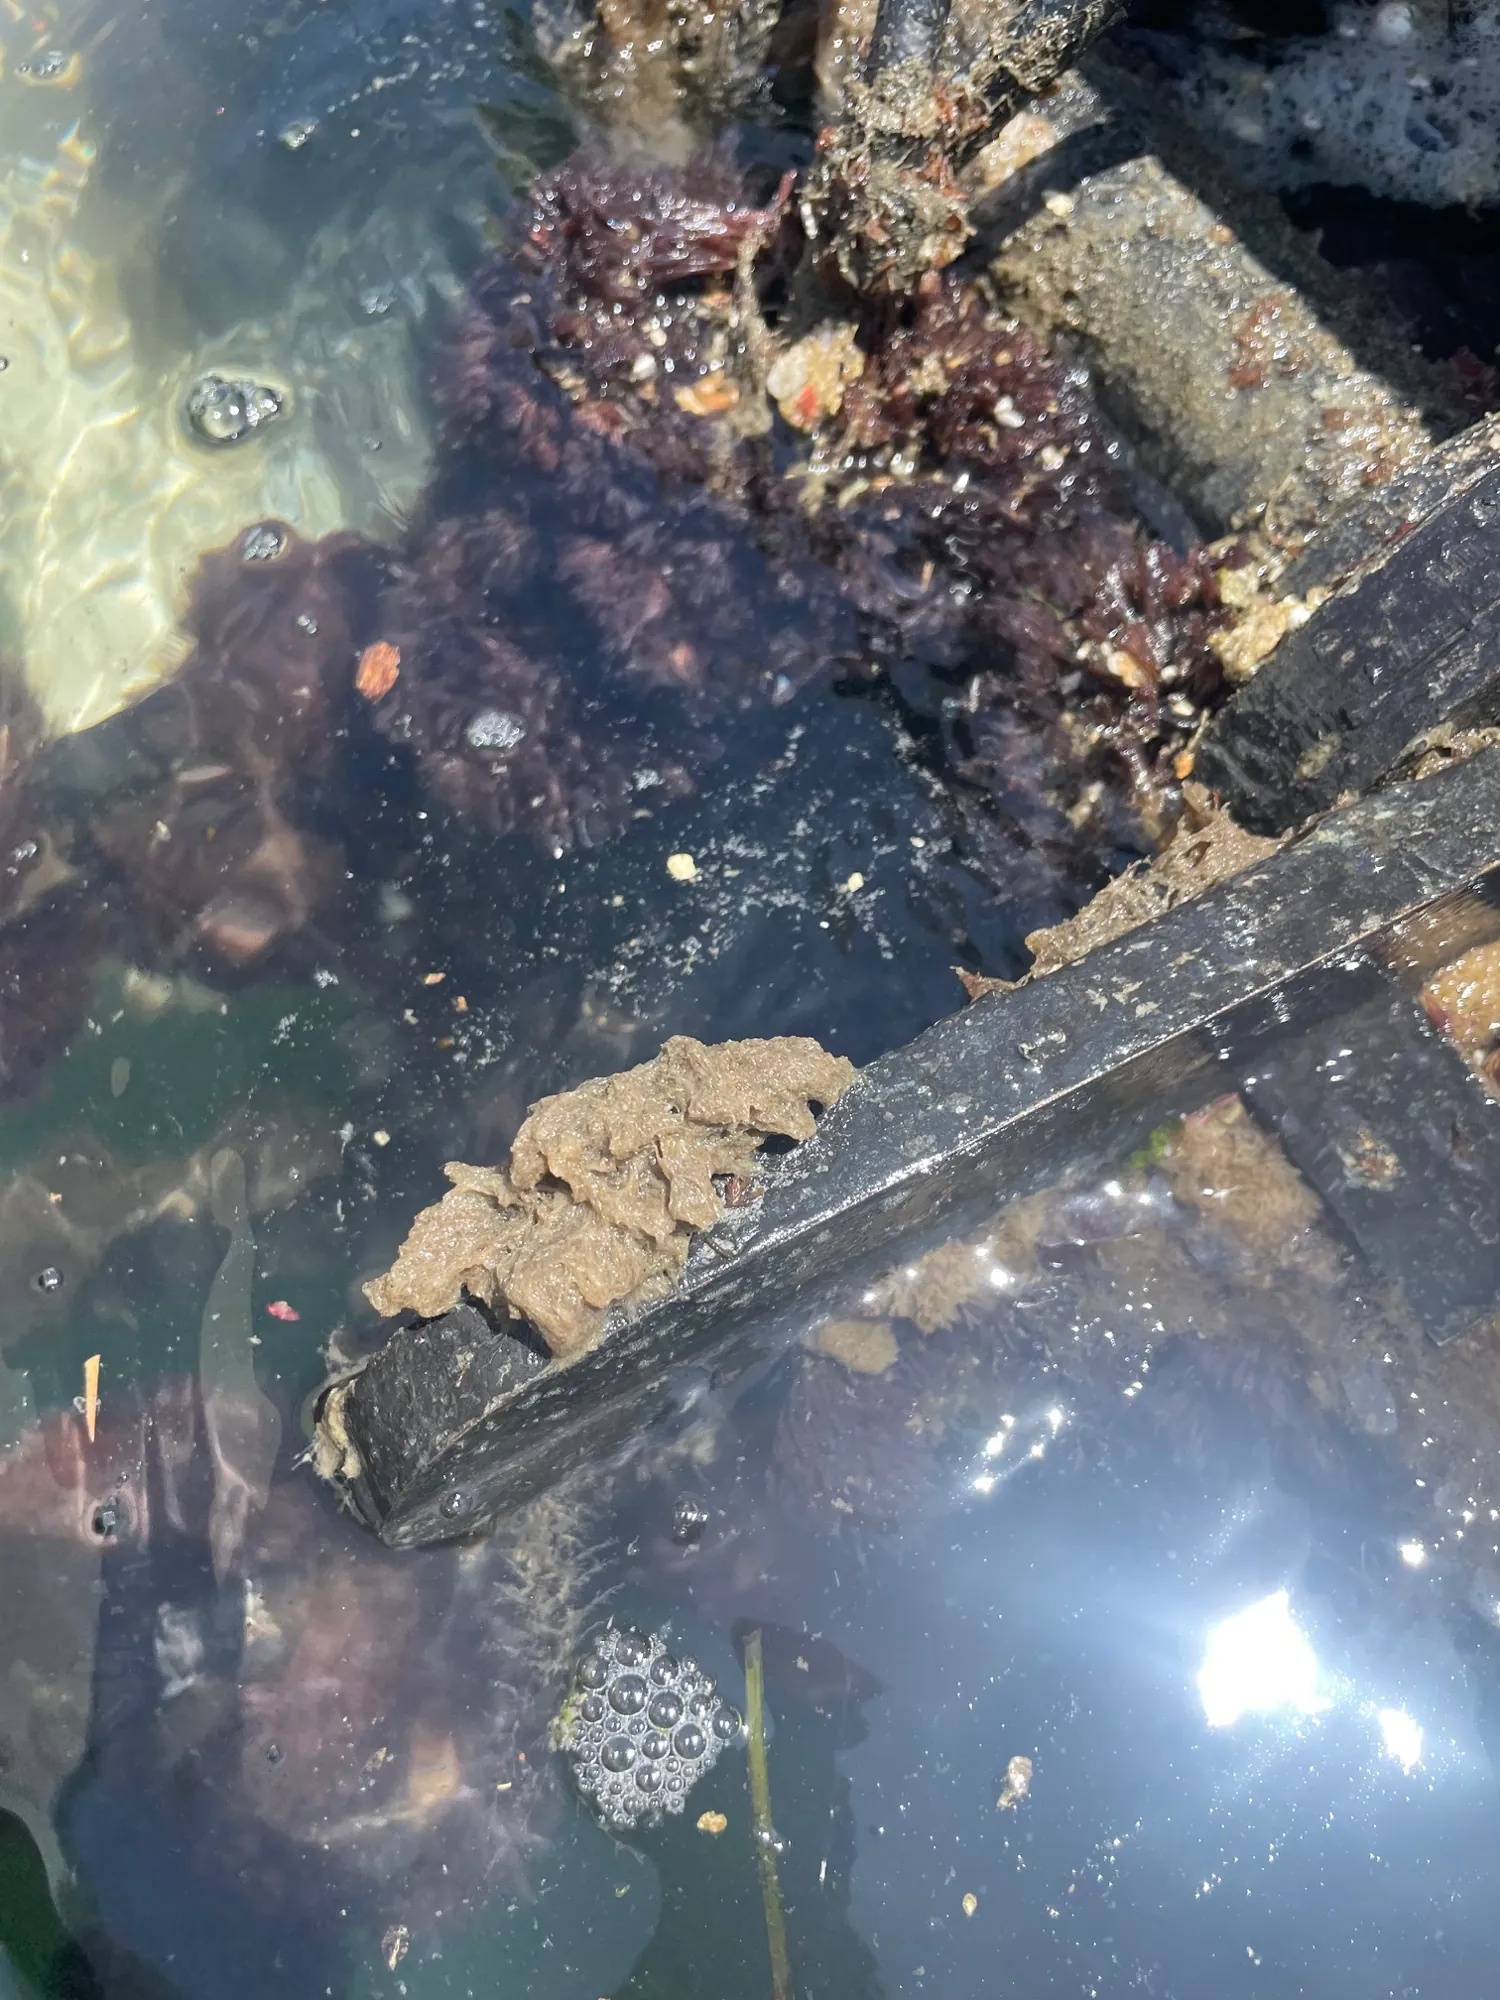
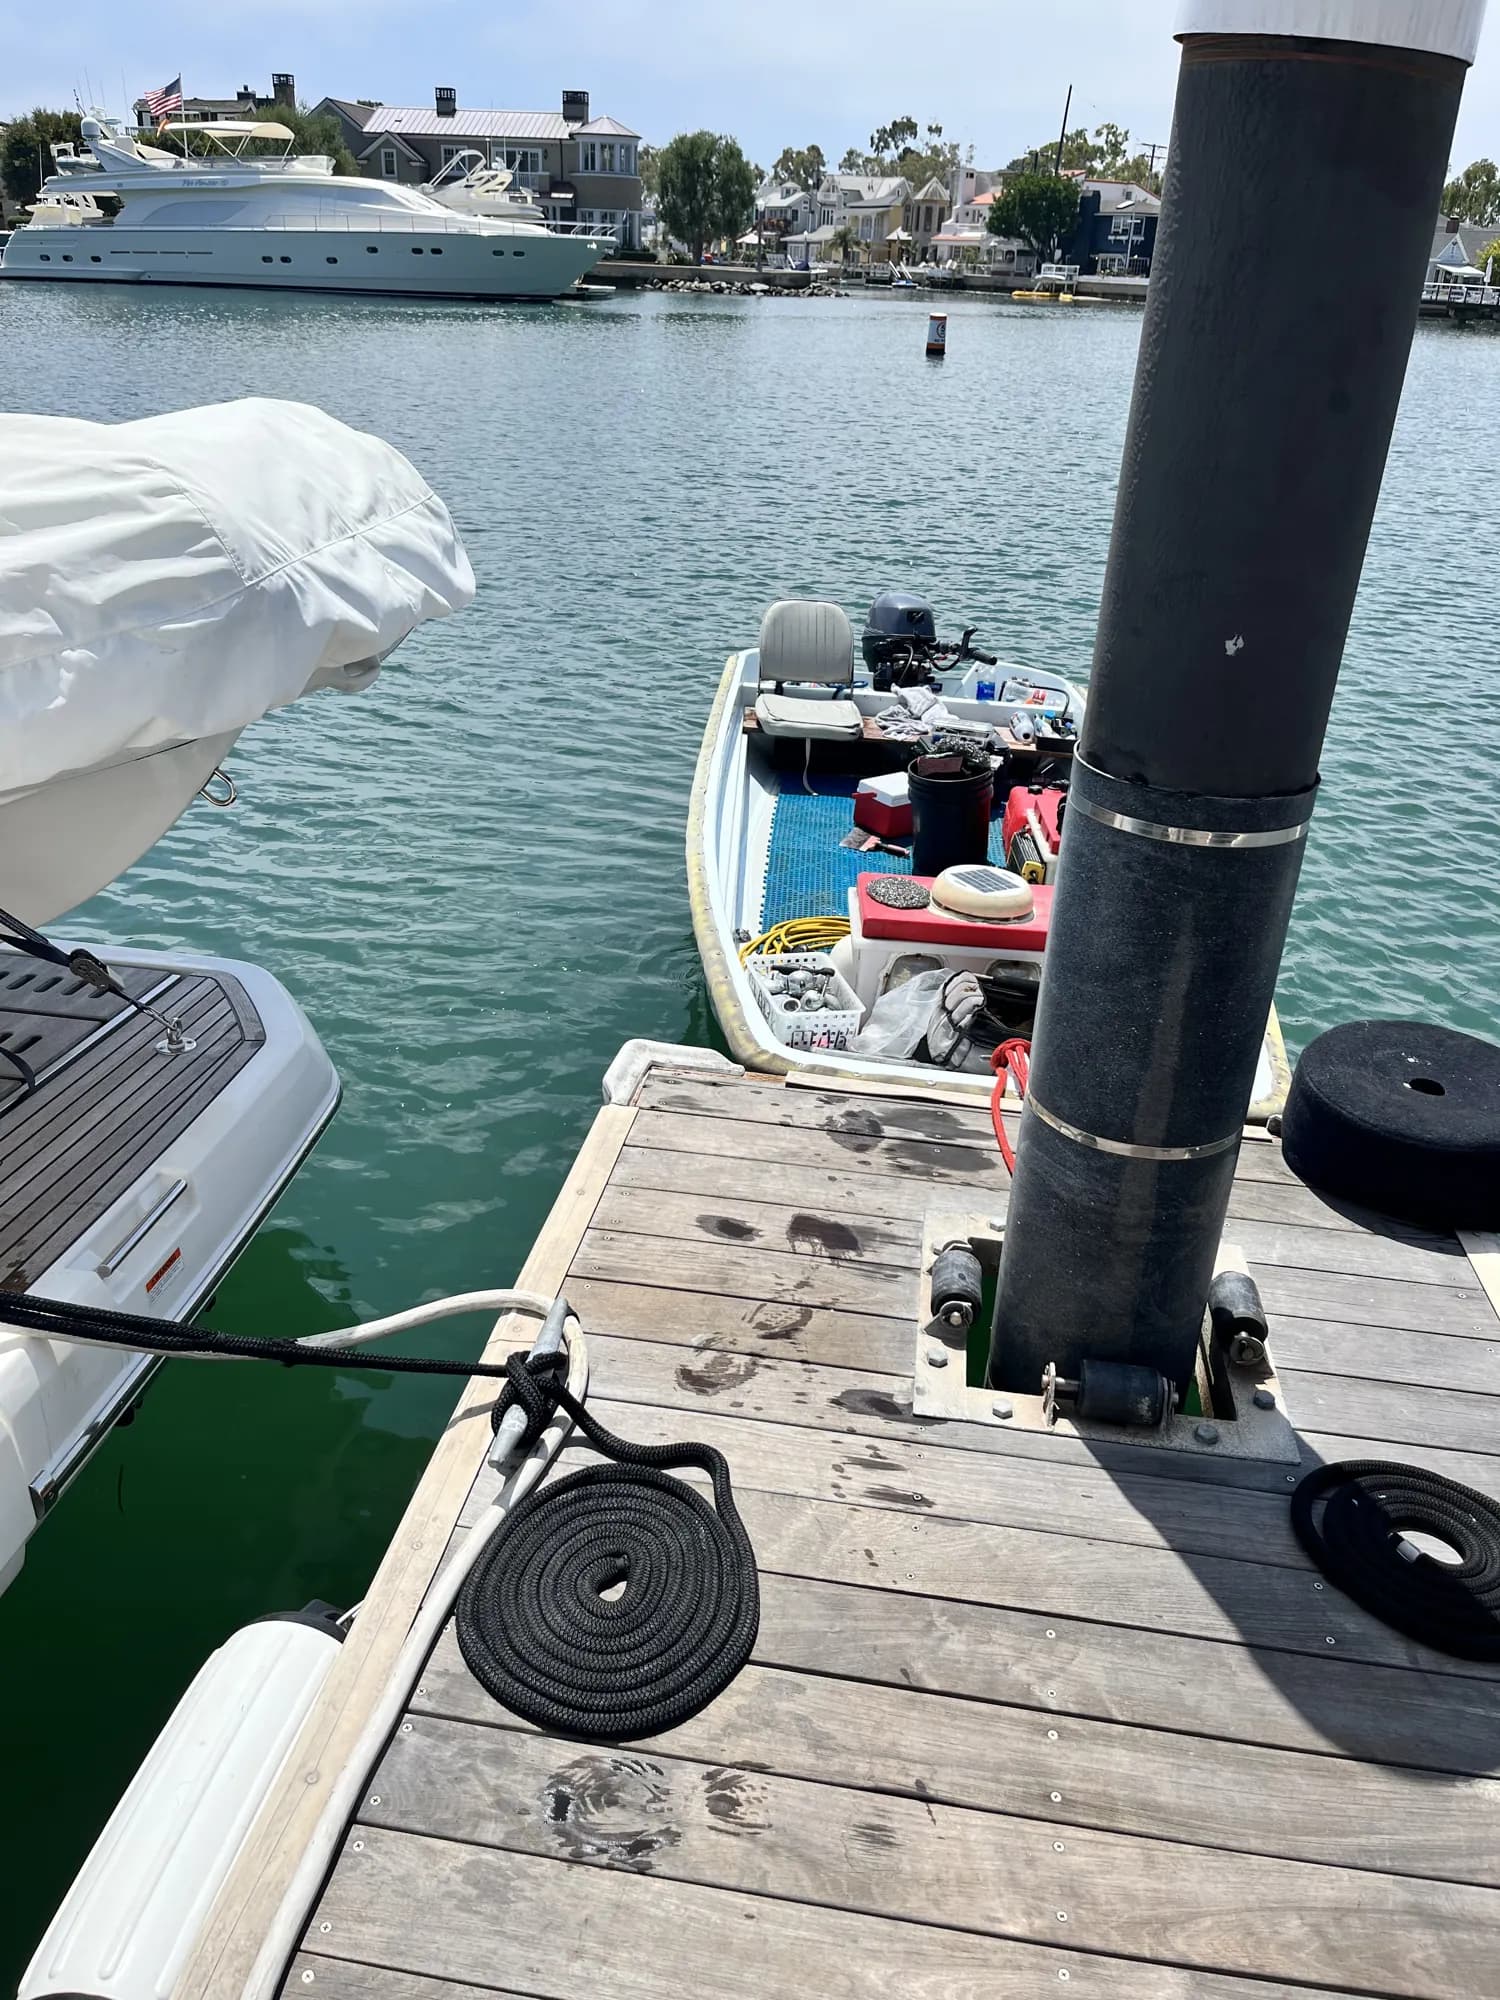
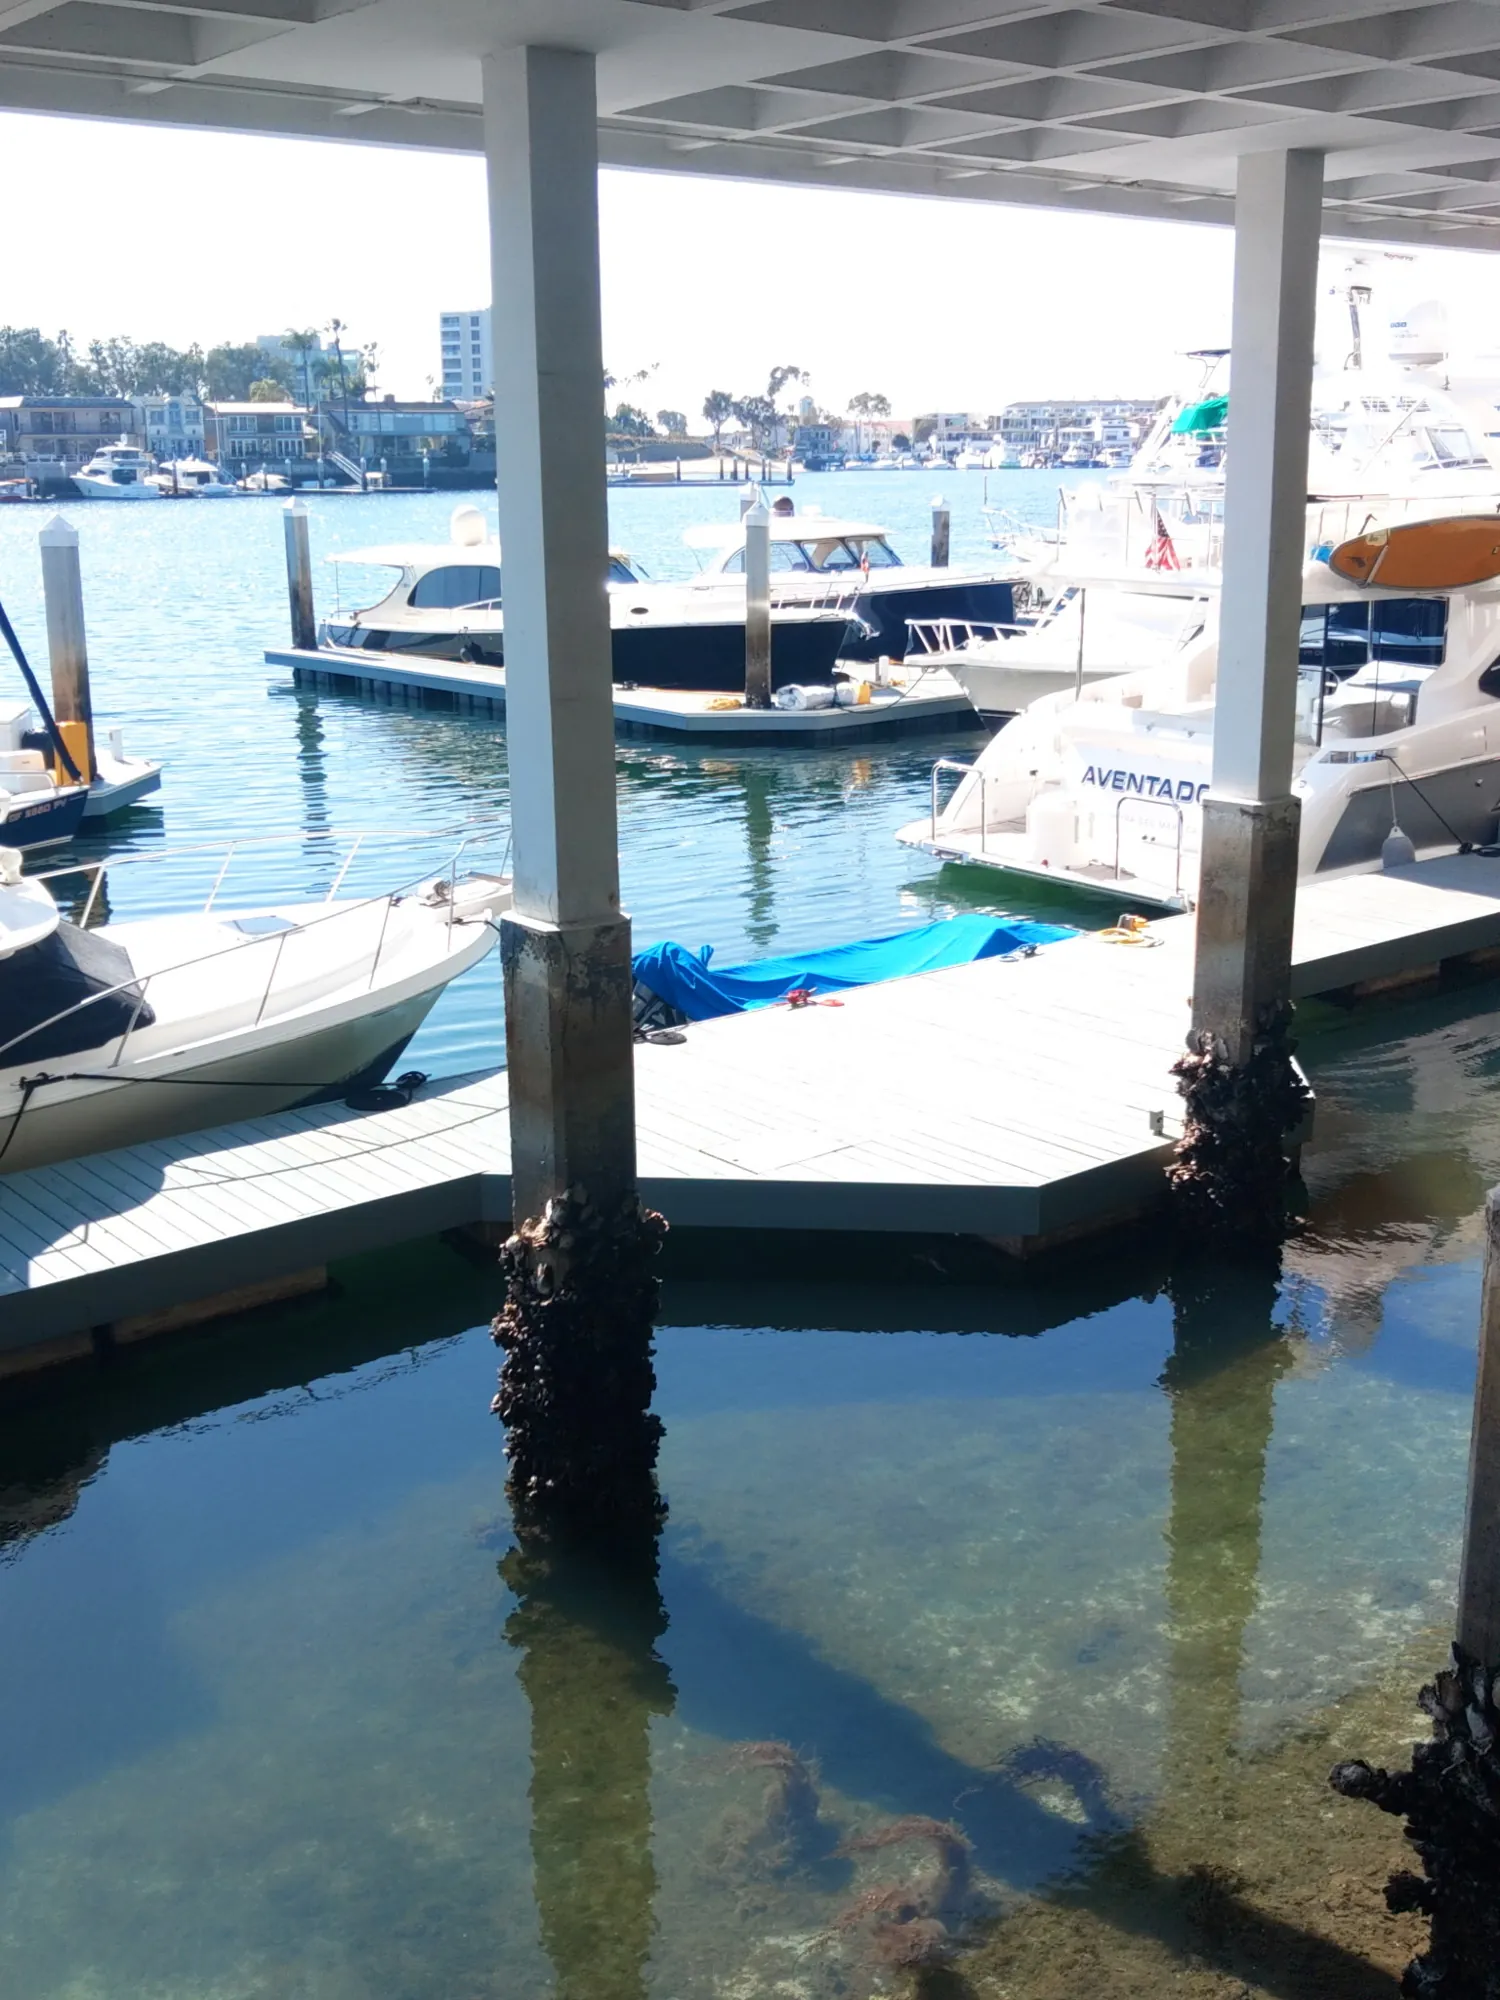
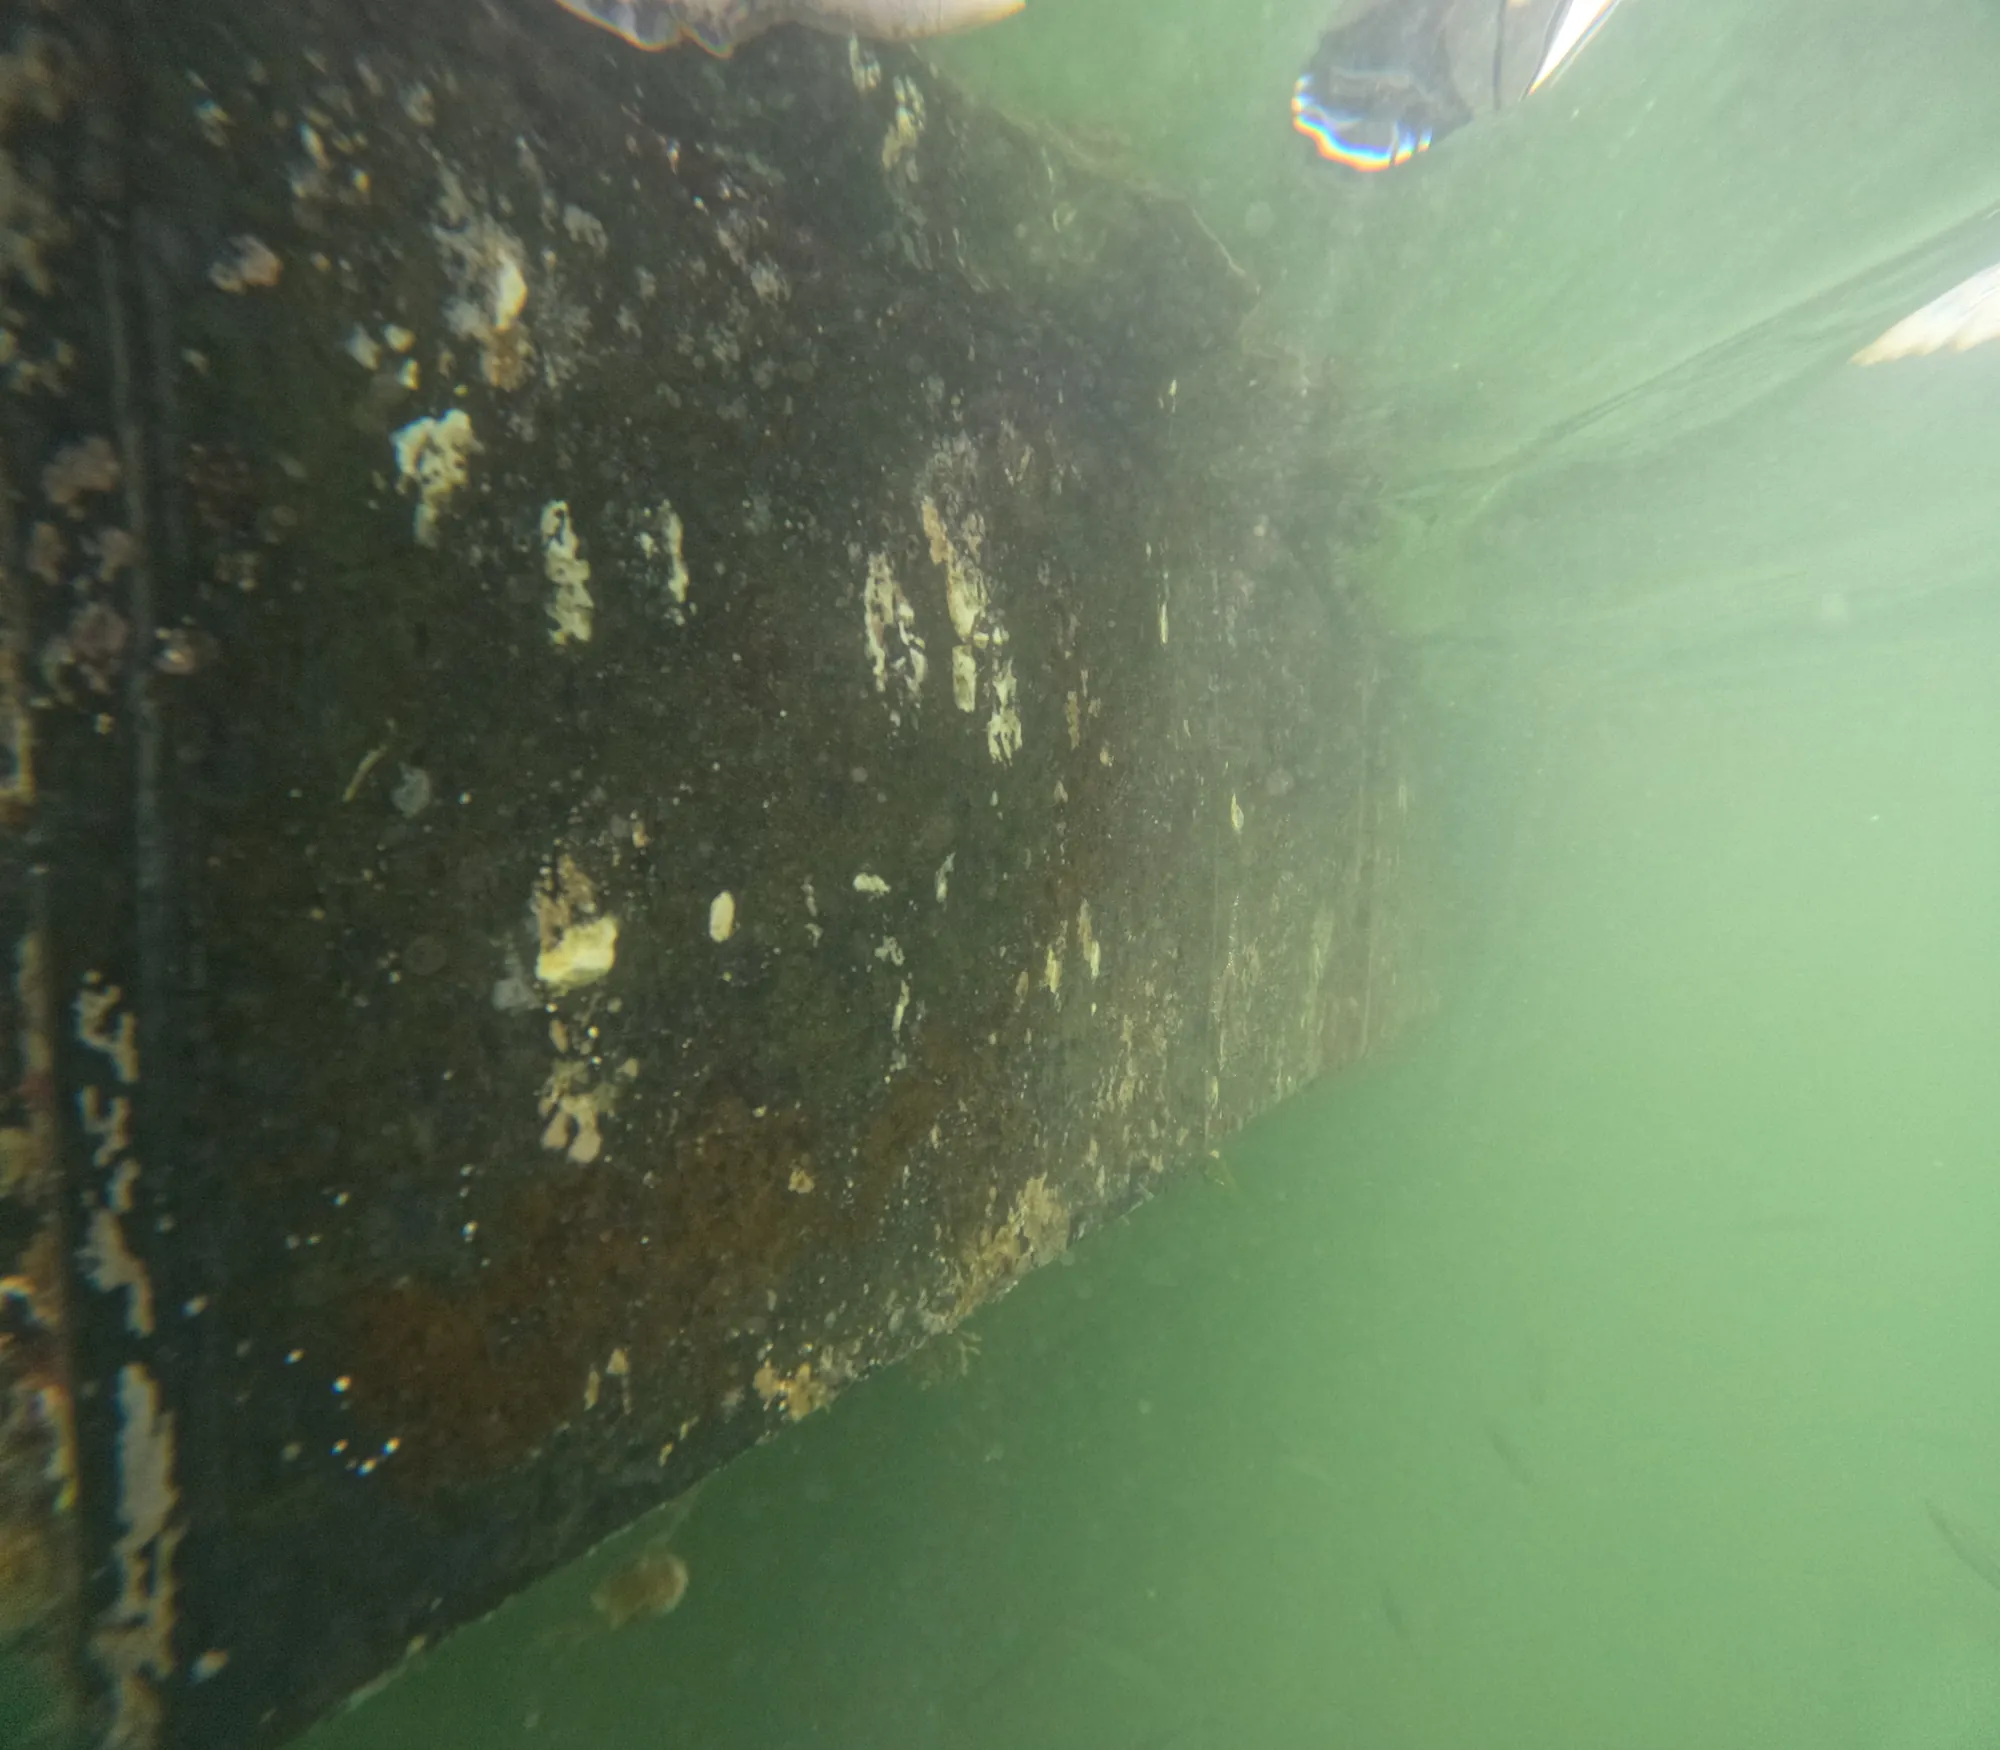
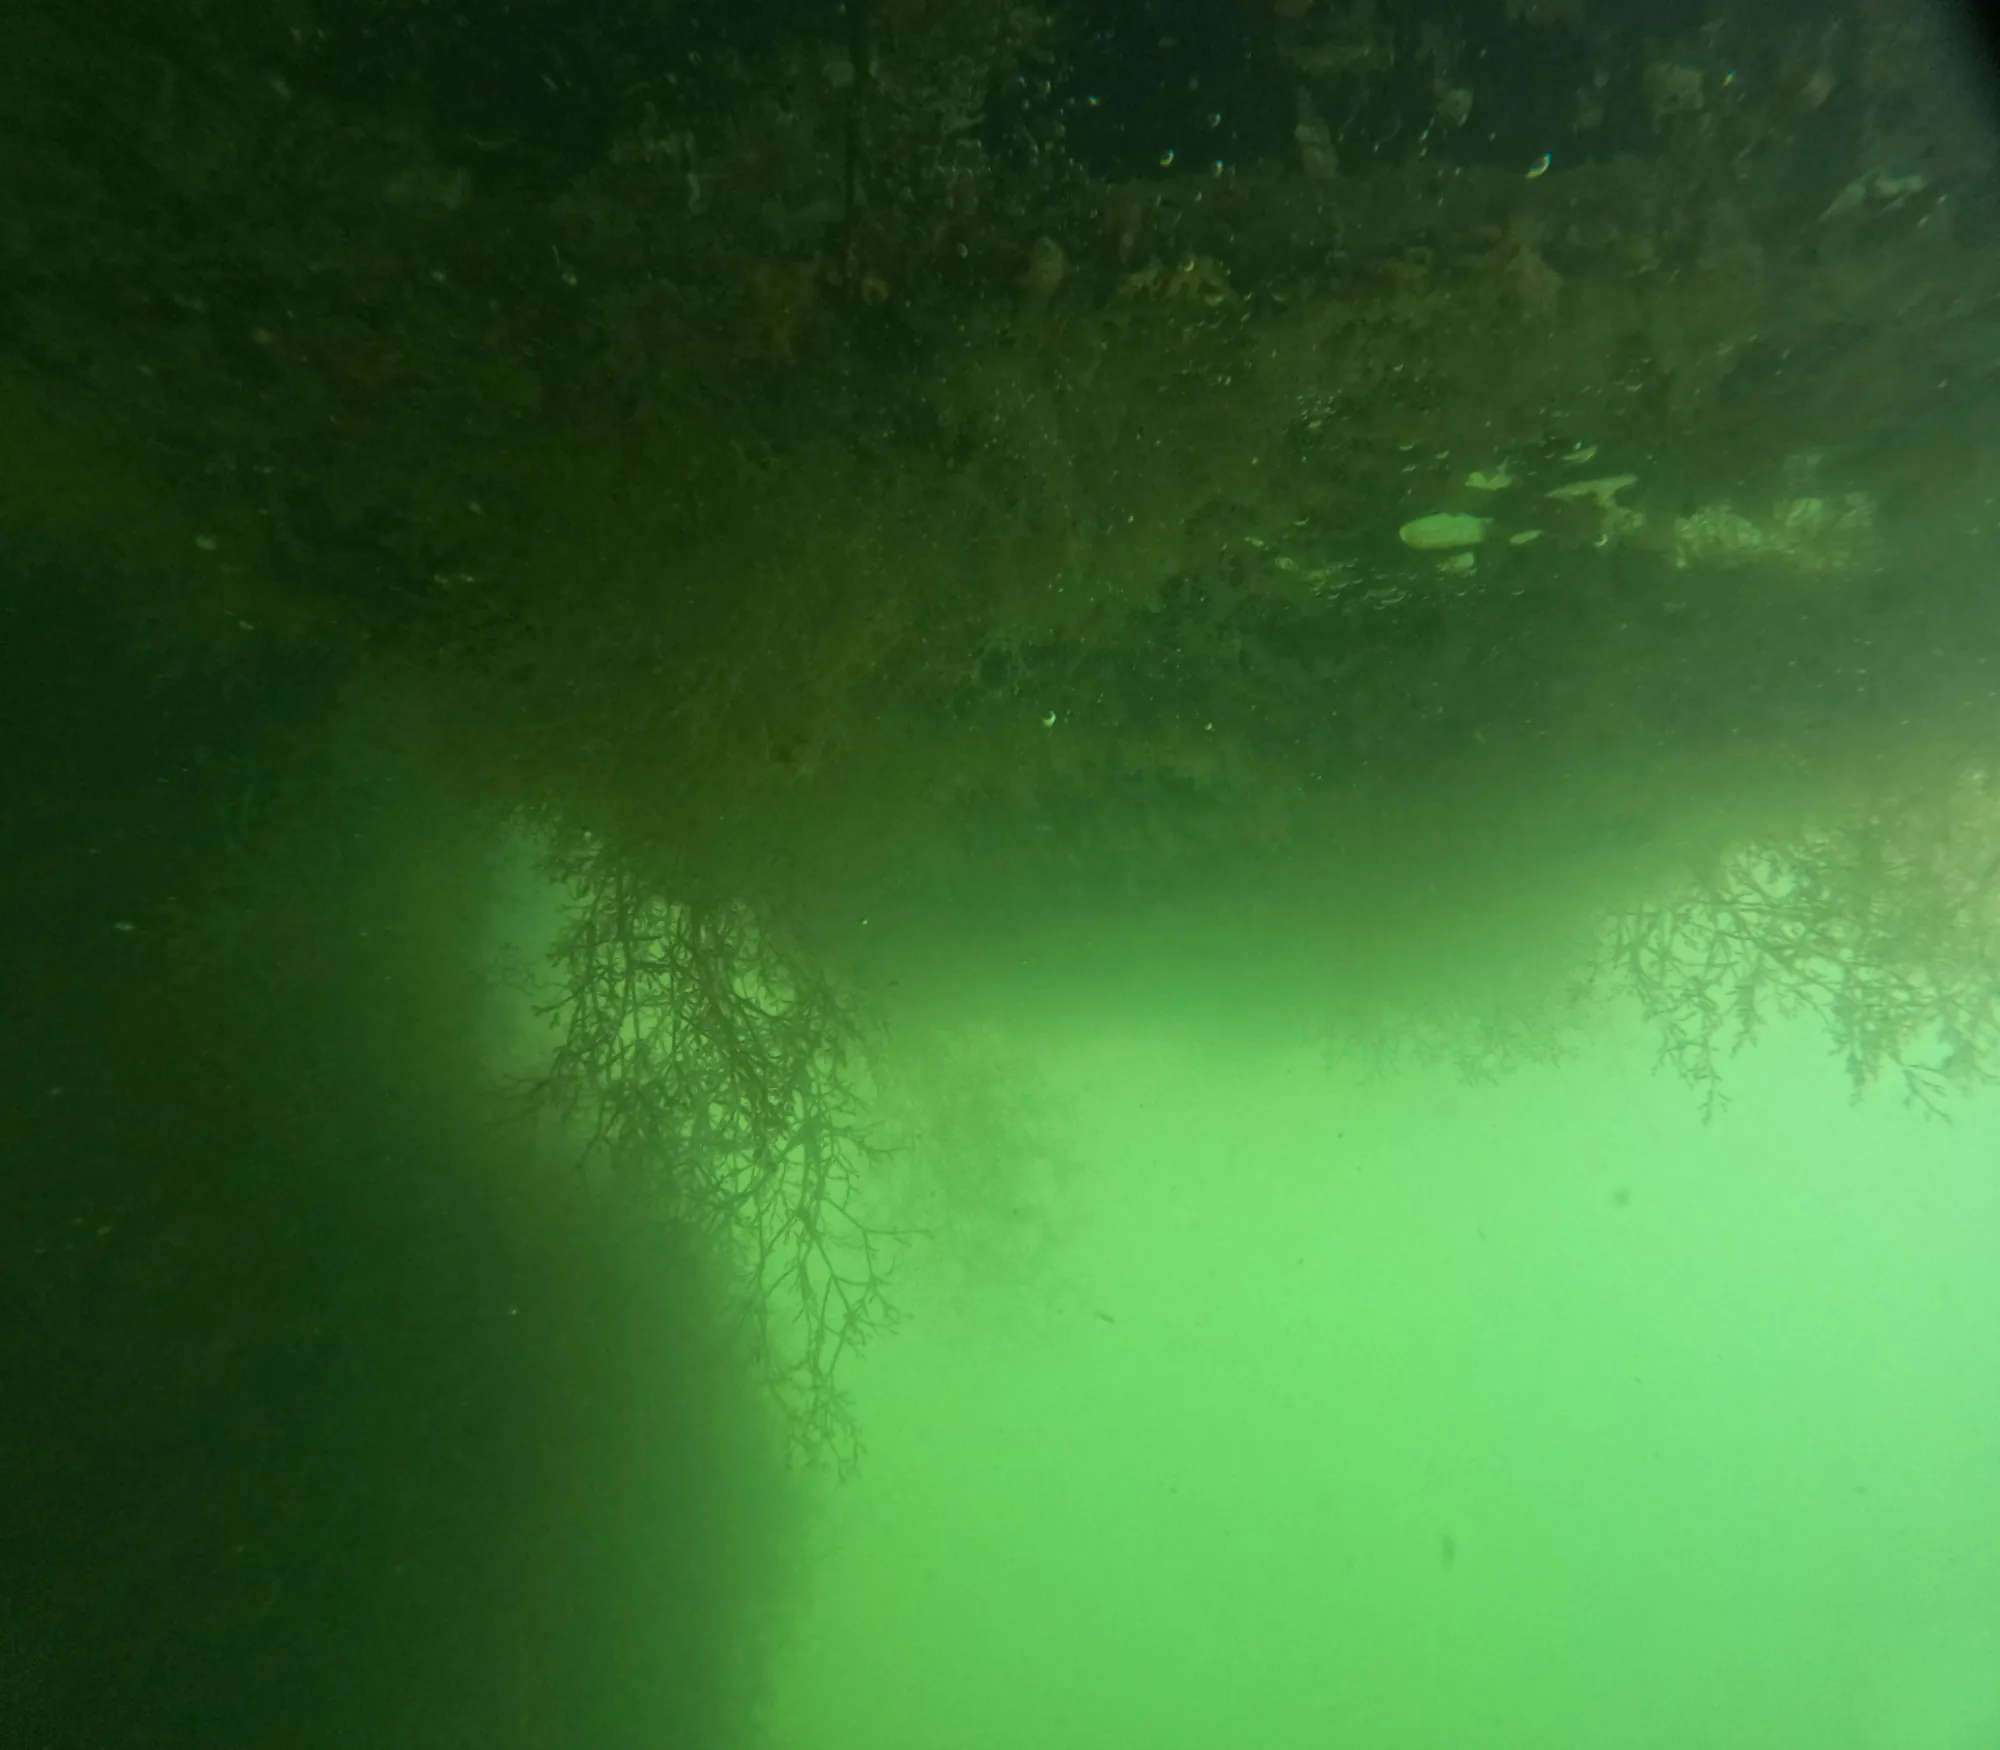
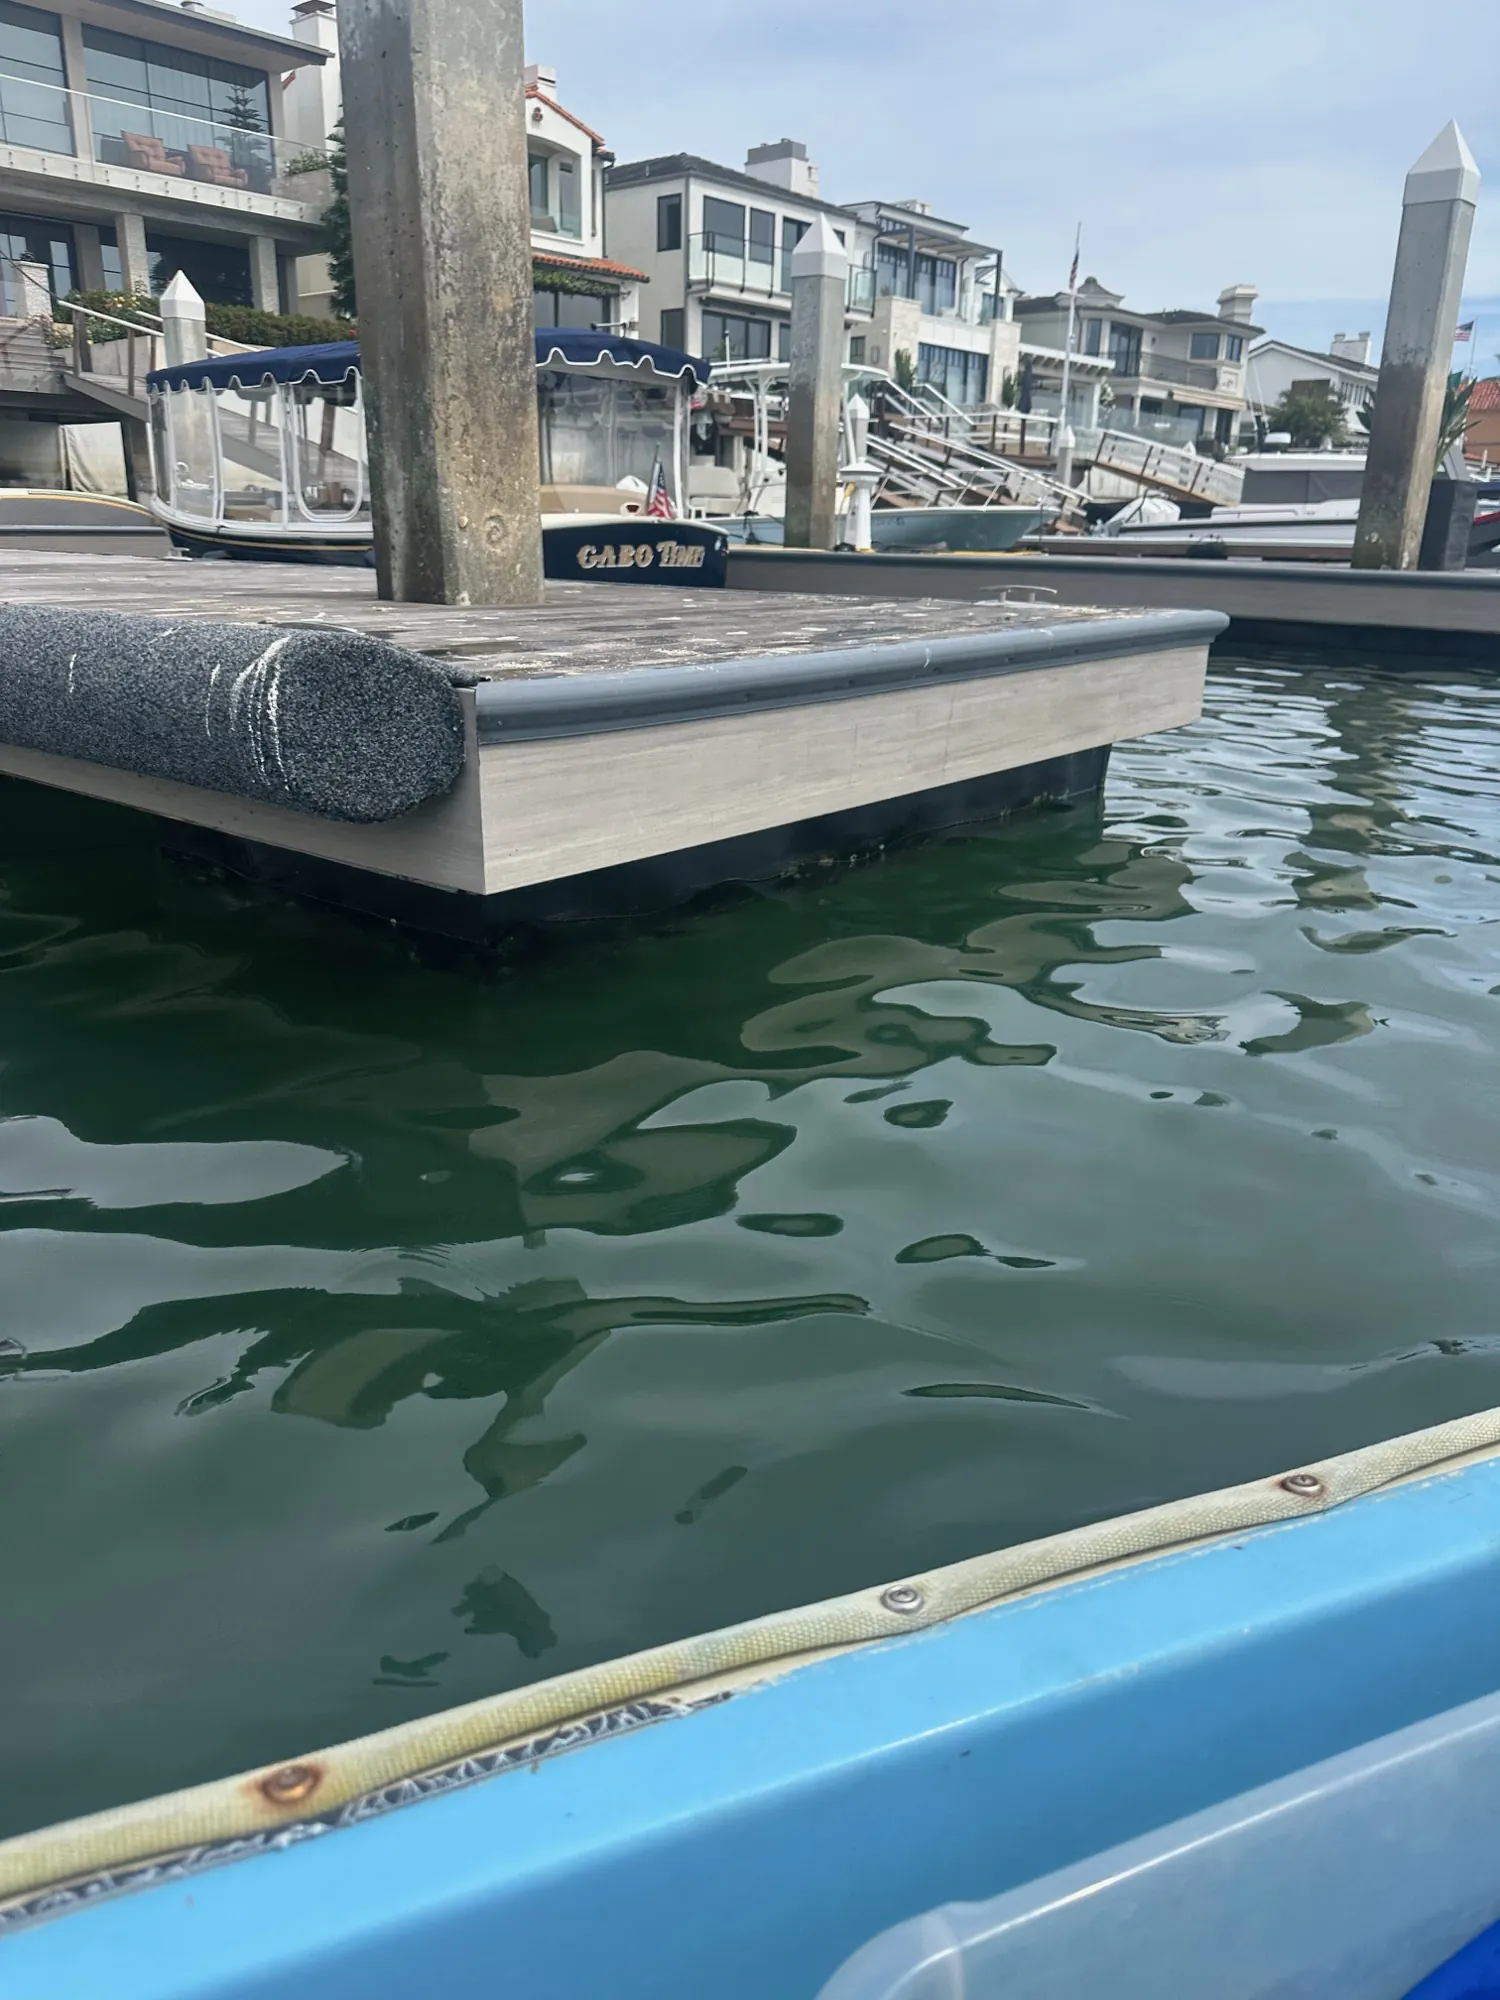
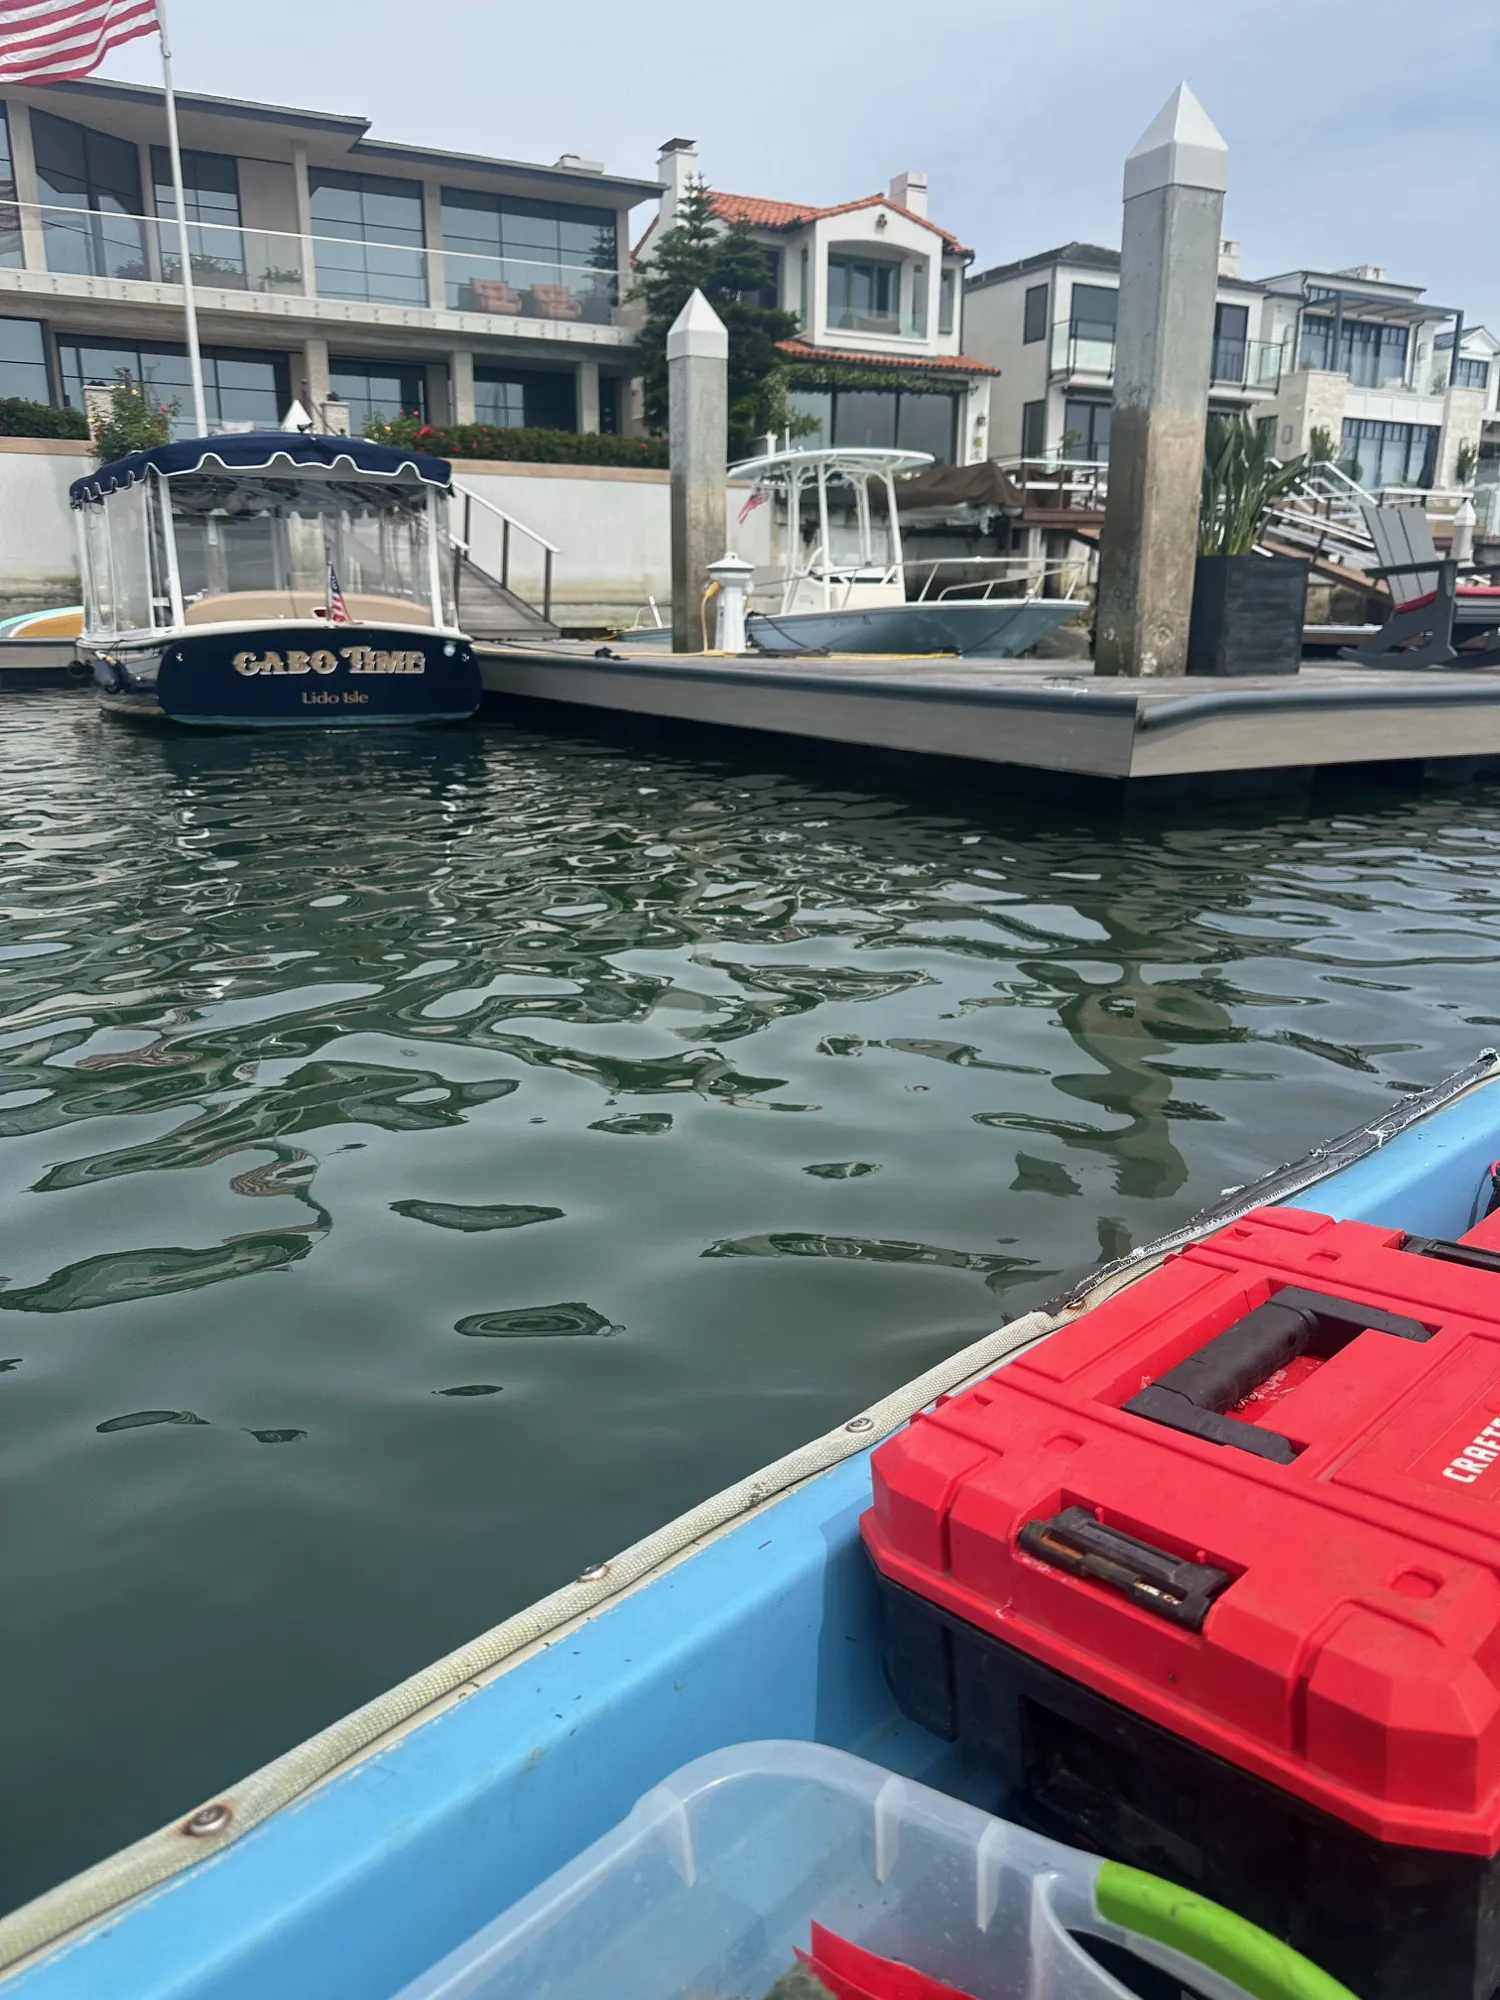
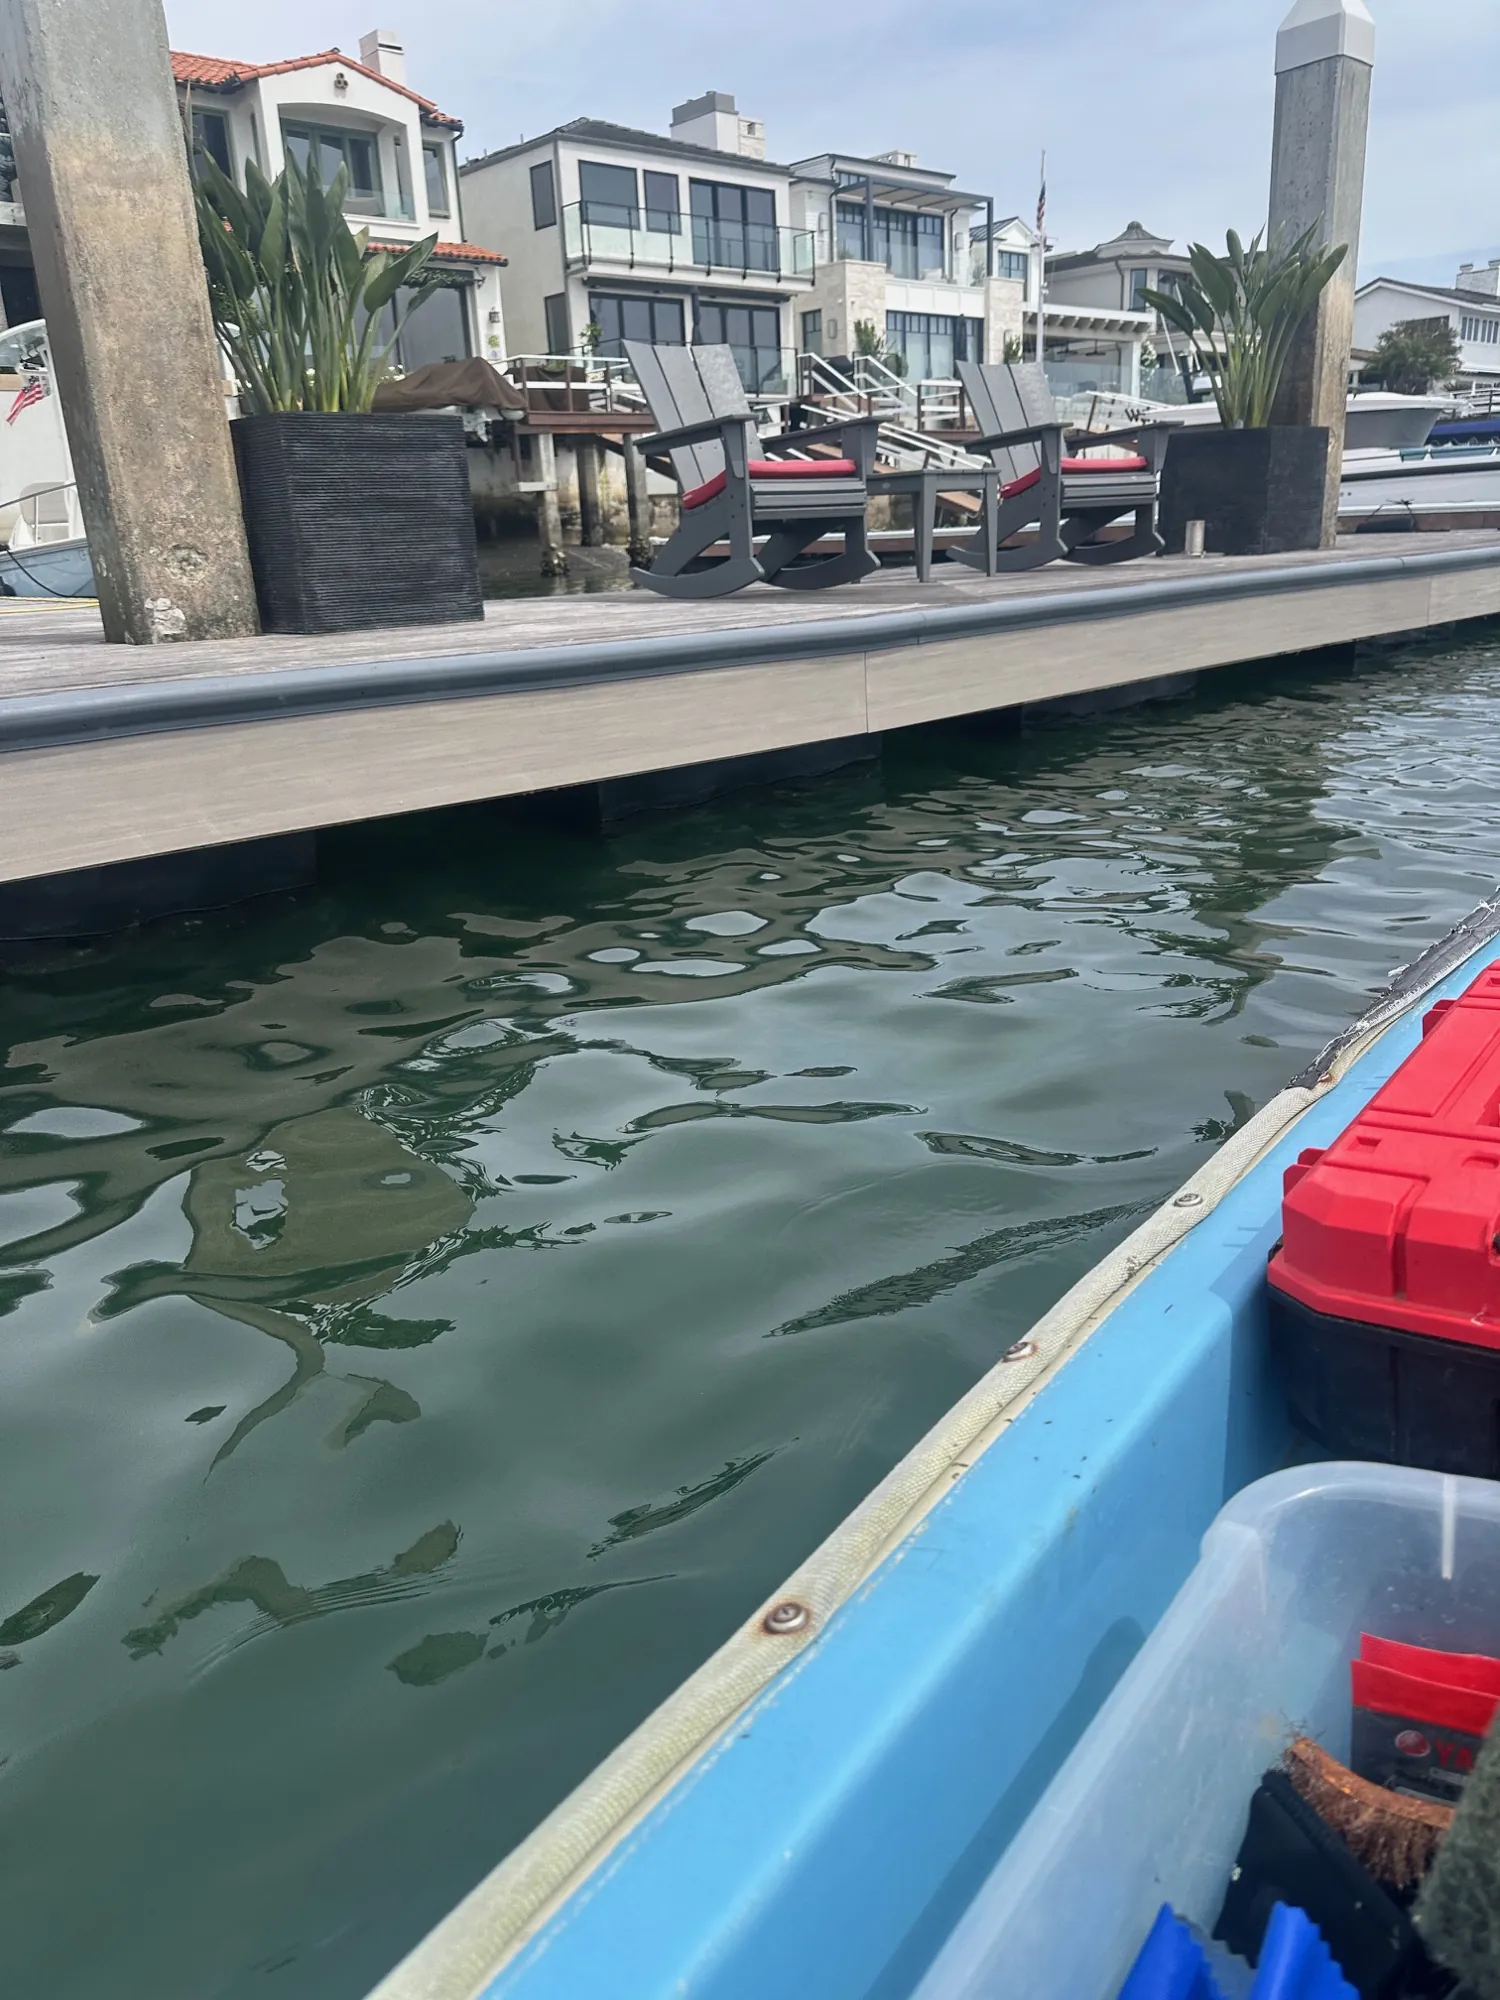
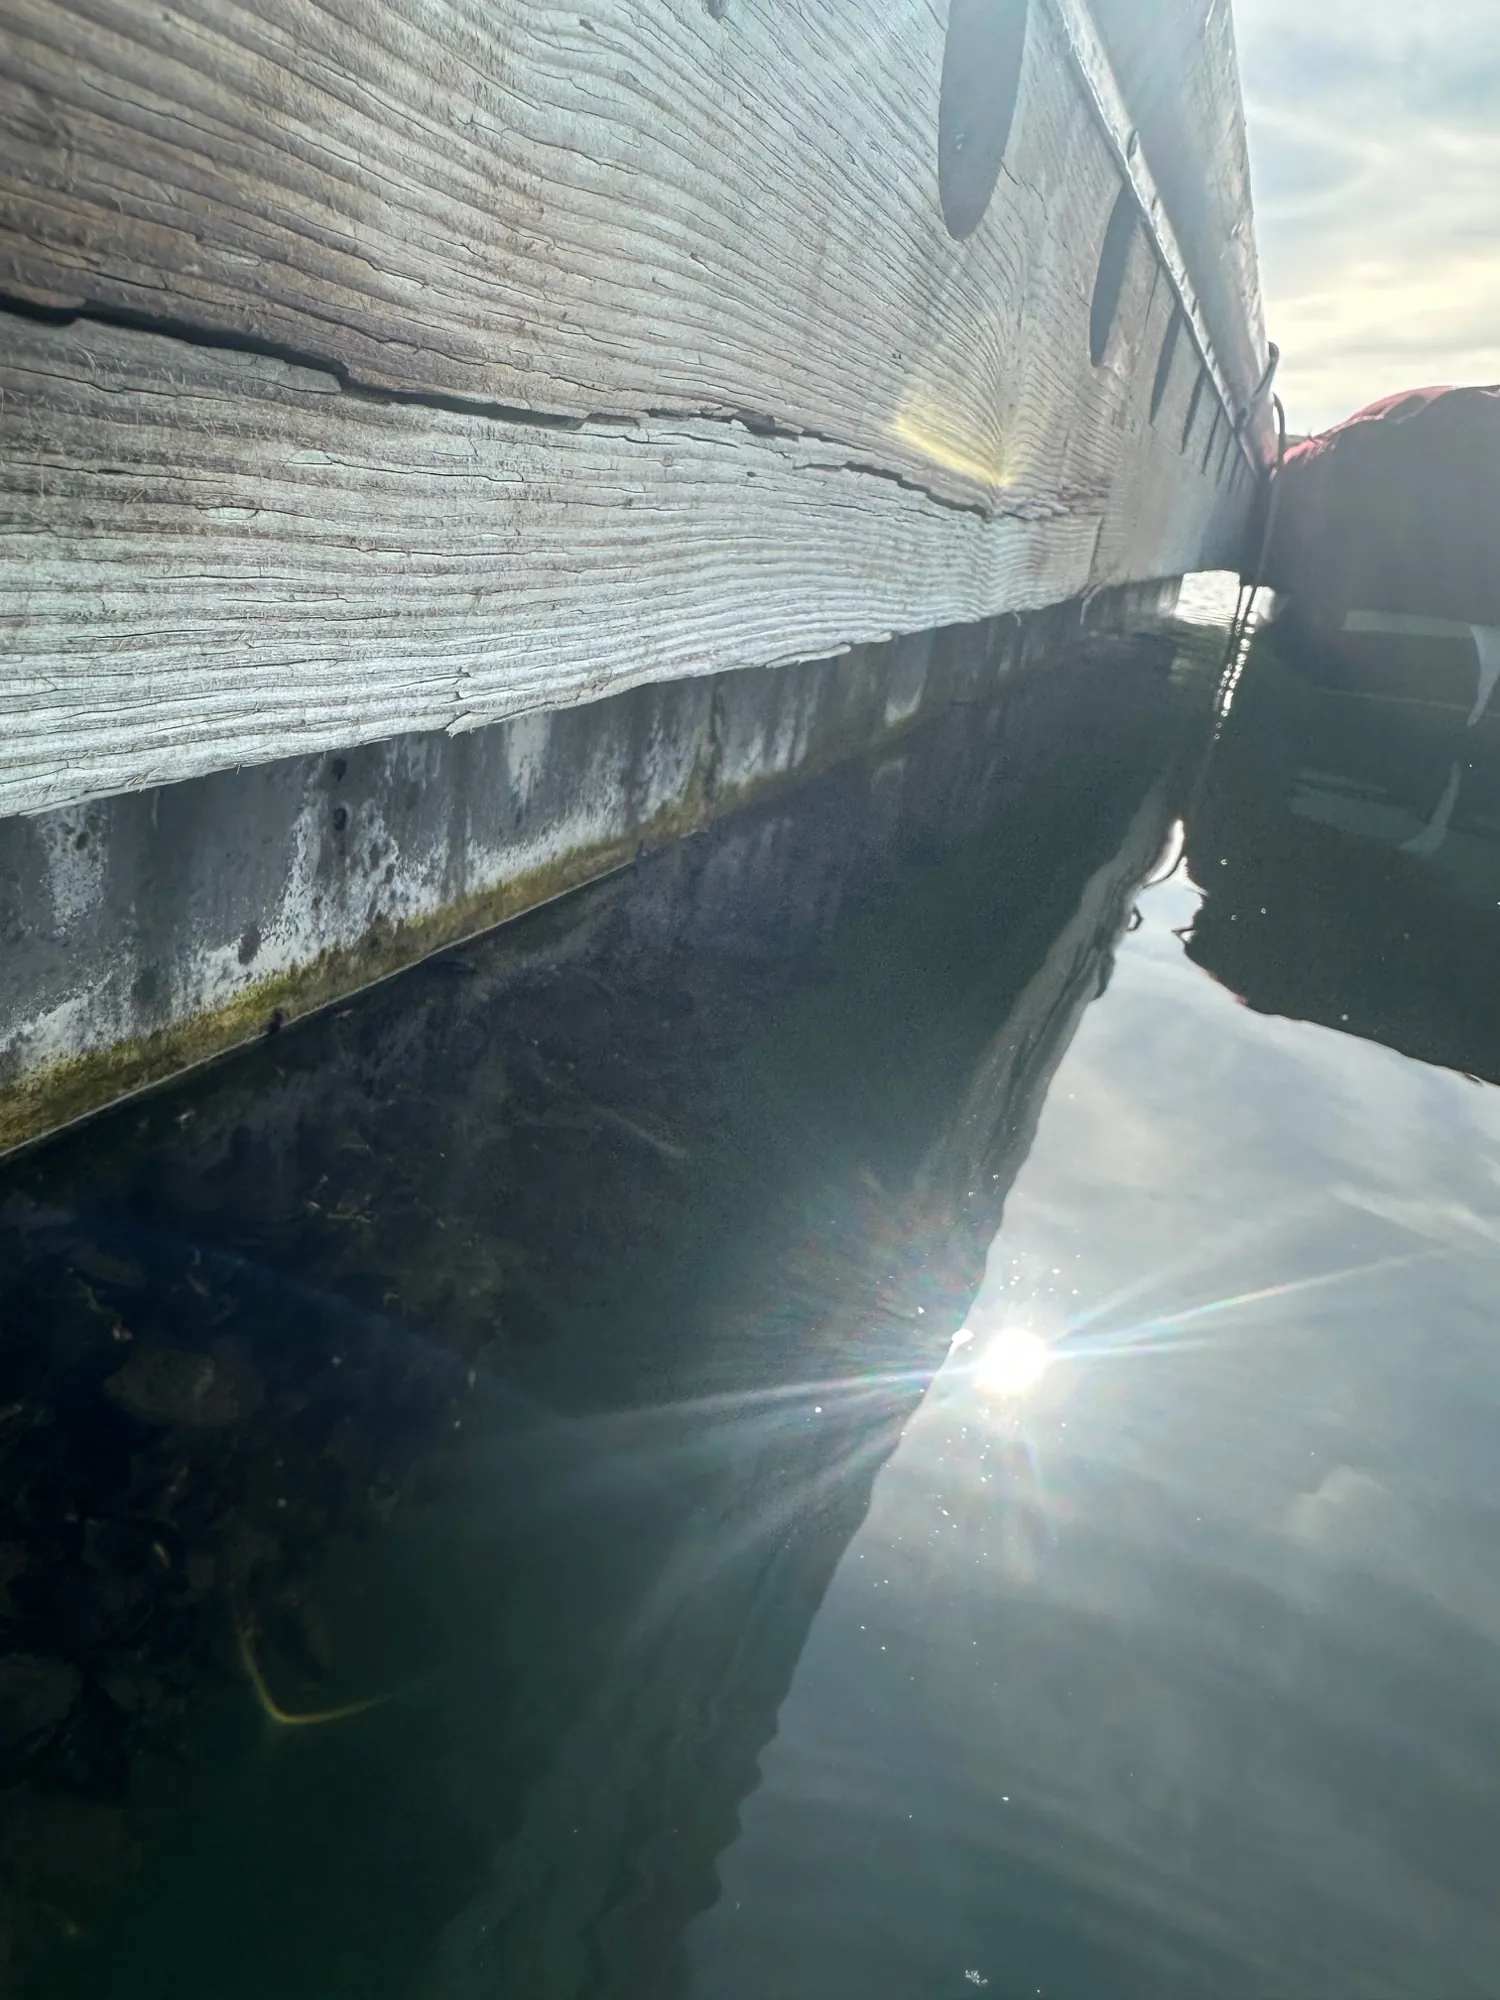
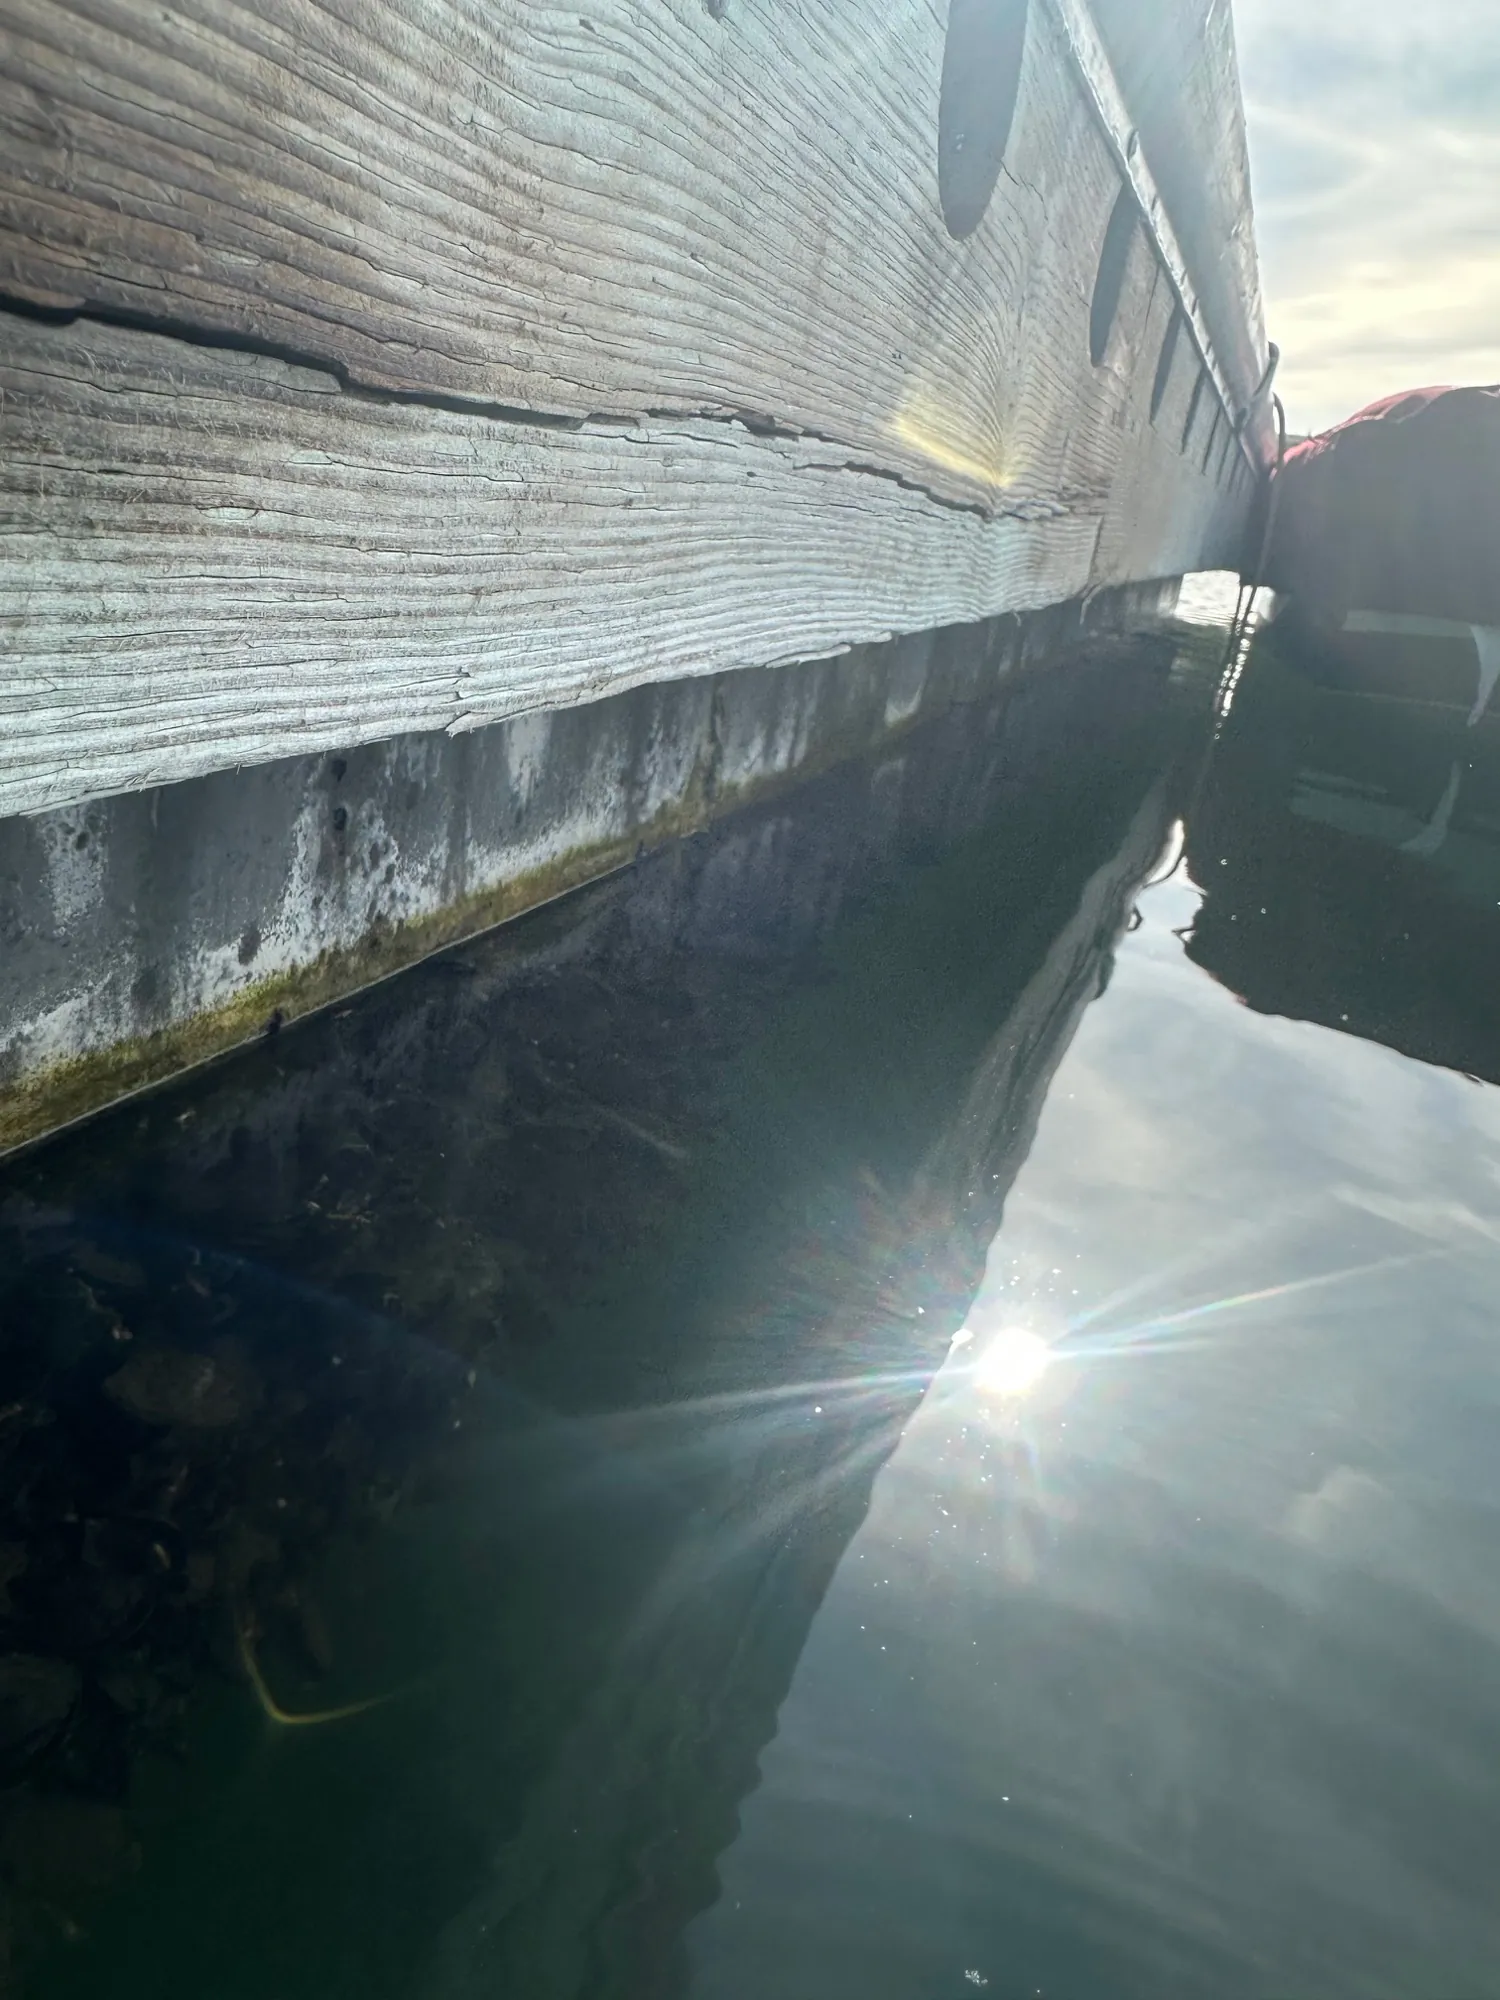
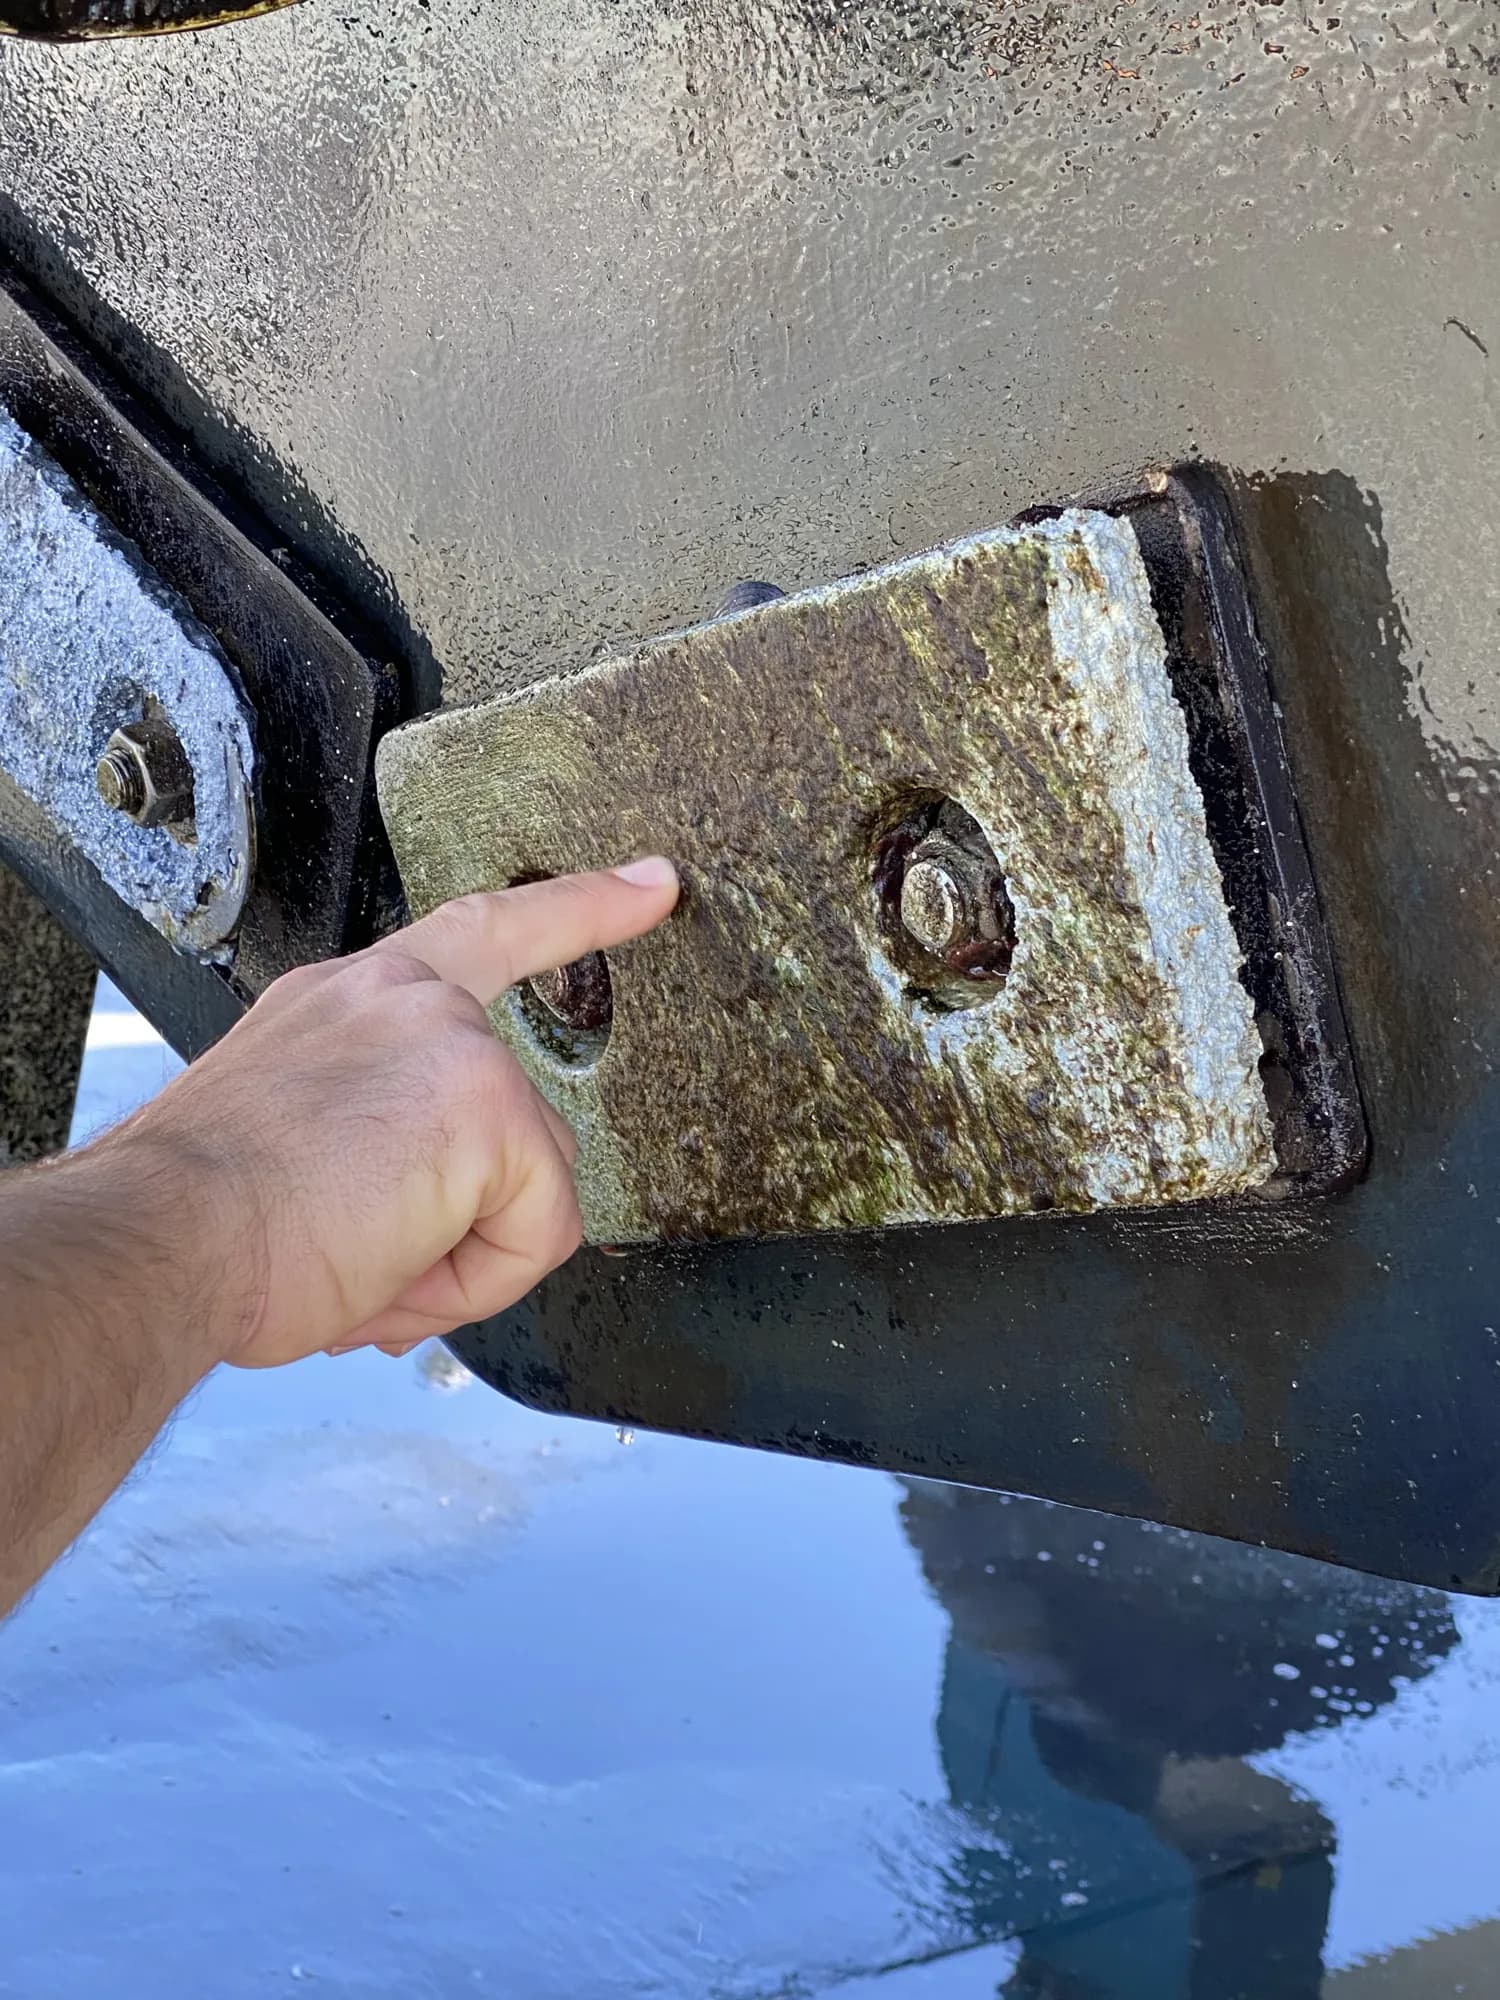
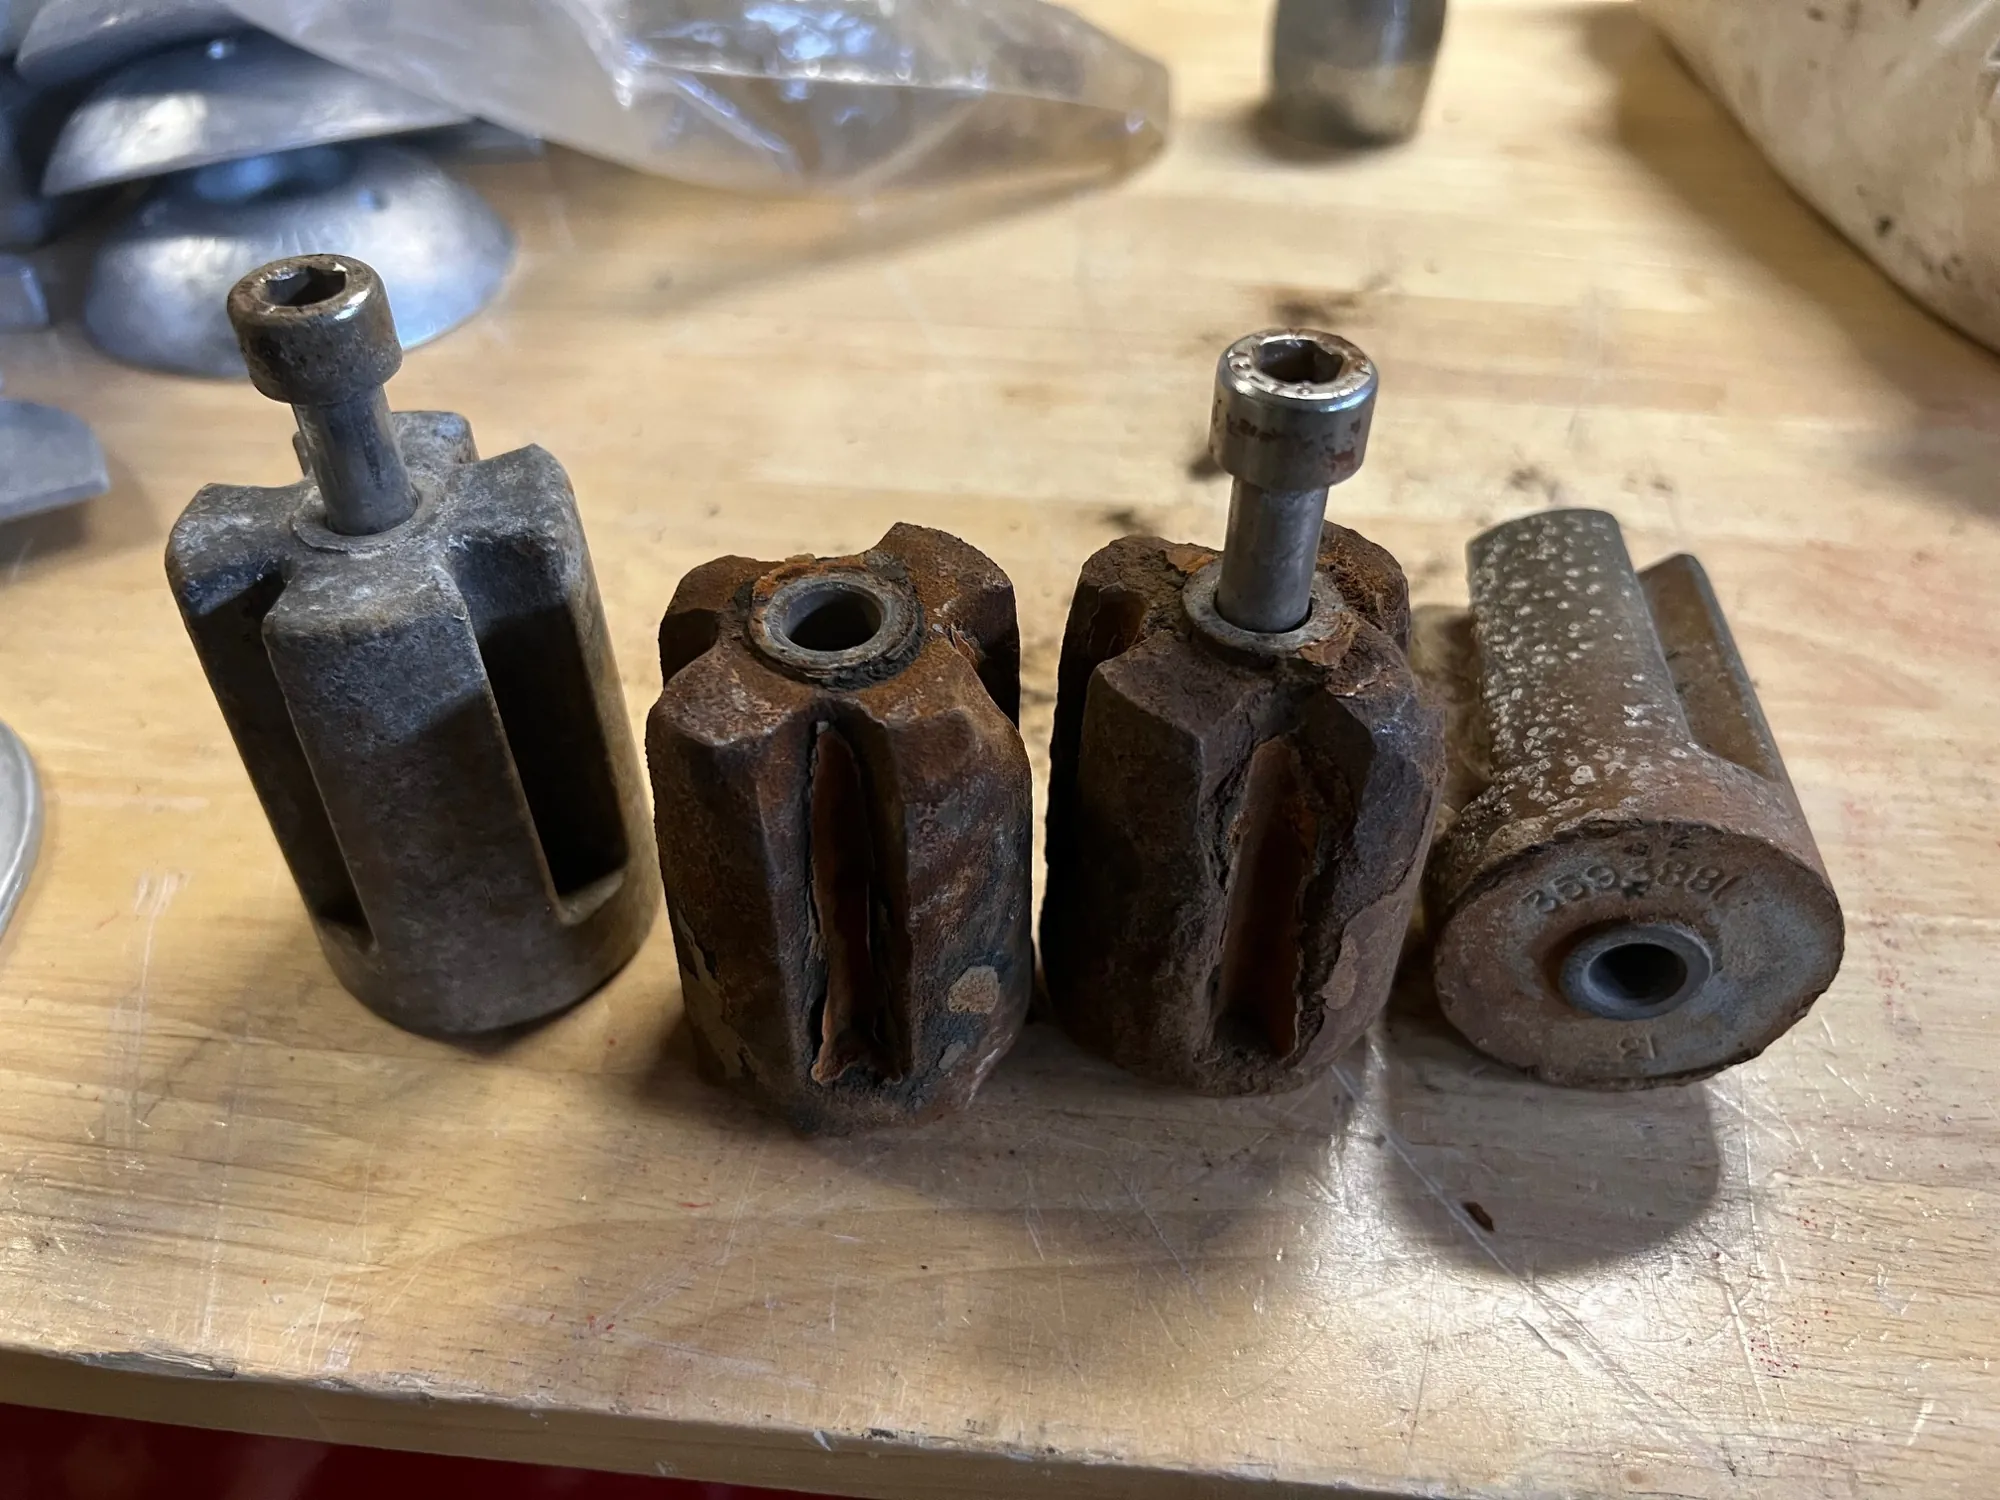
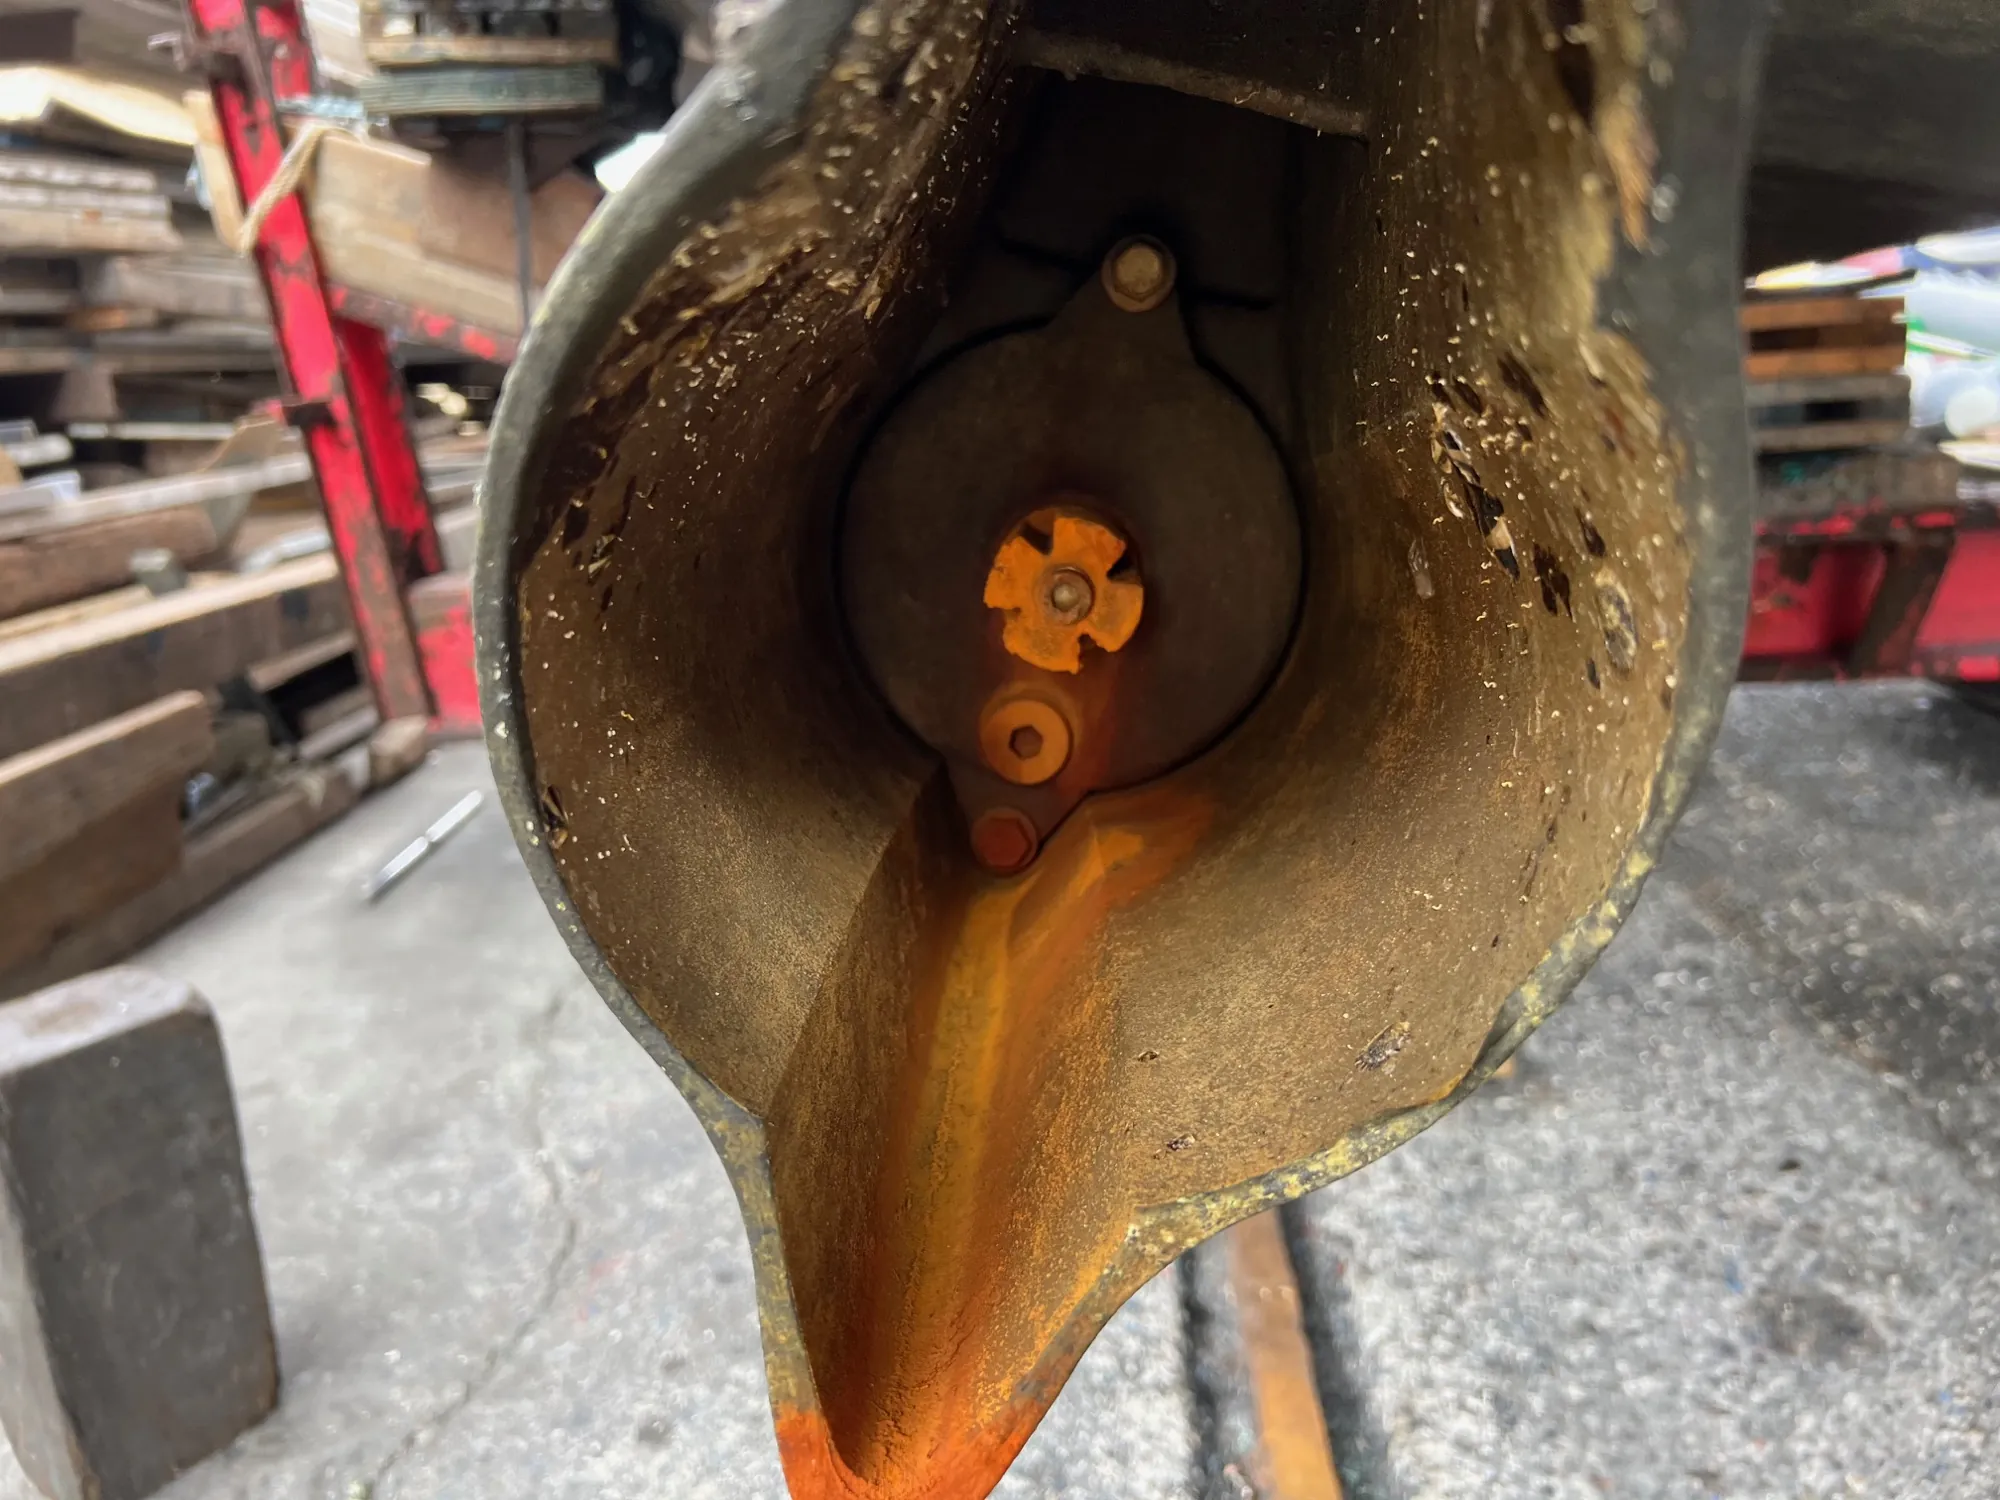
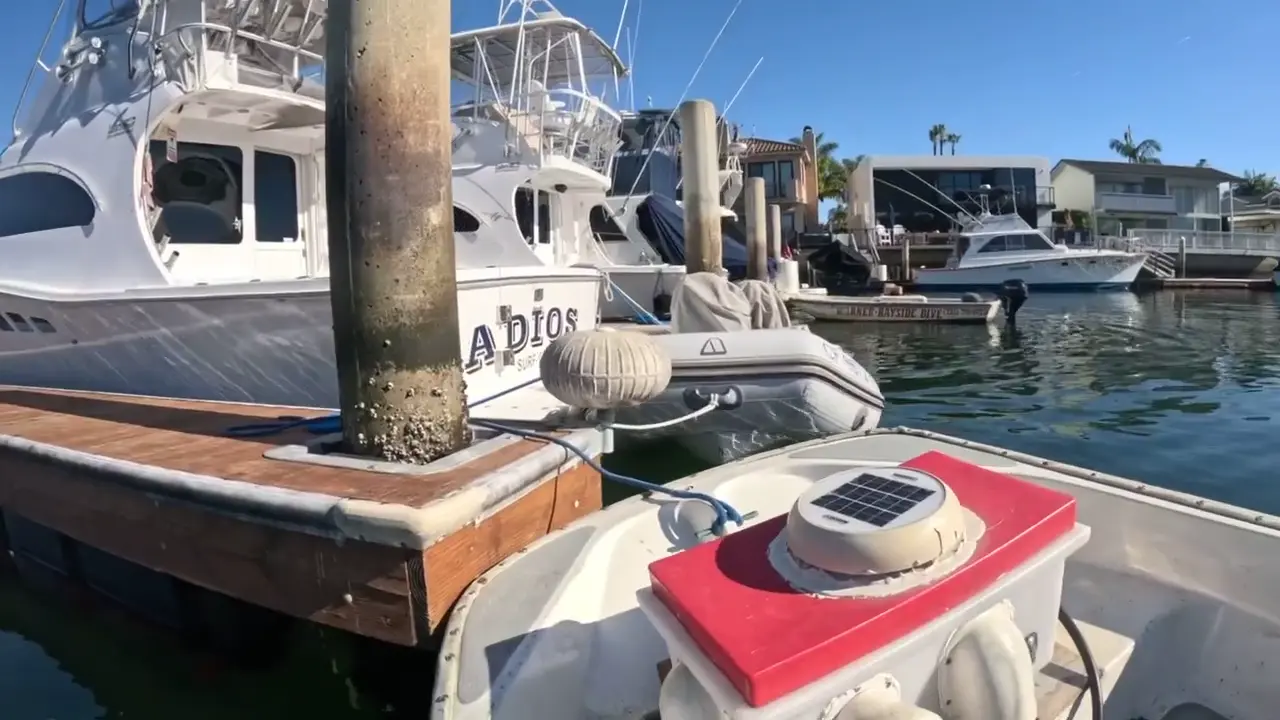
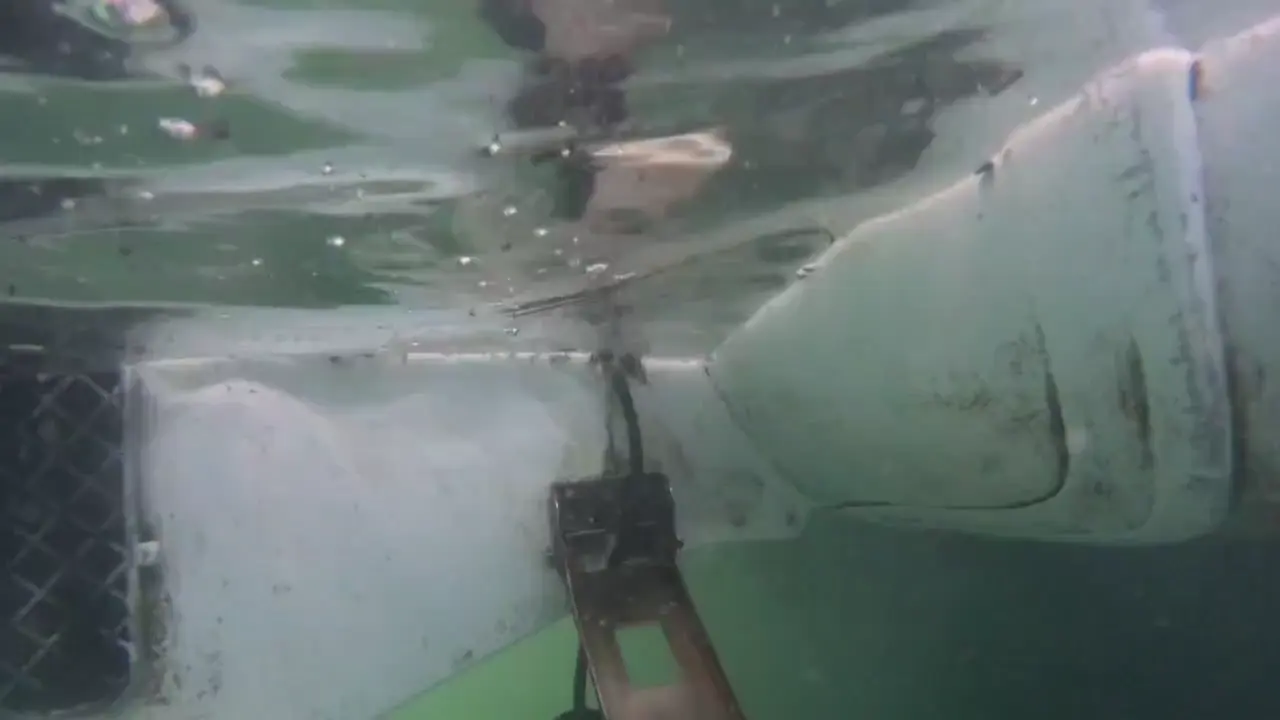
Docks, floats, pilings, and boat-lift systems carry the same marine growth as your hull. We inspect and clean them on the same visit.
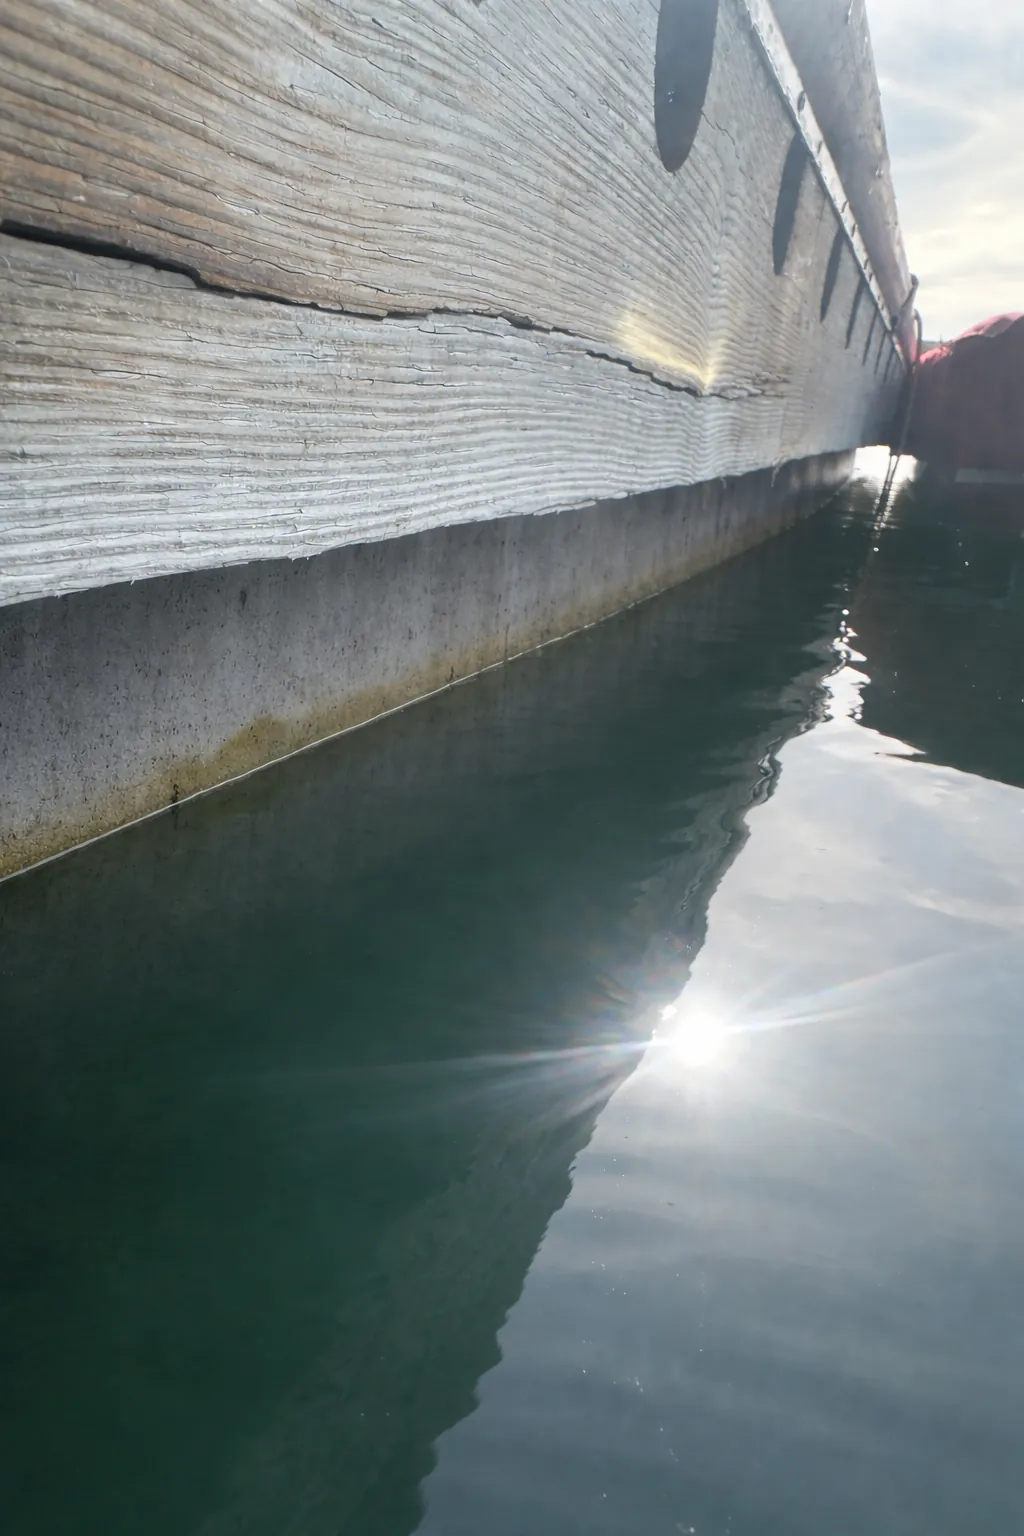
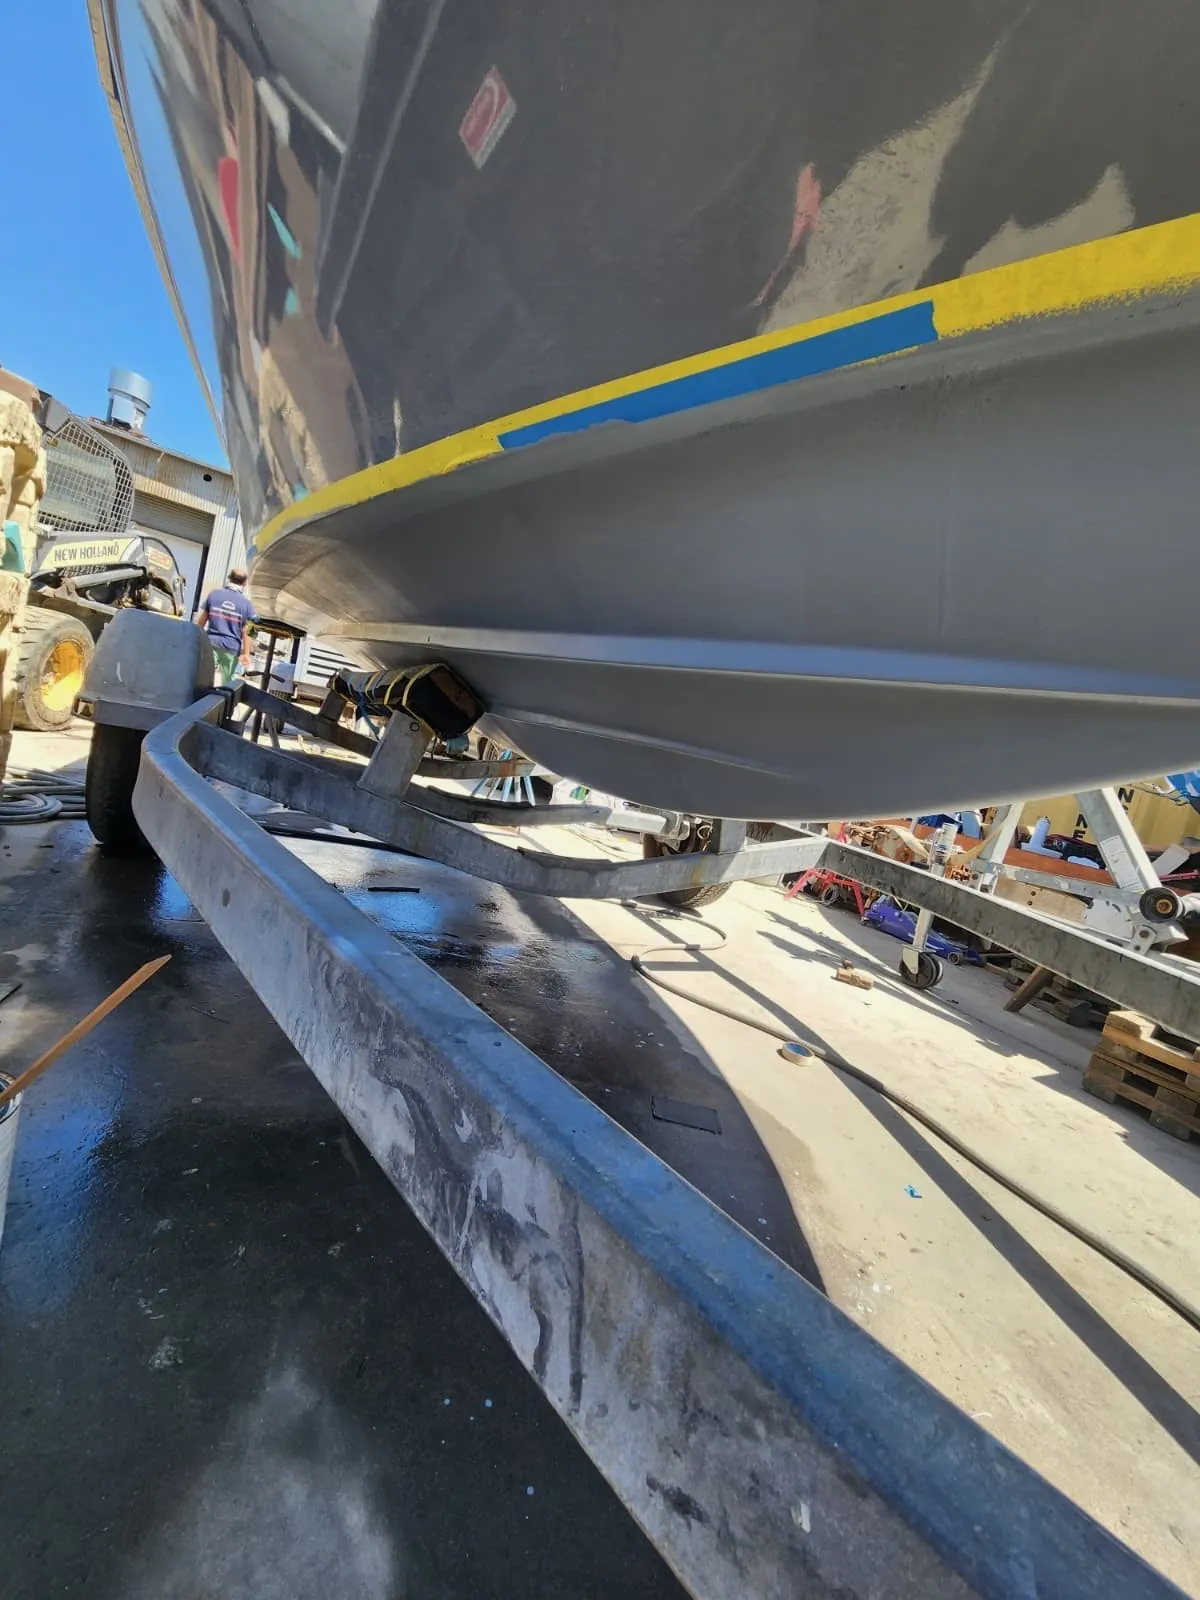
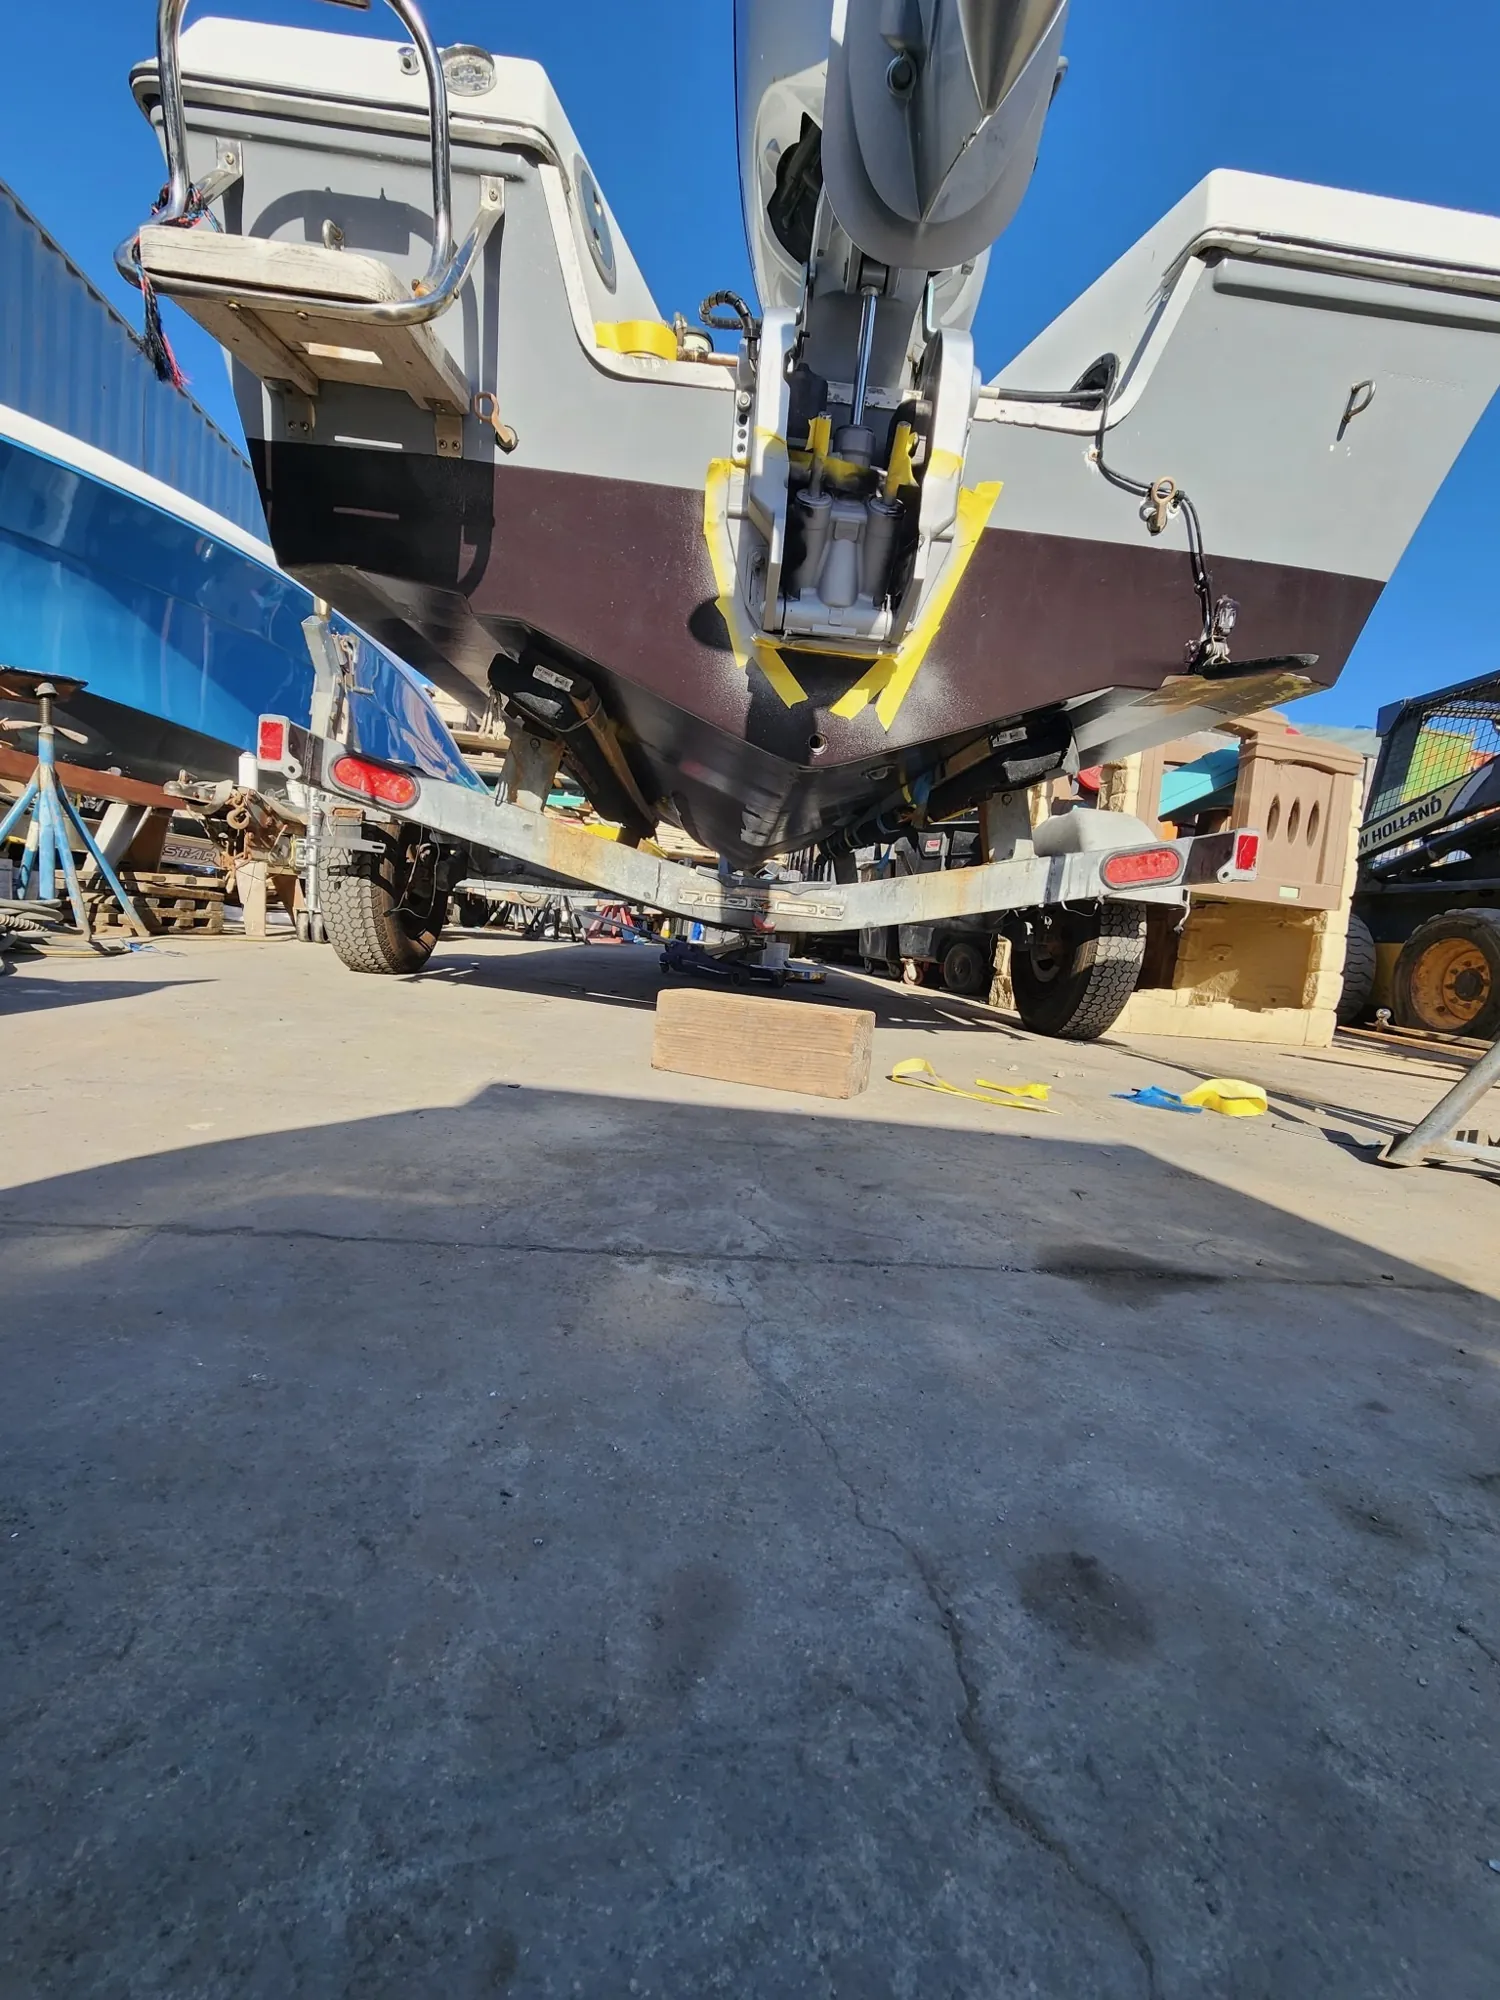
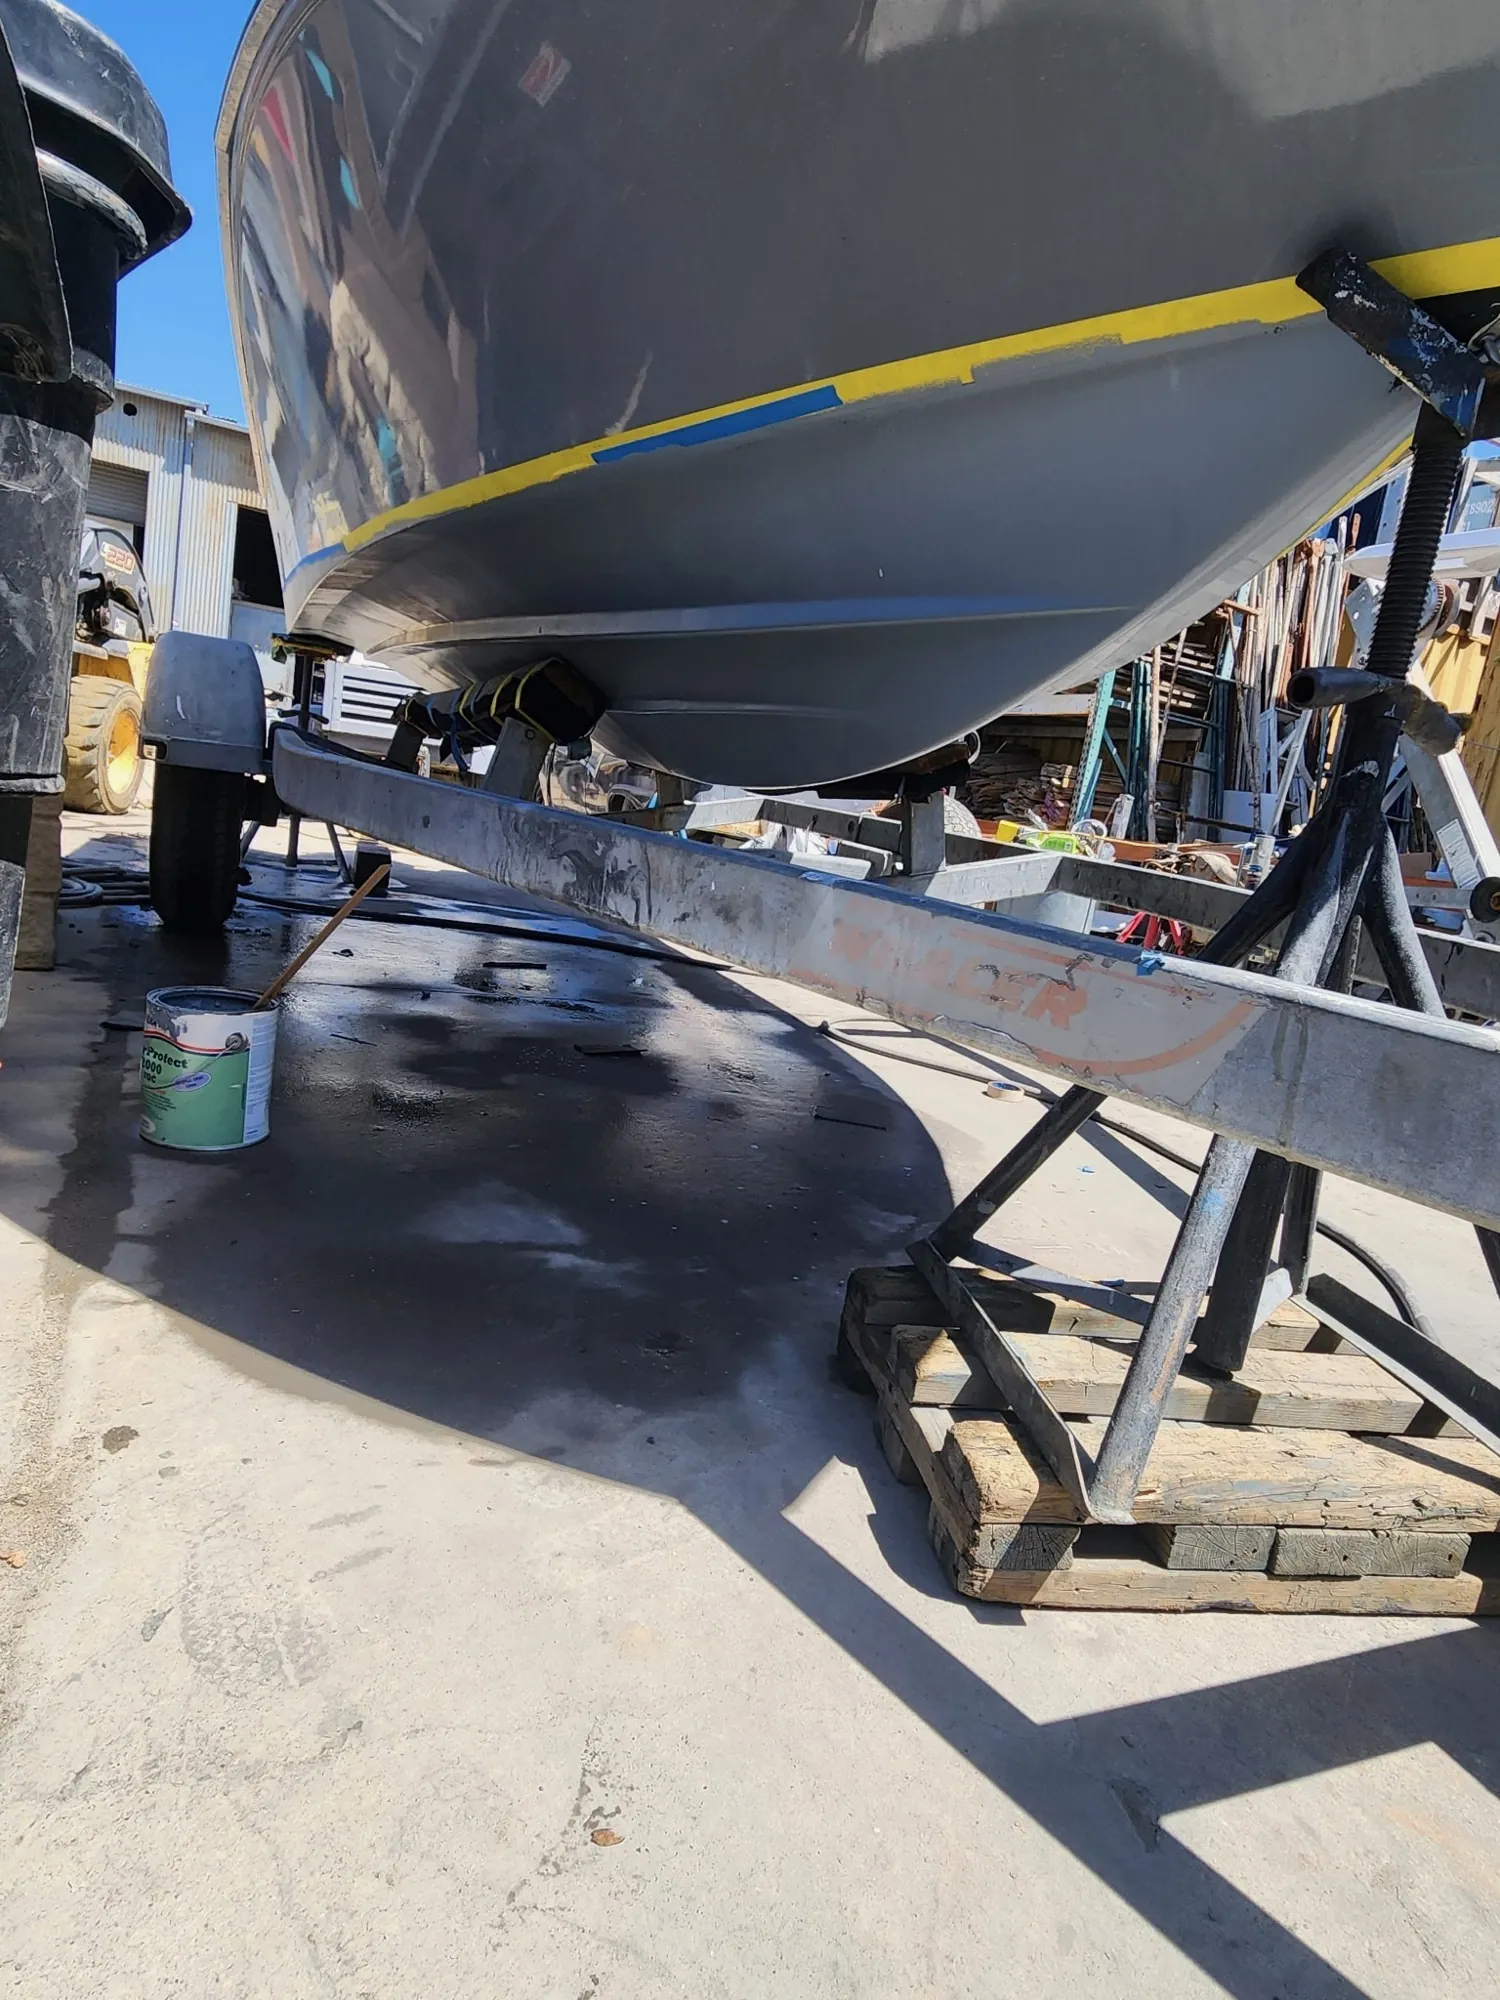
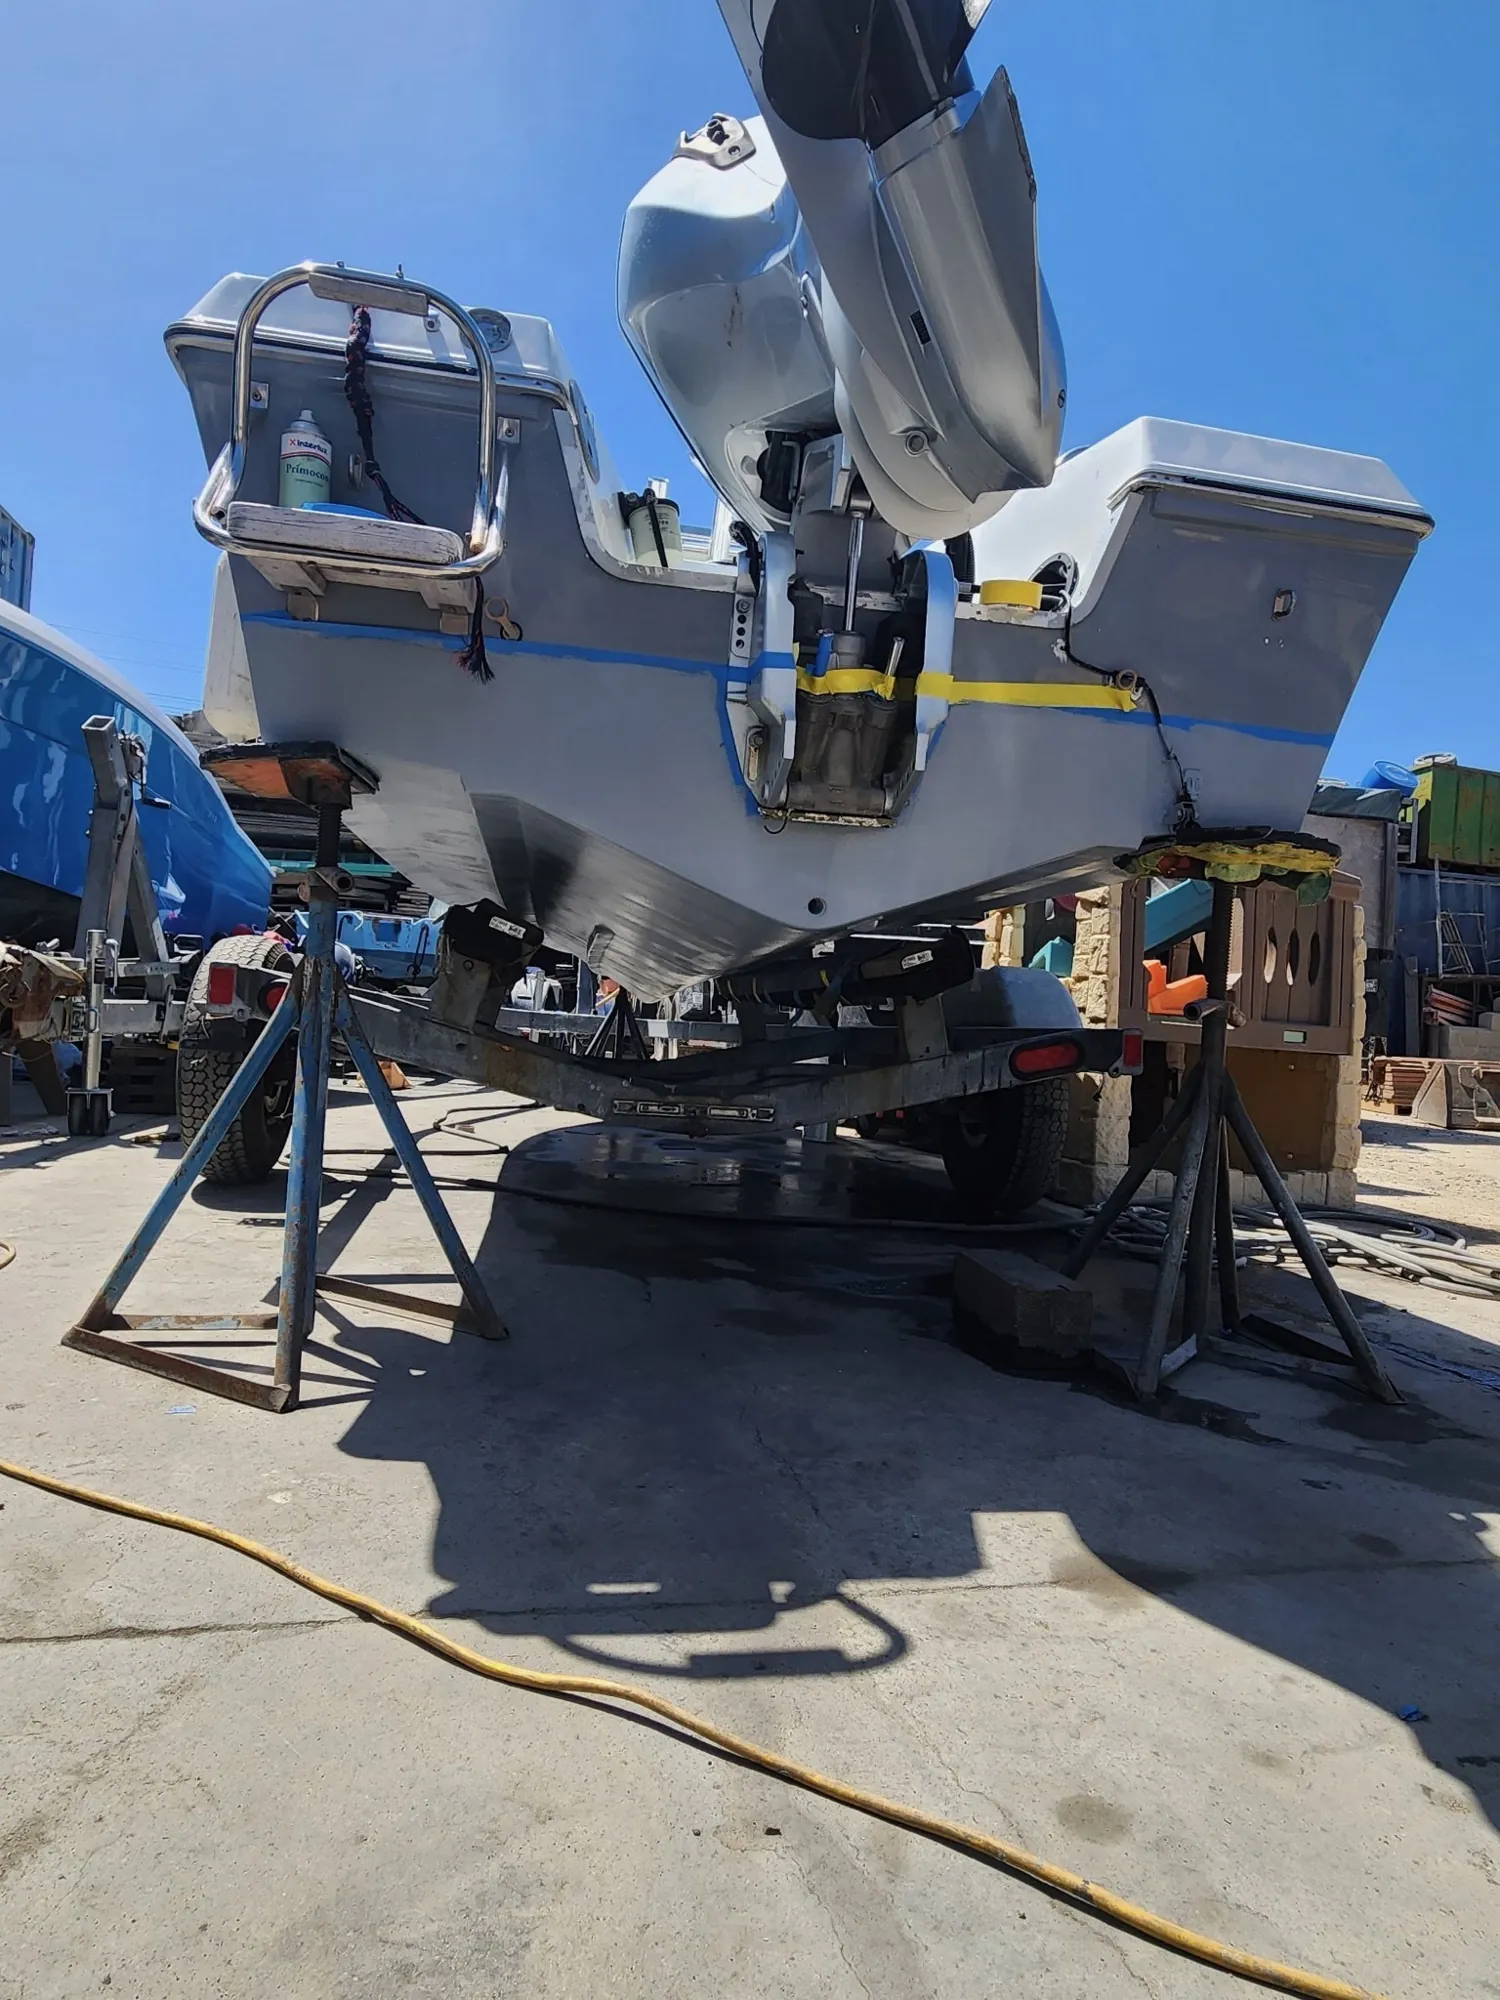
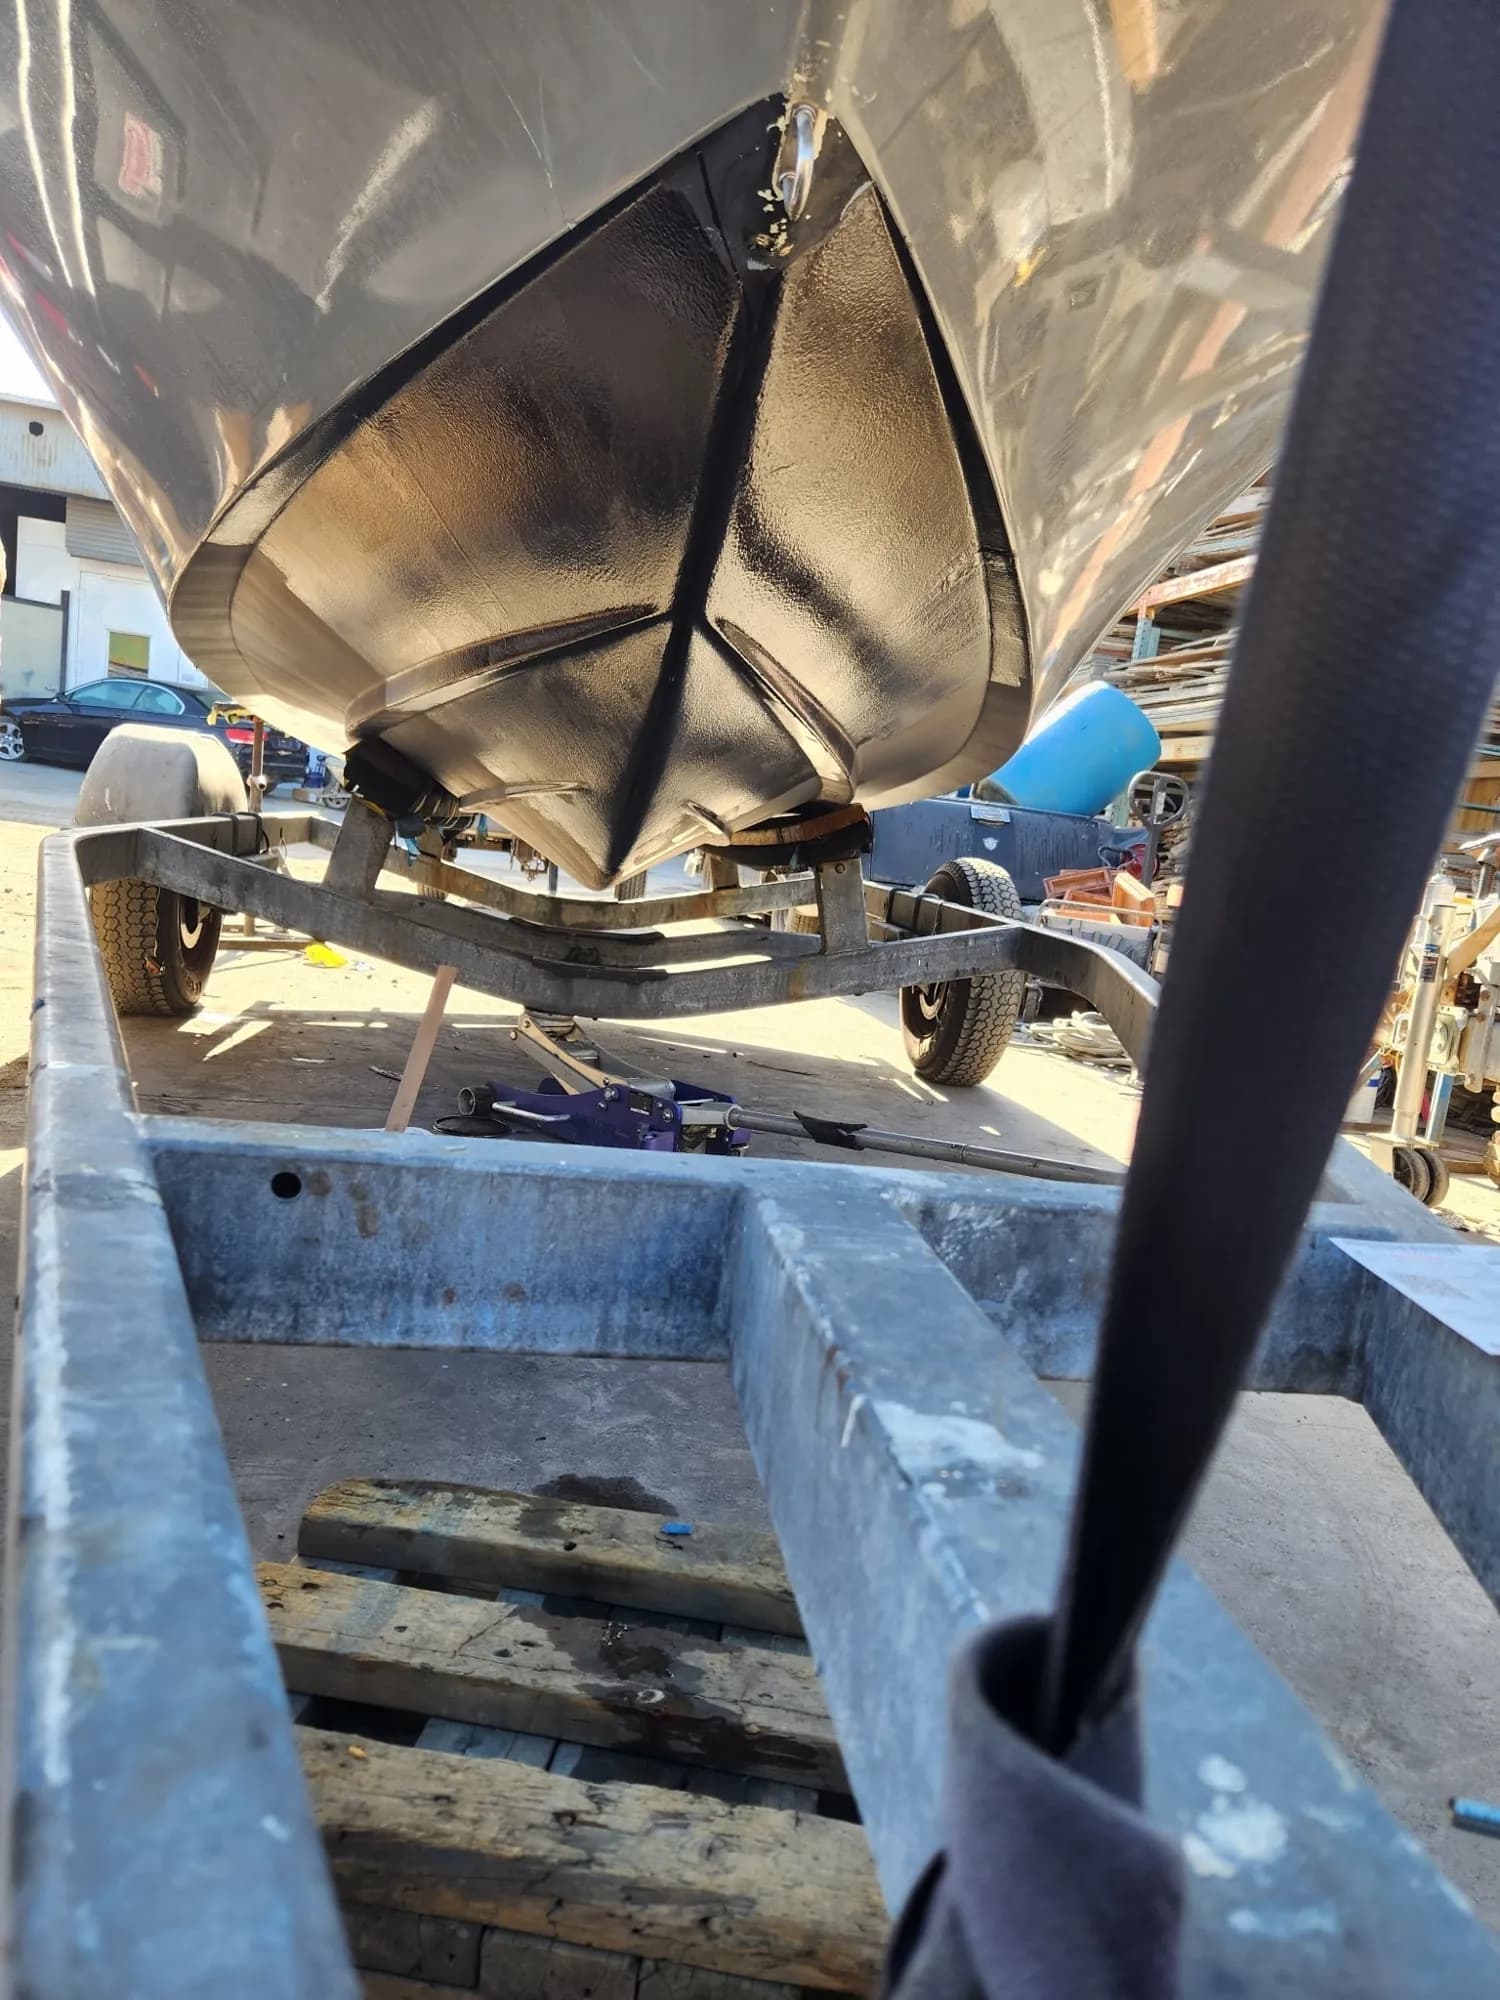
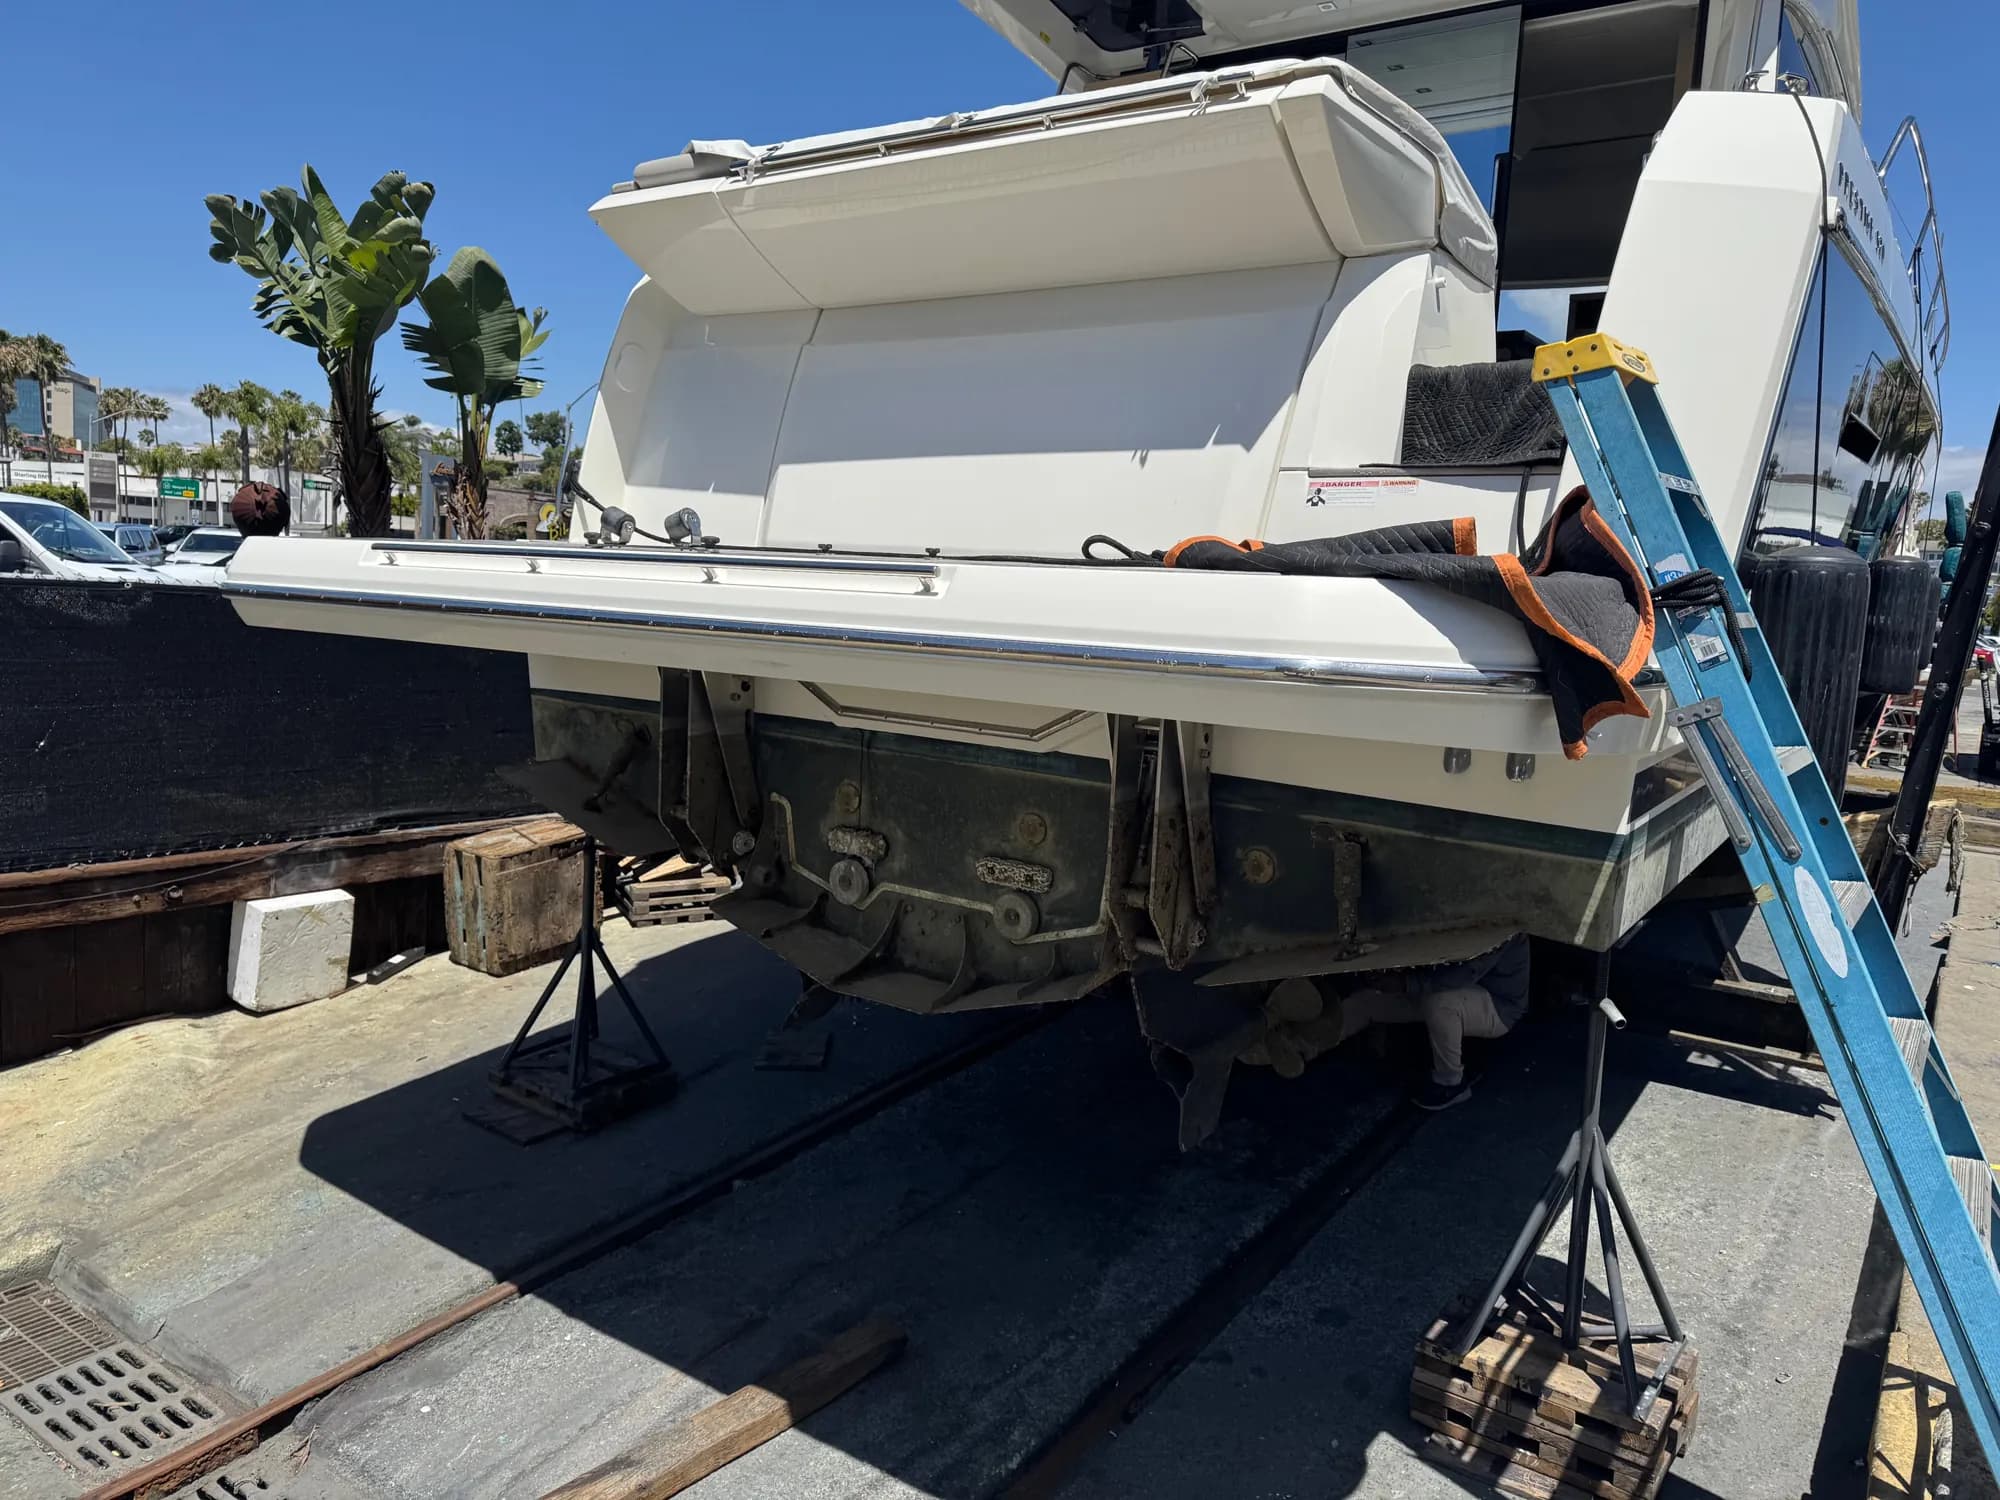
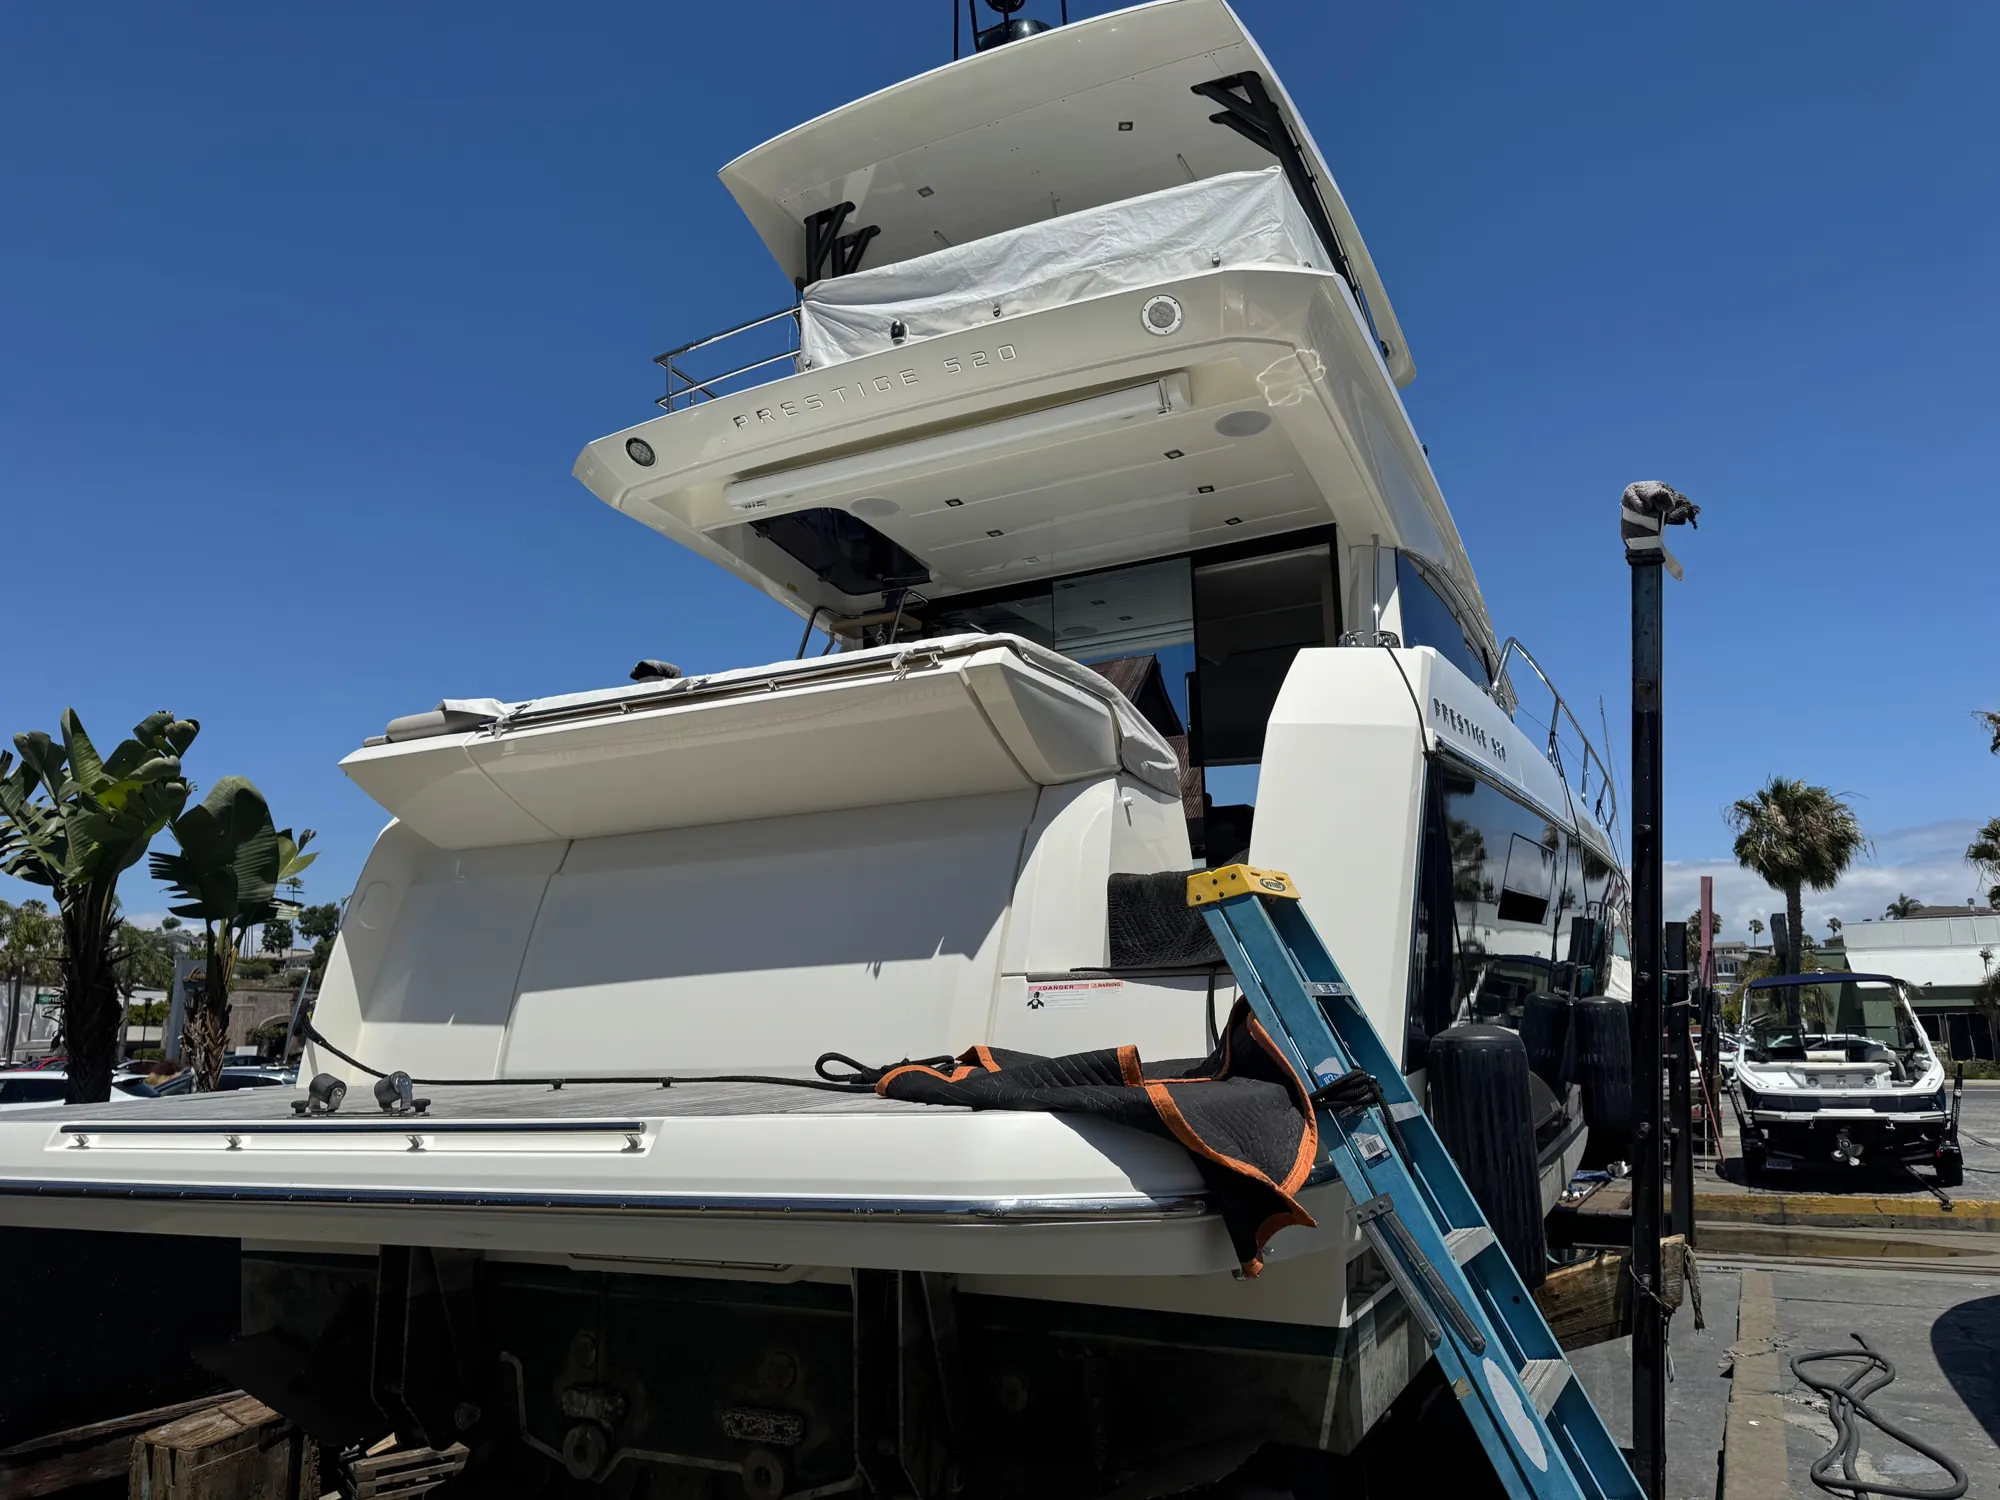
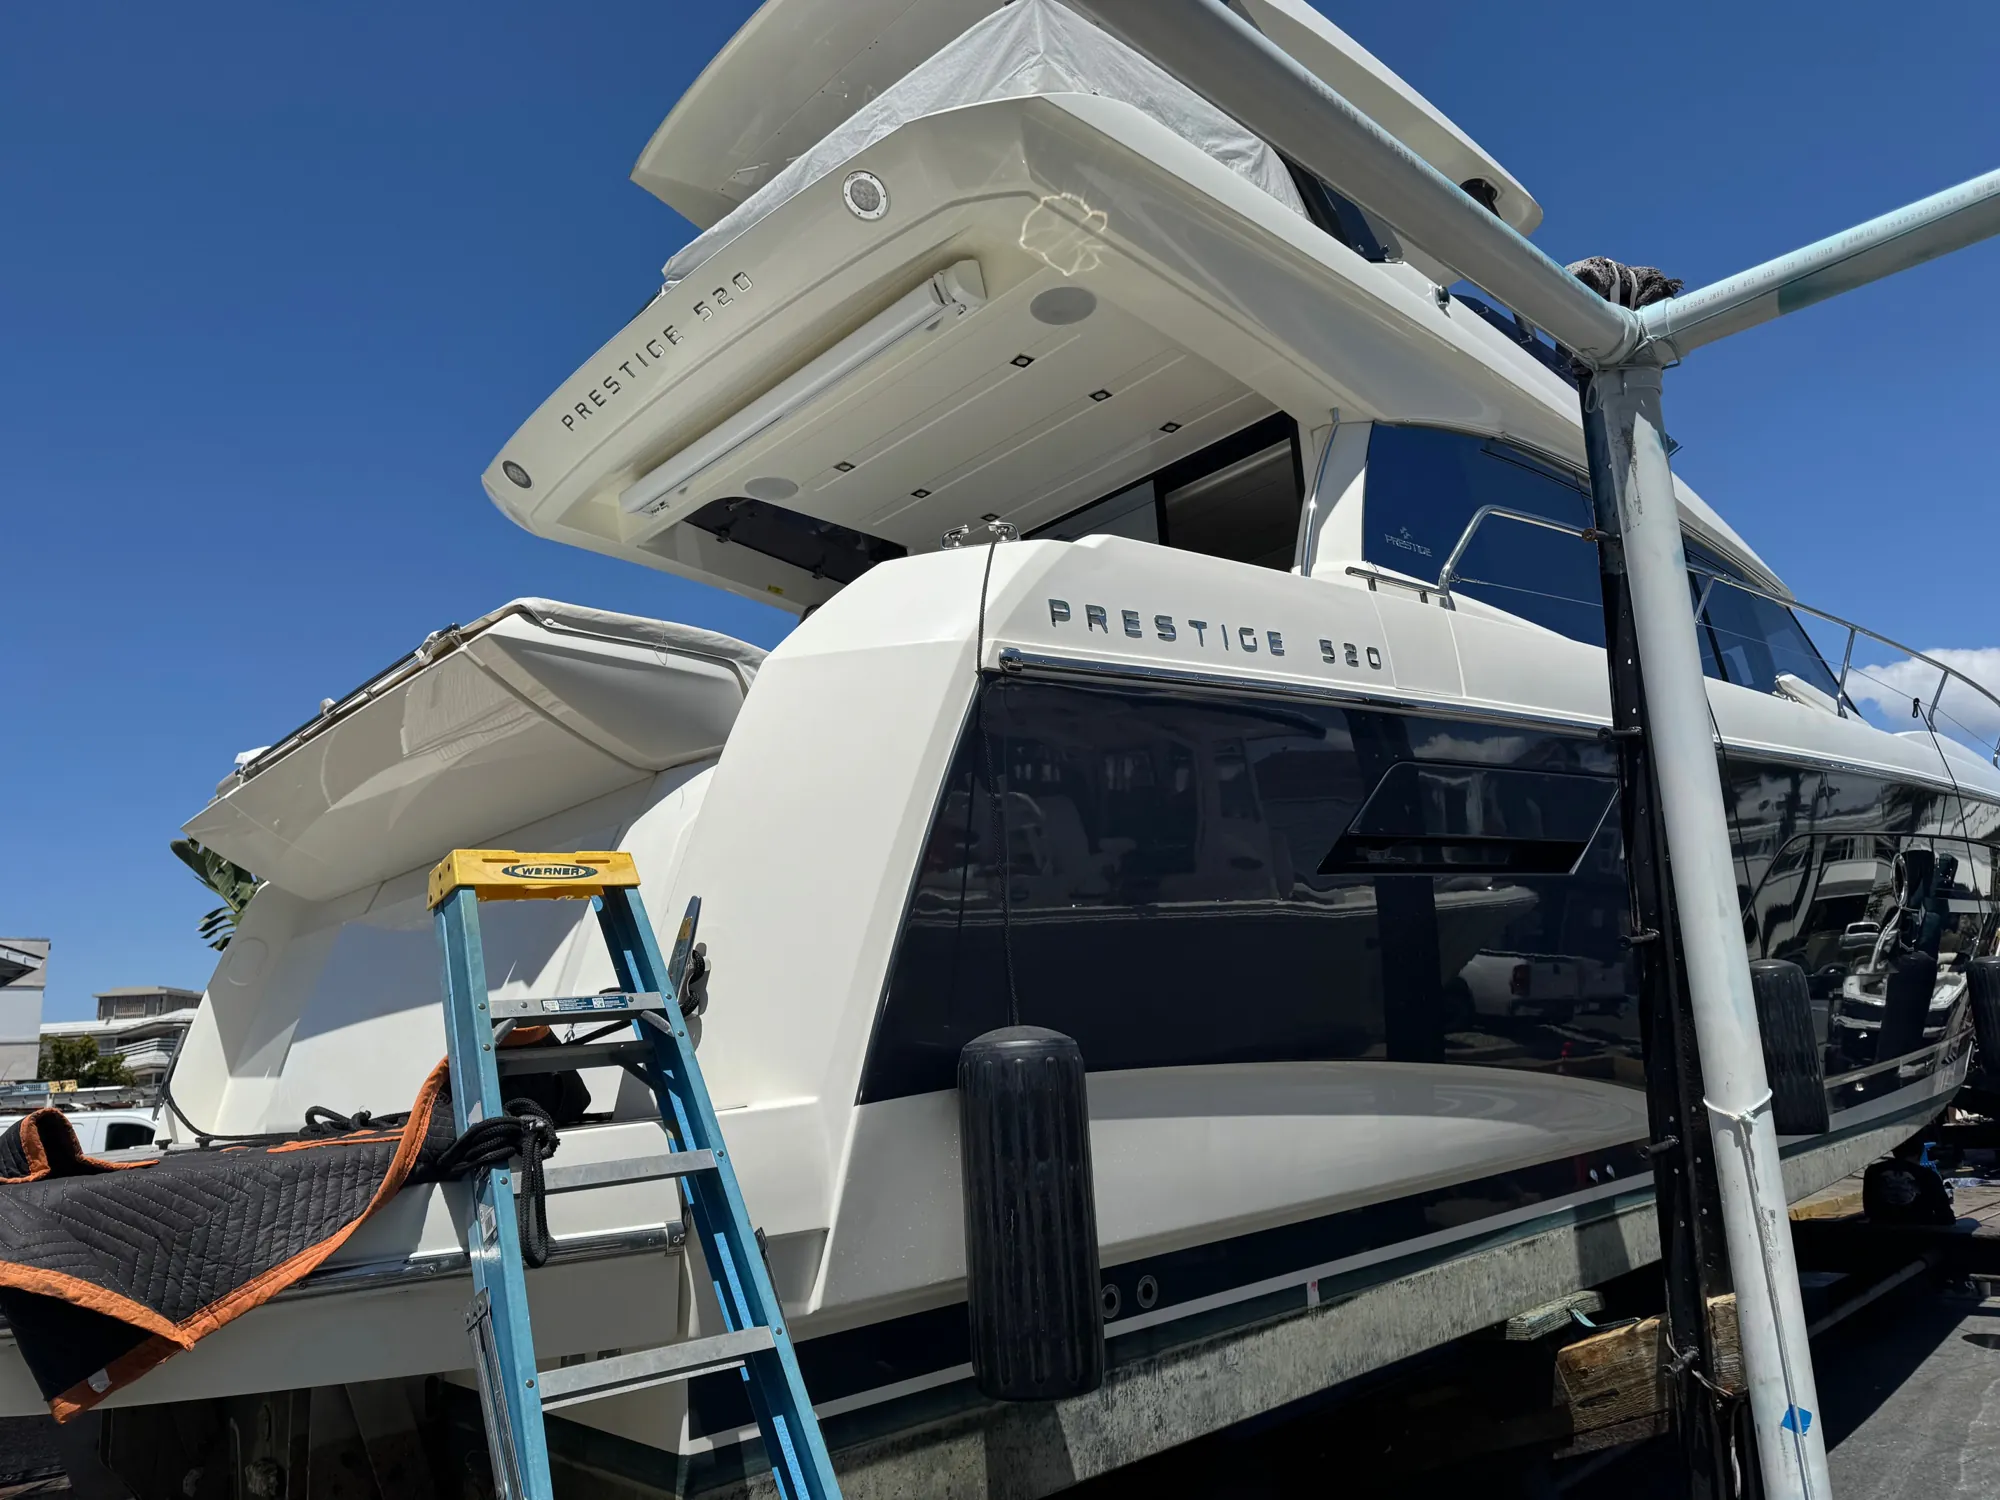
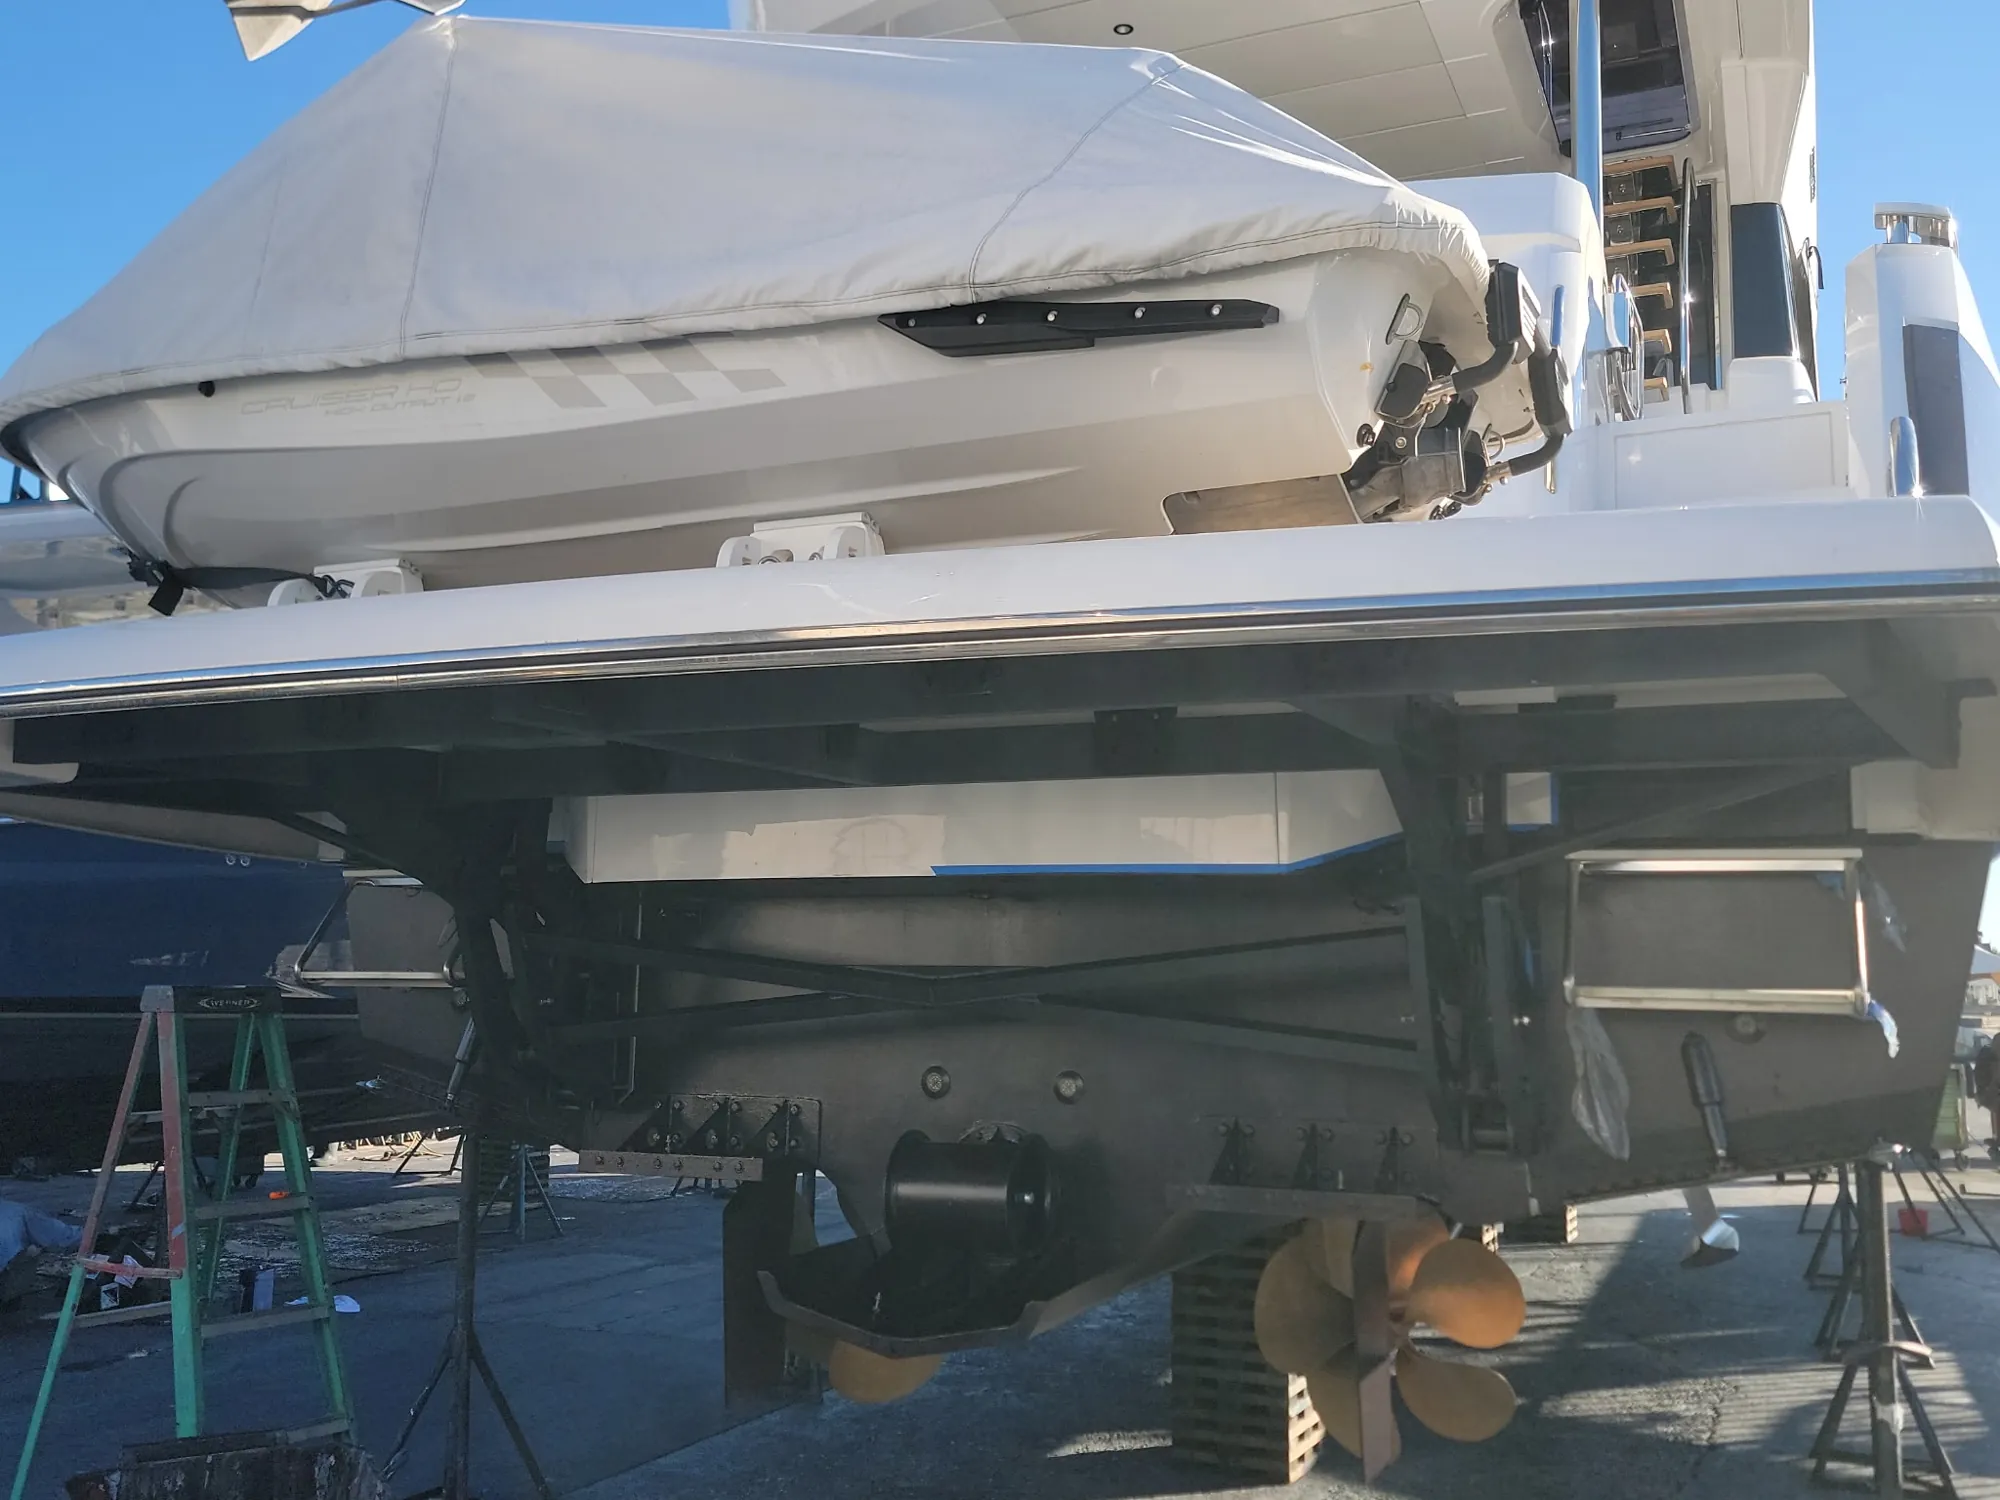
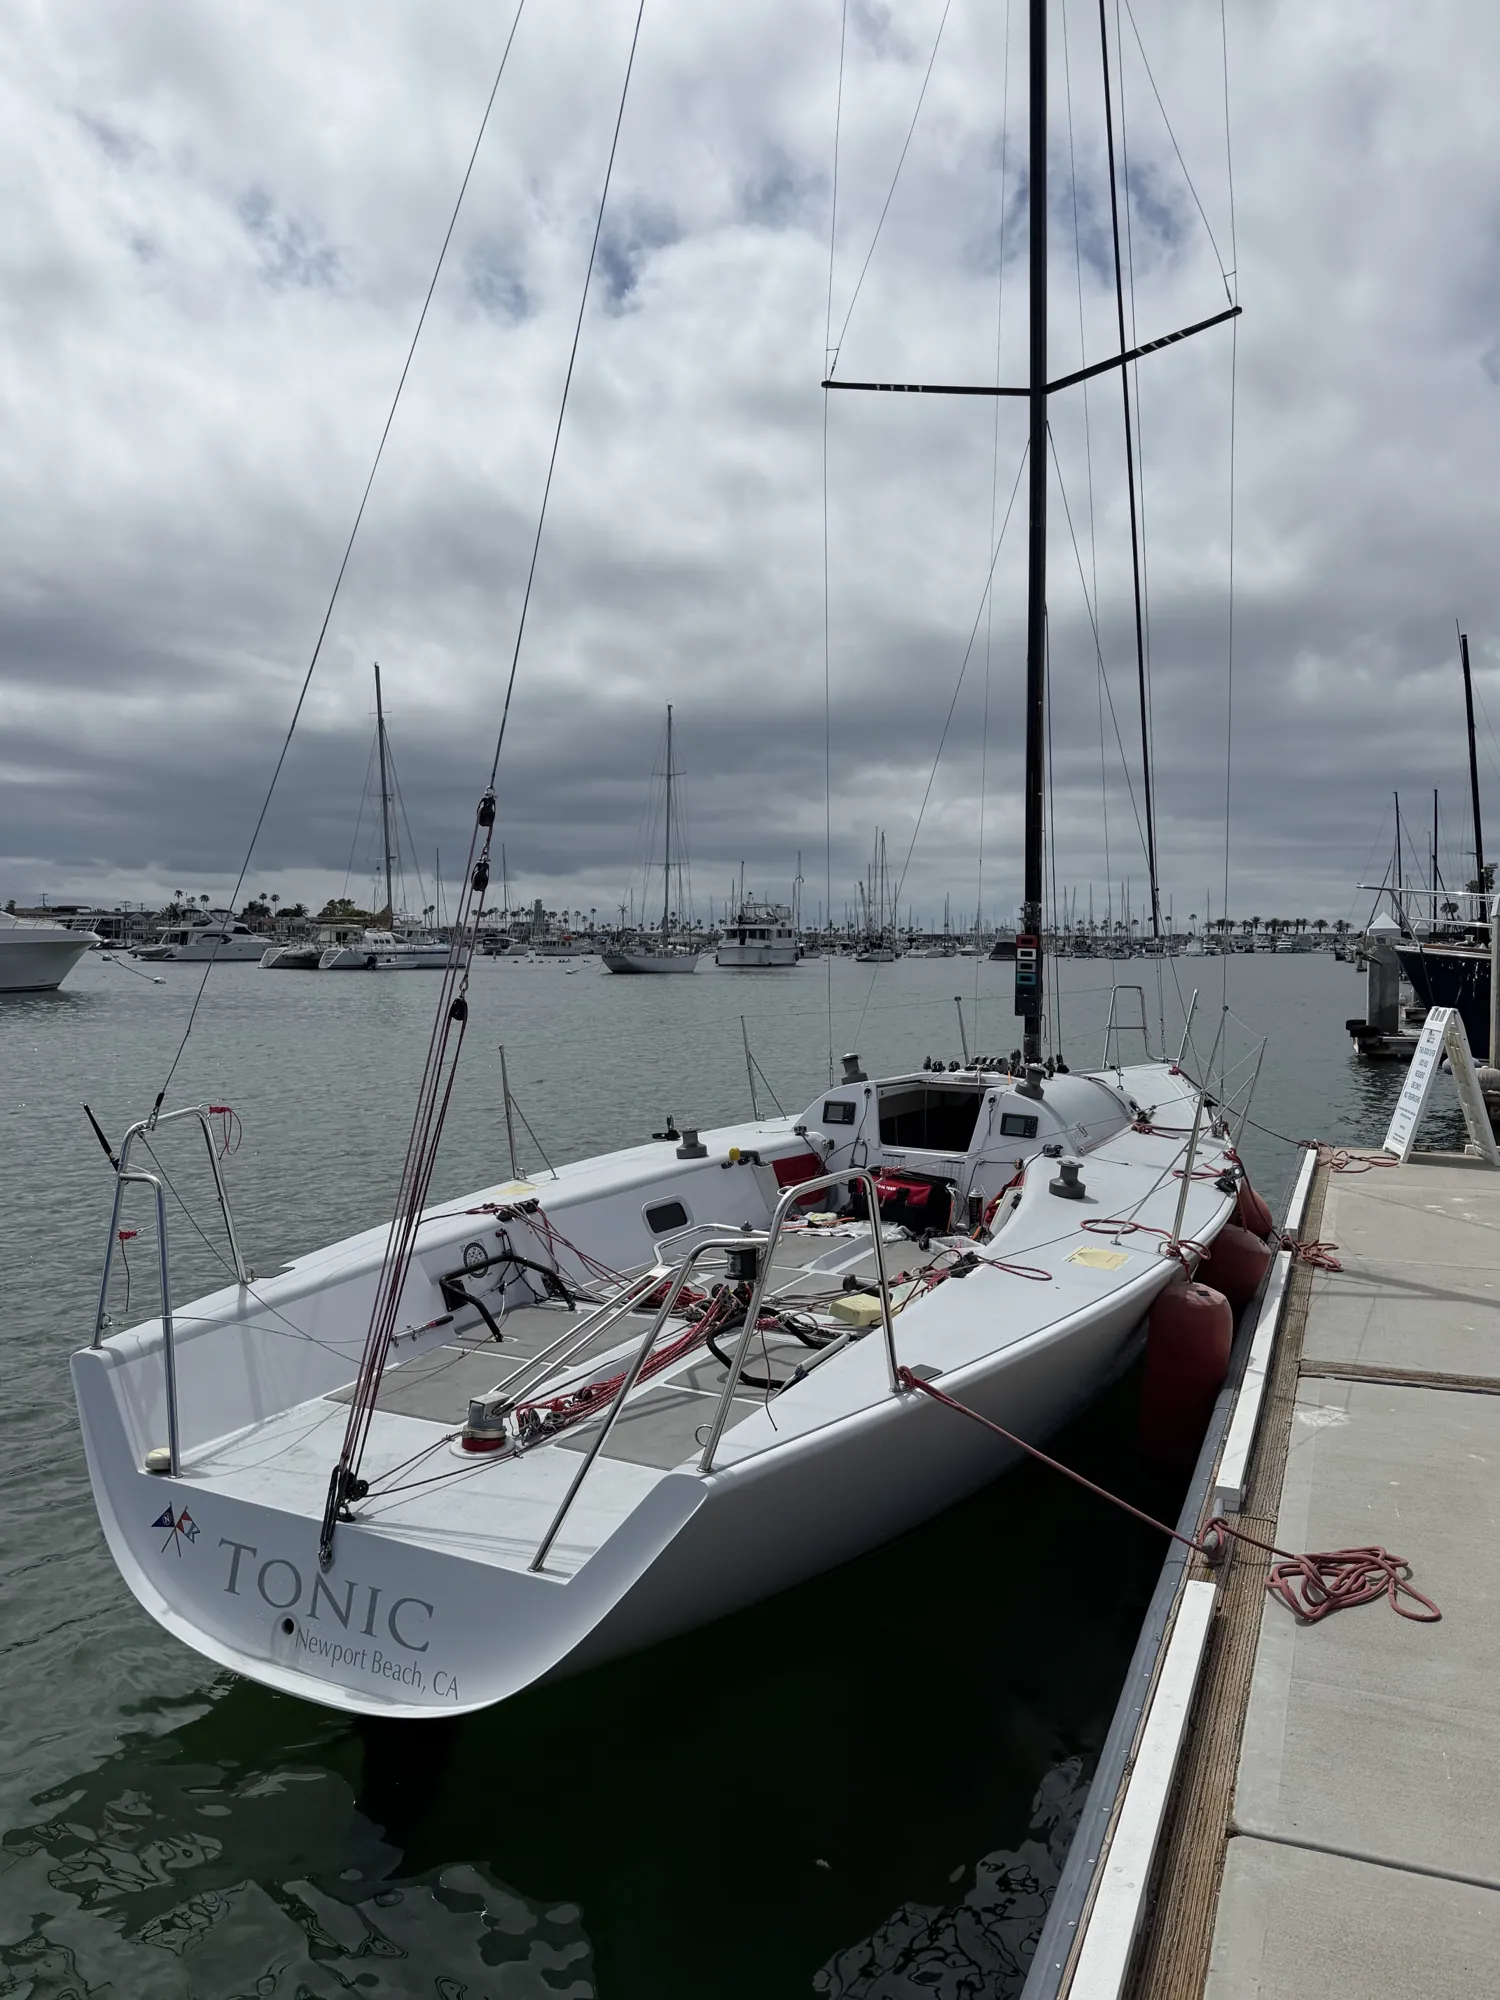
Haul-out and shipyard work — the once-a-year view that reveals what is really happening below the waterline.
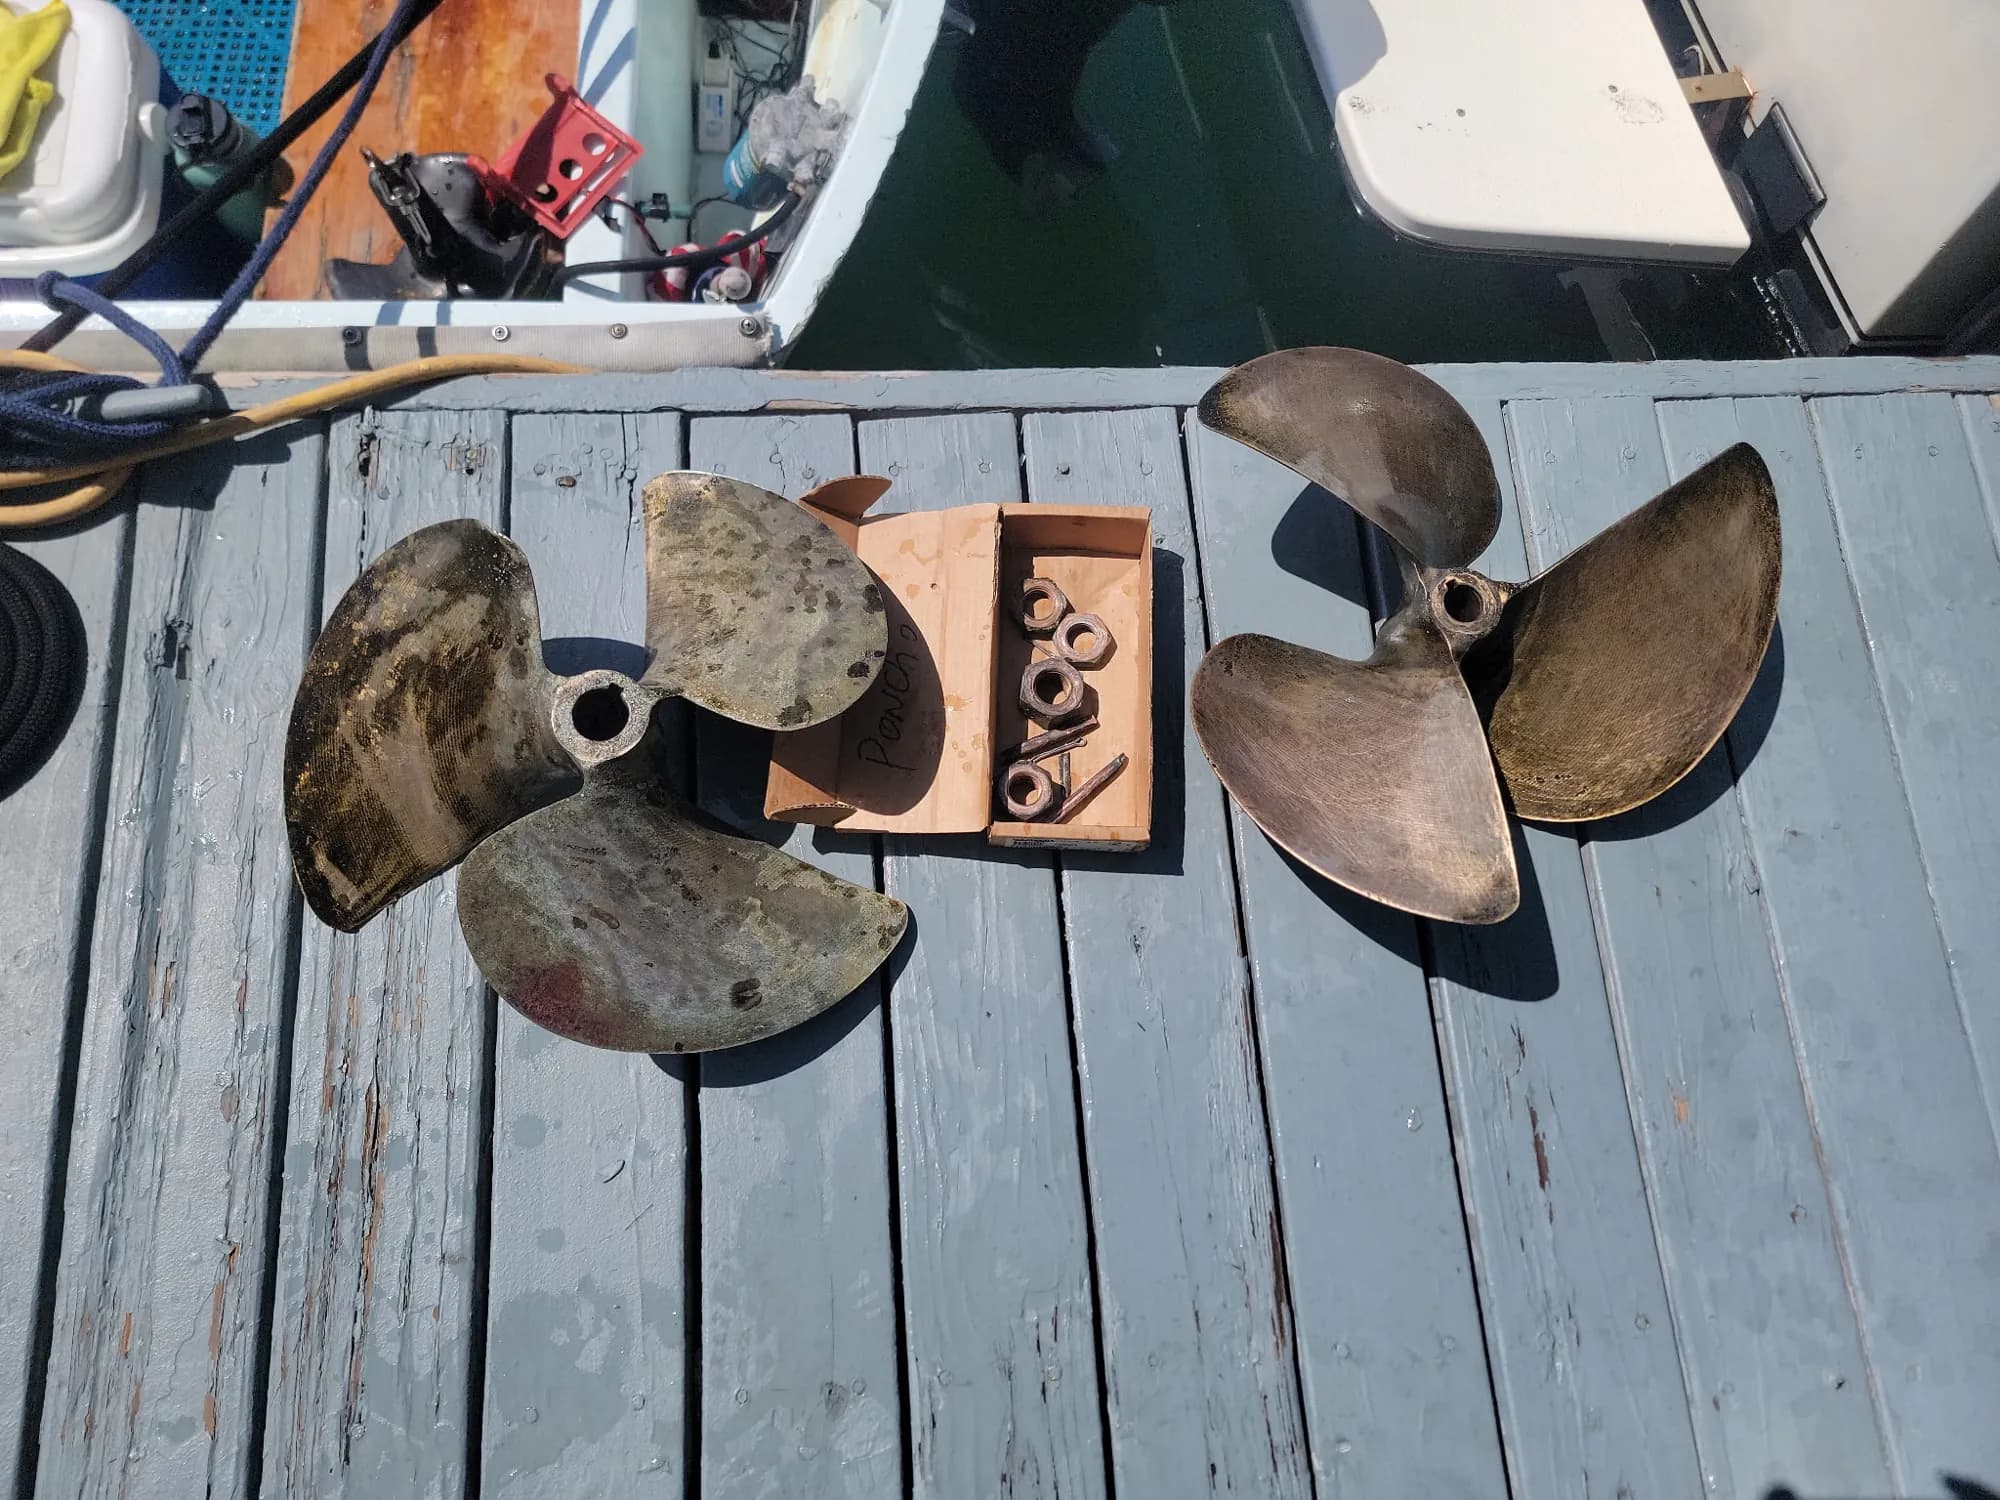
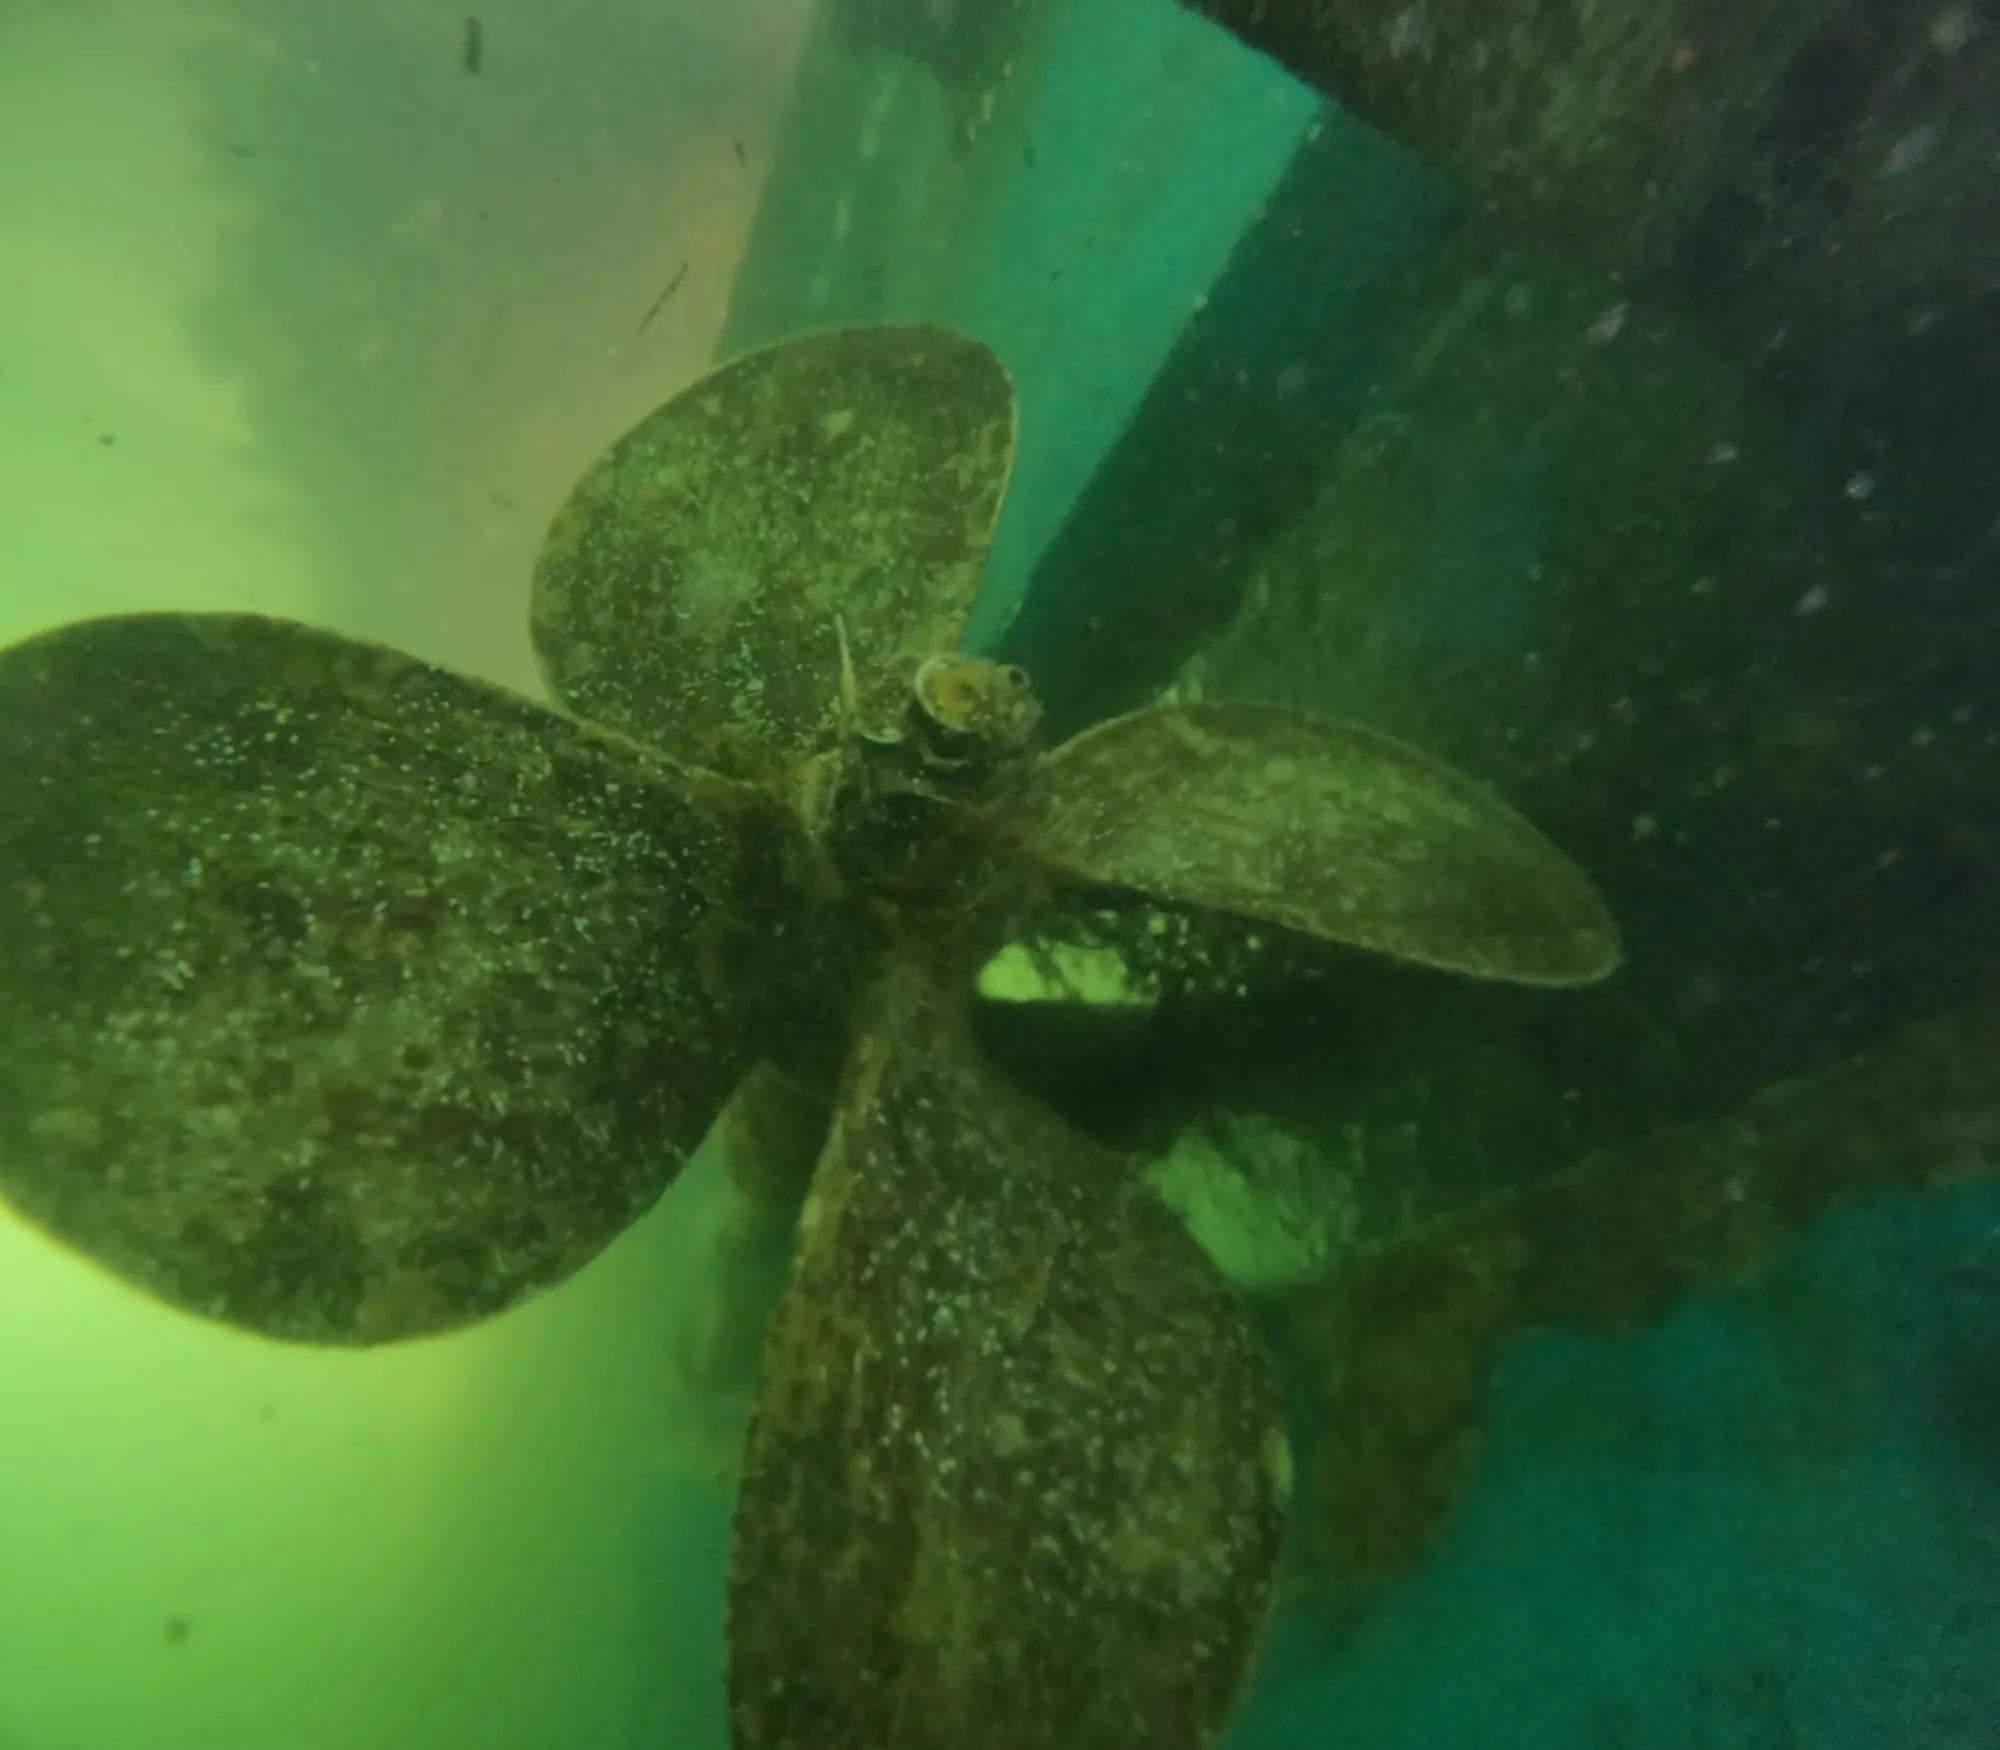
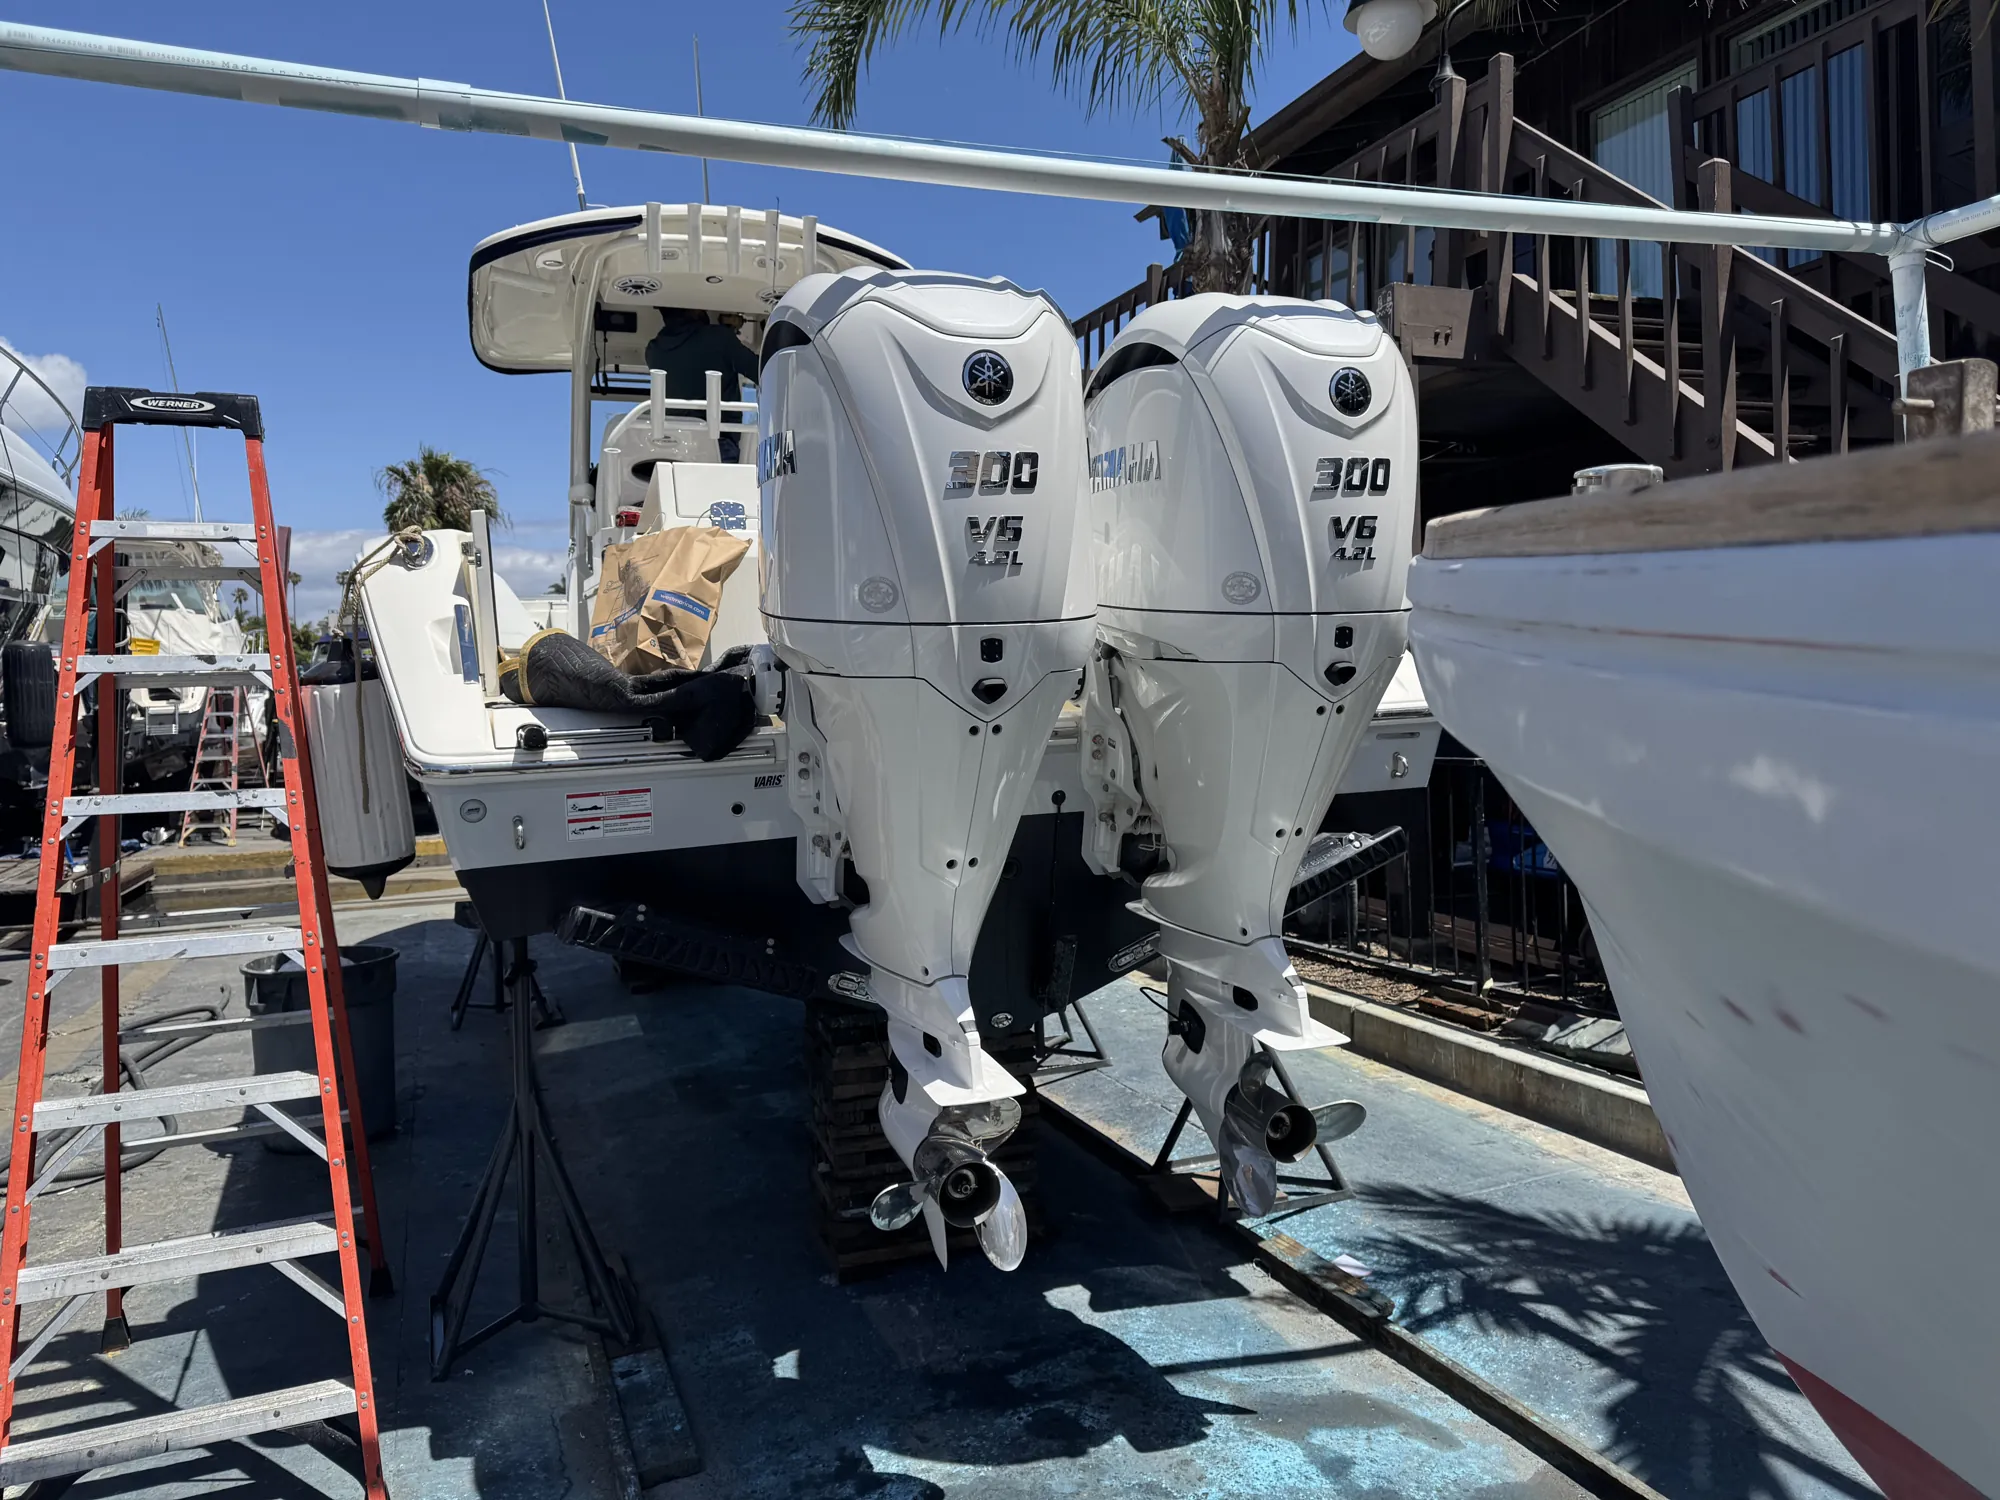
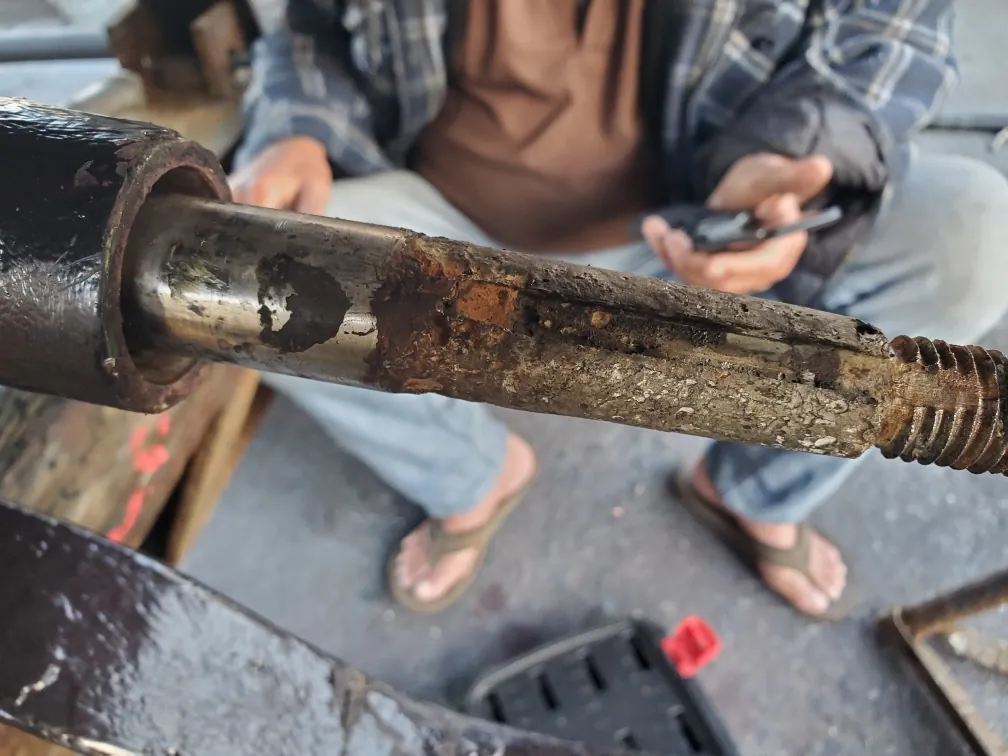
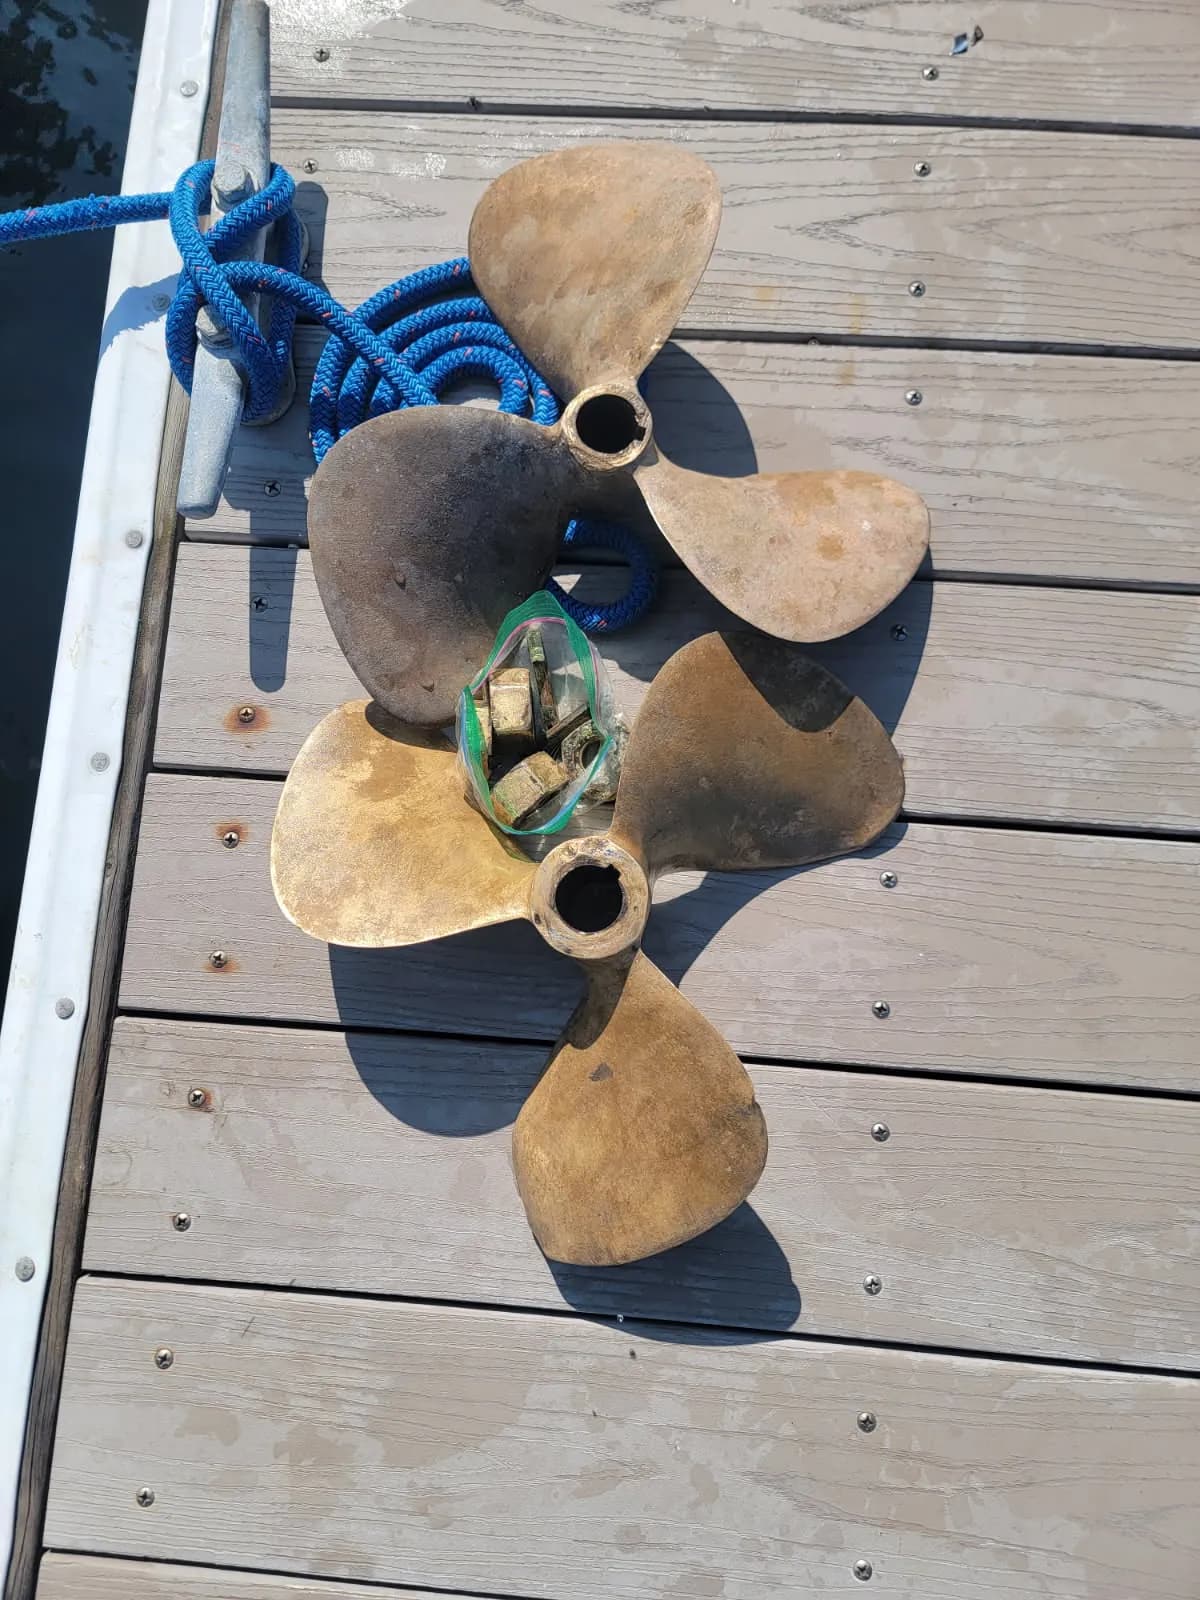
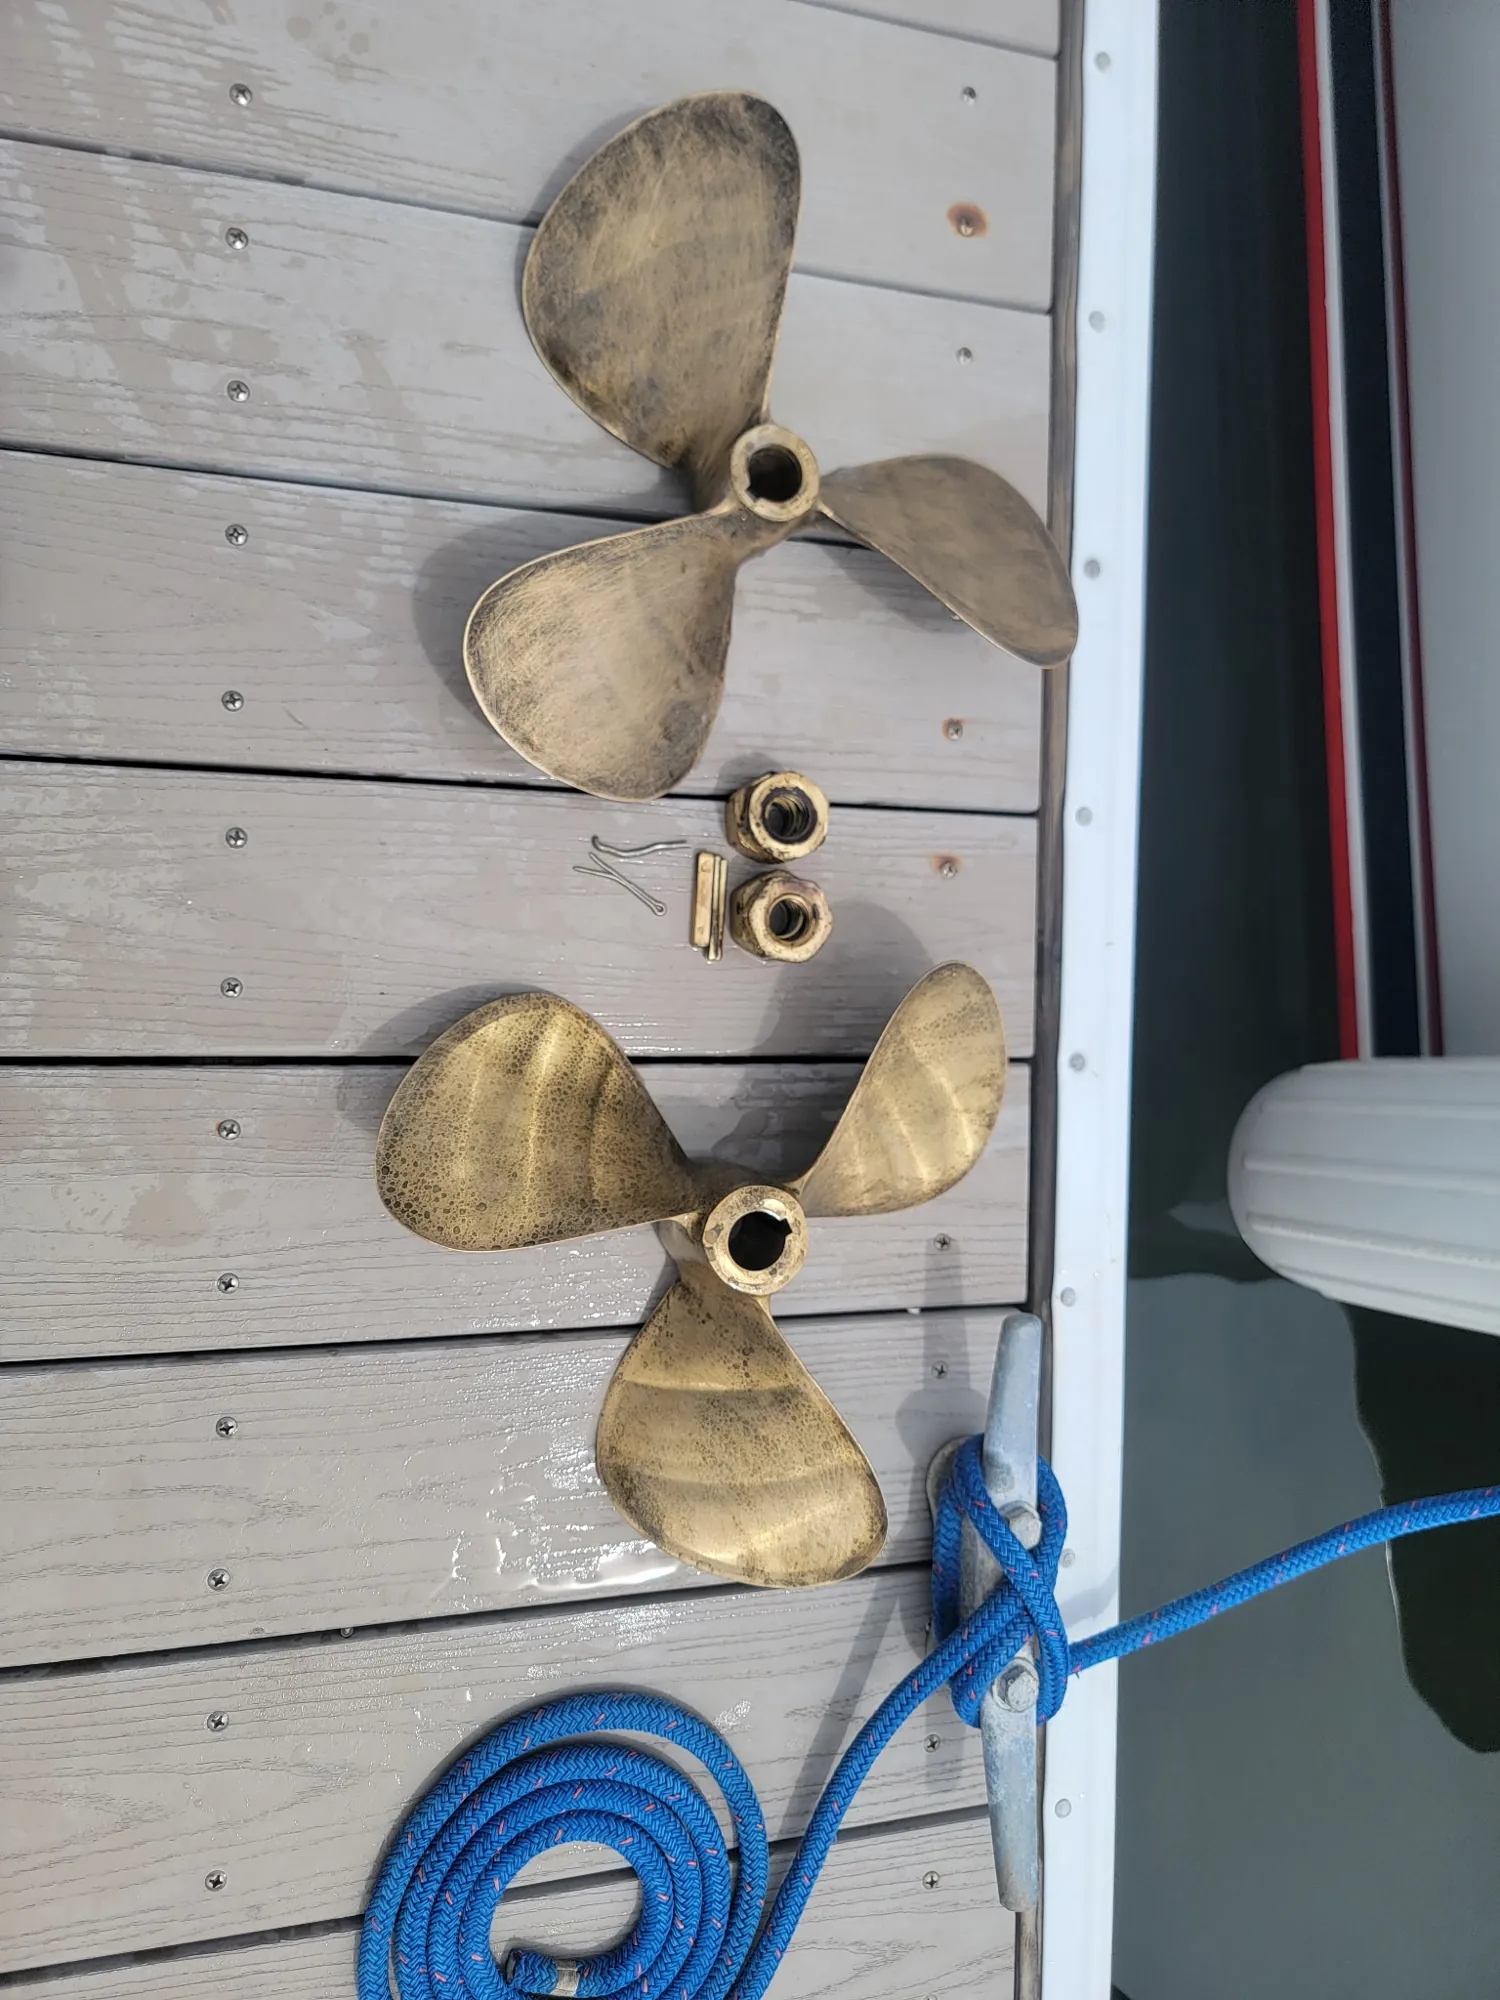
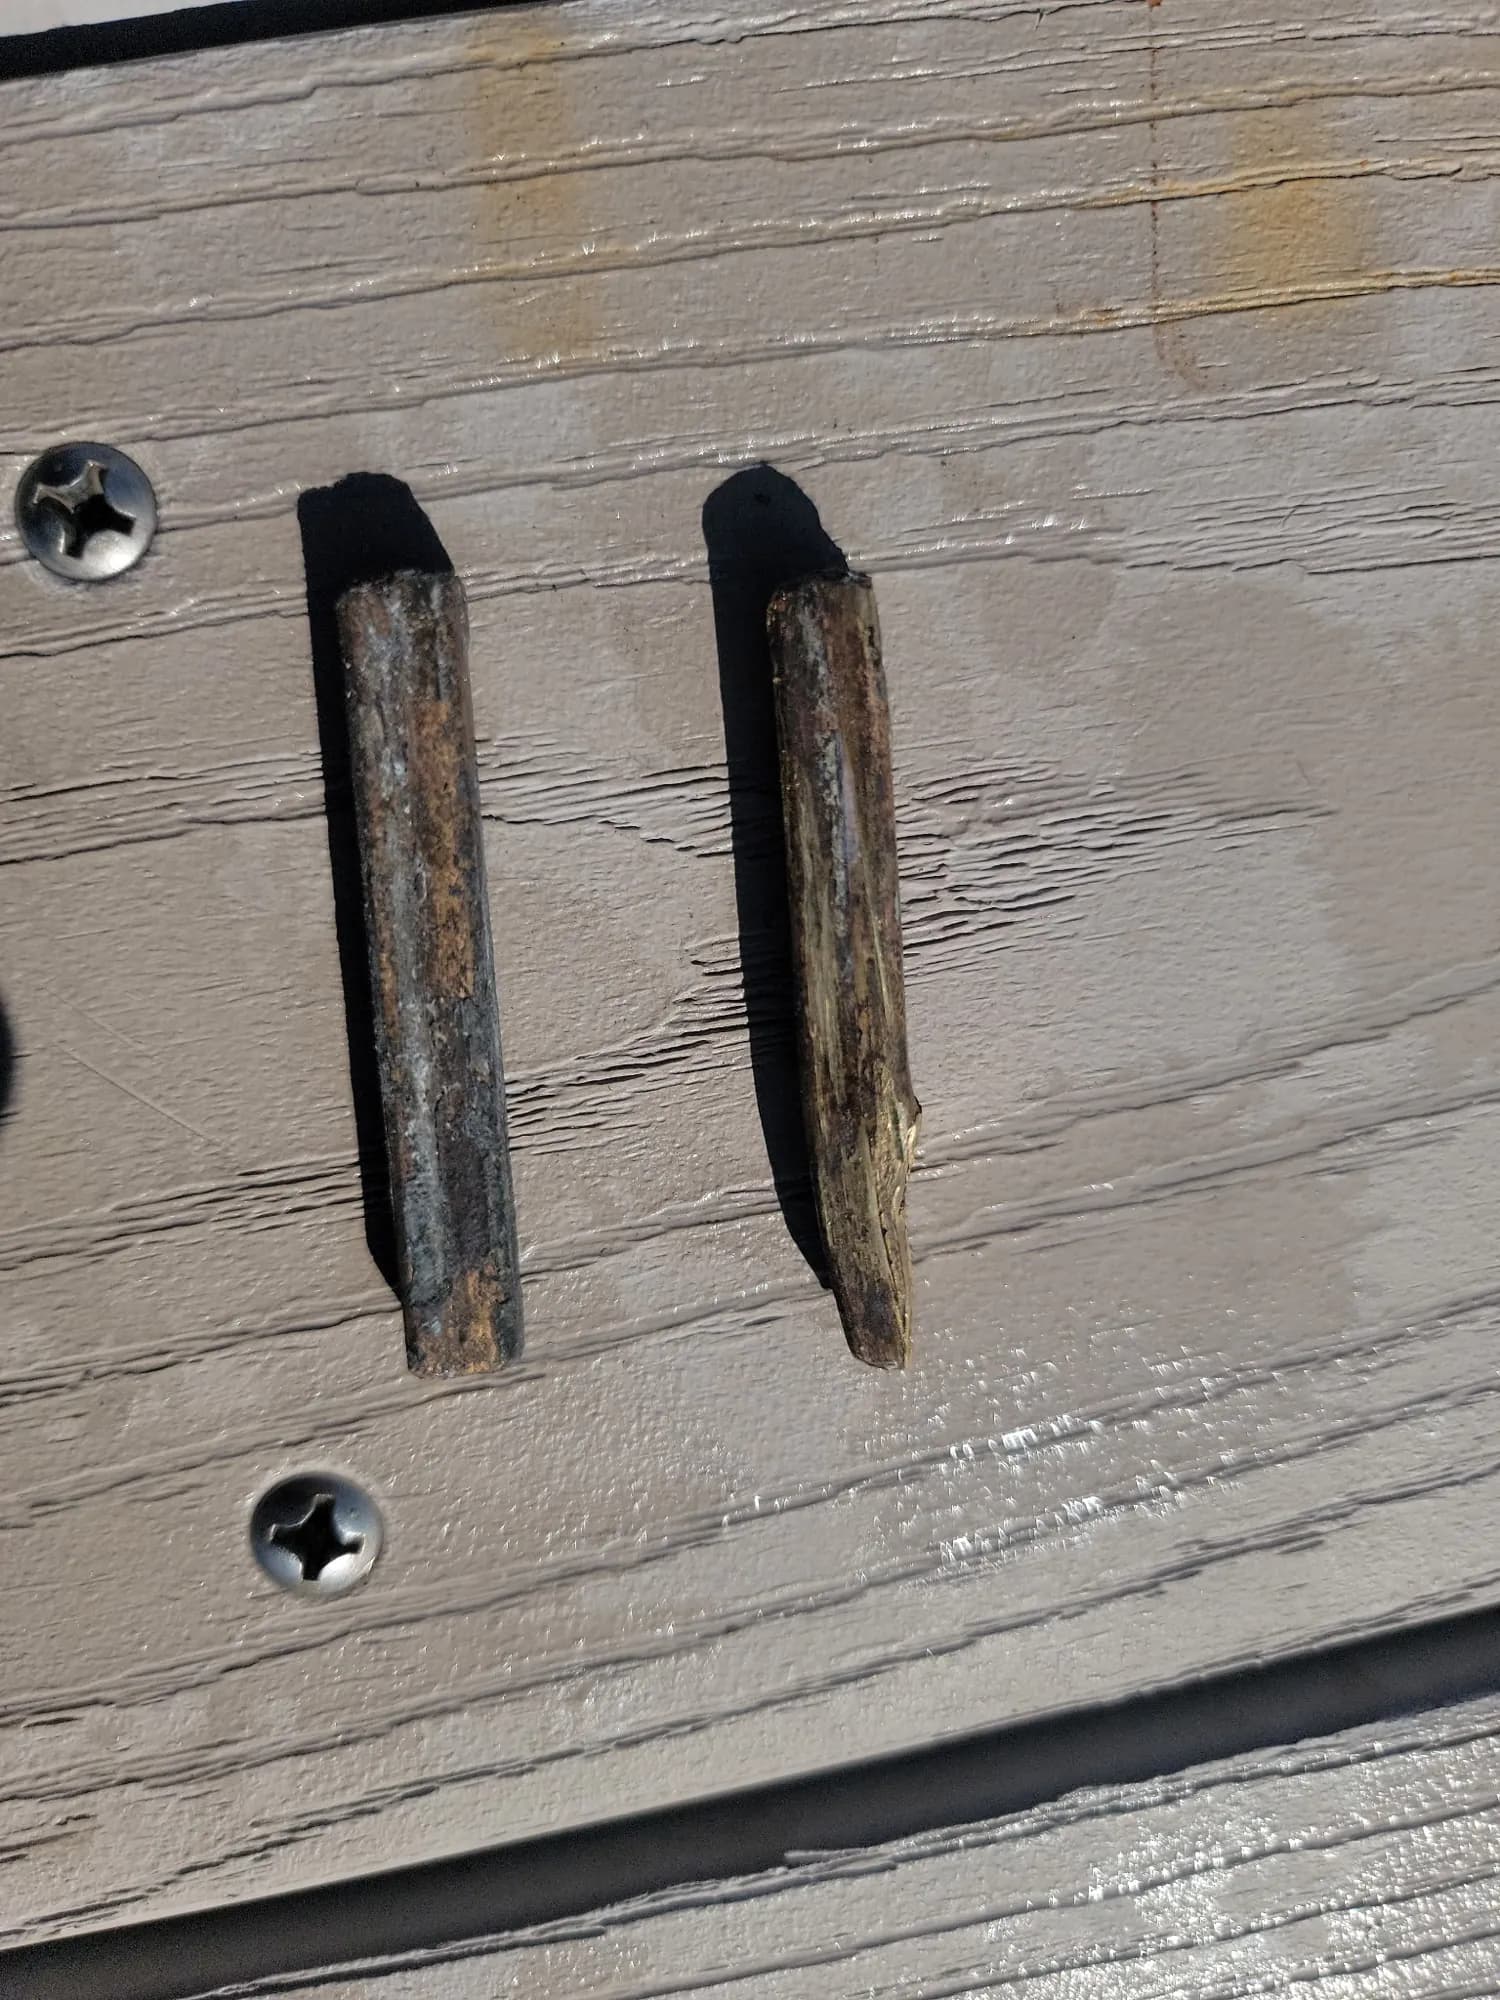
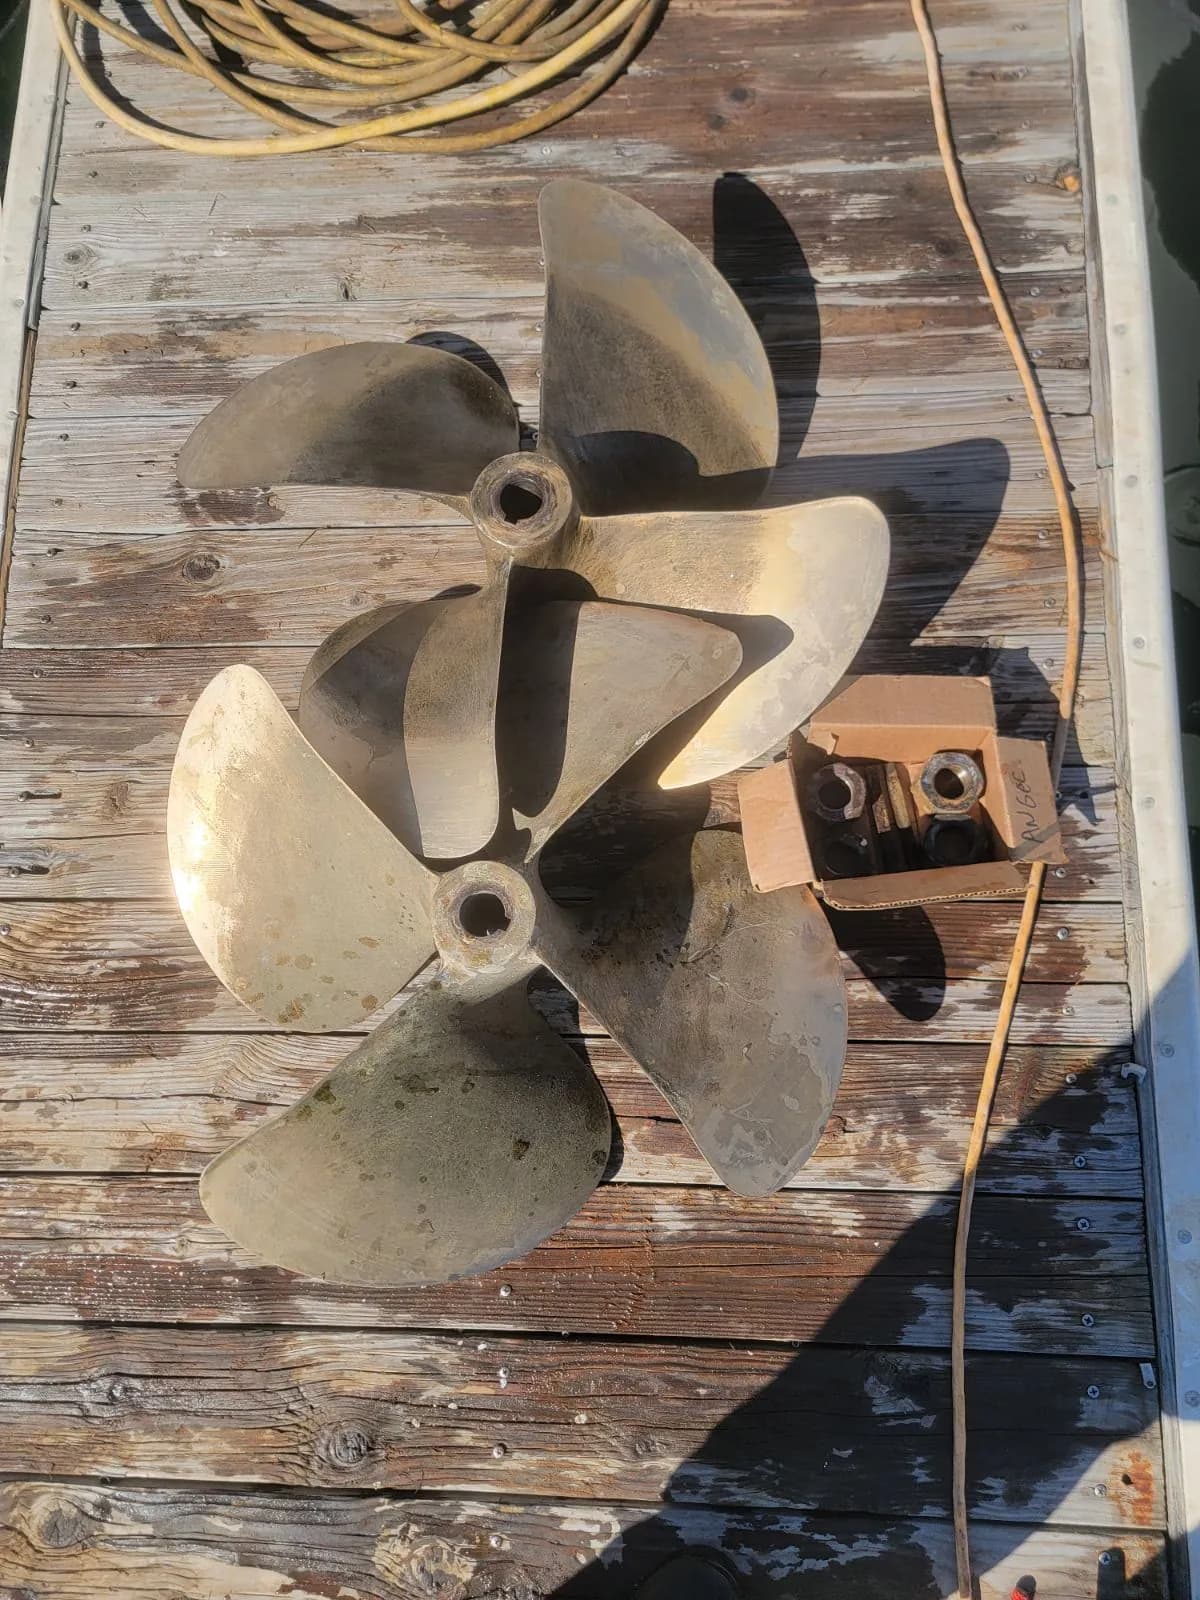
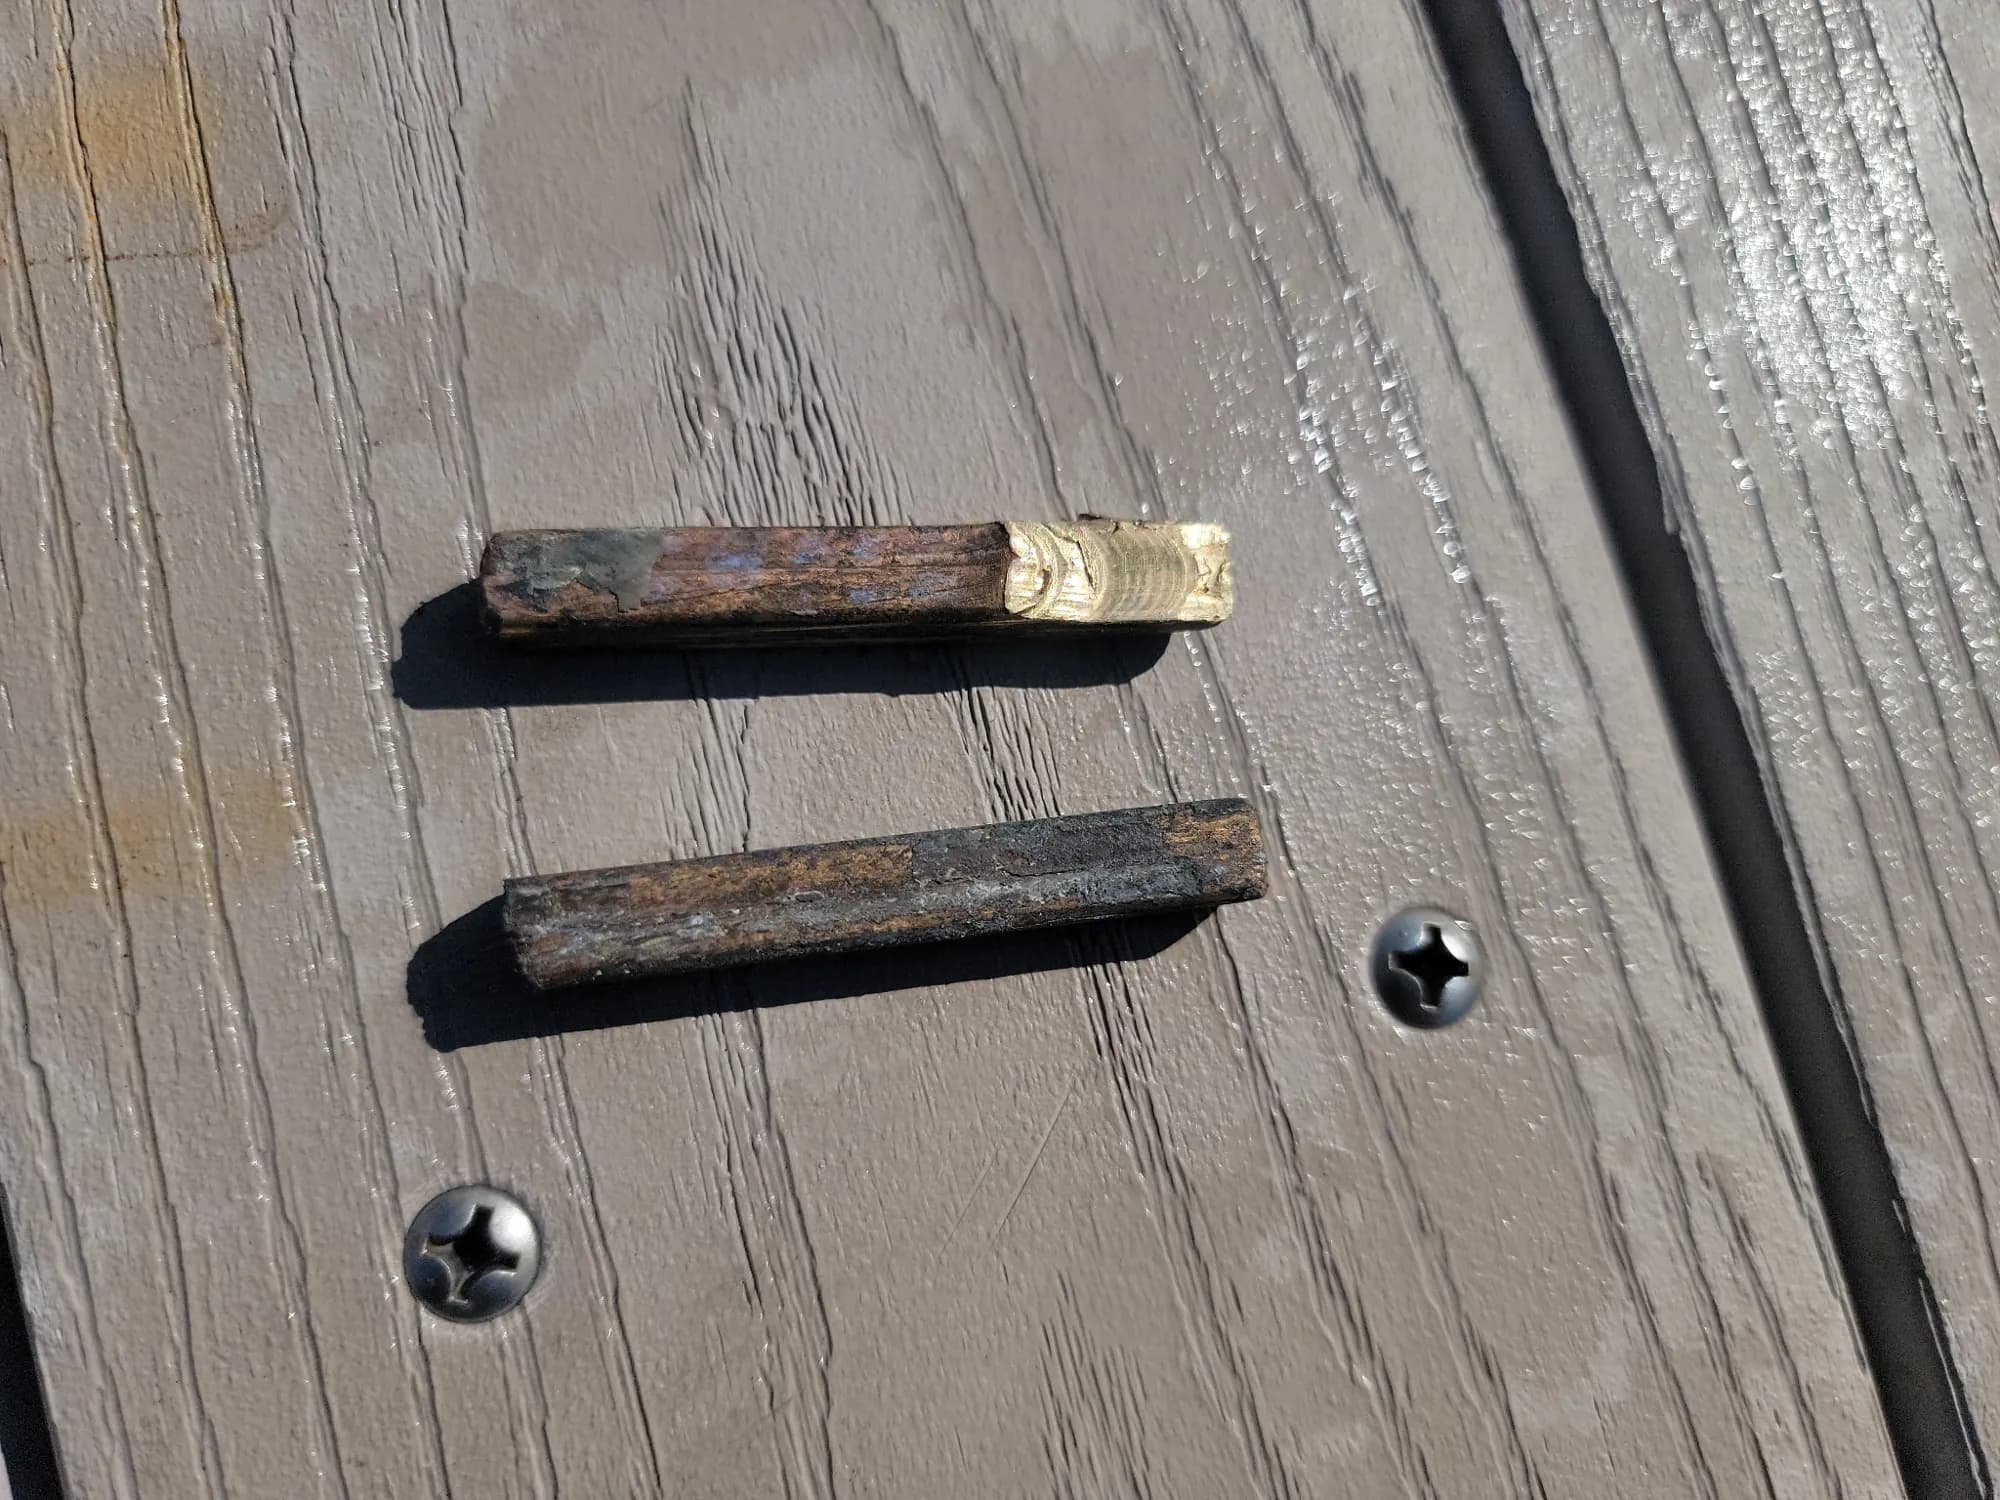
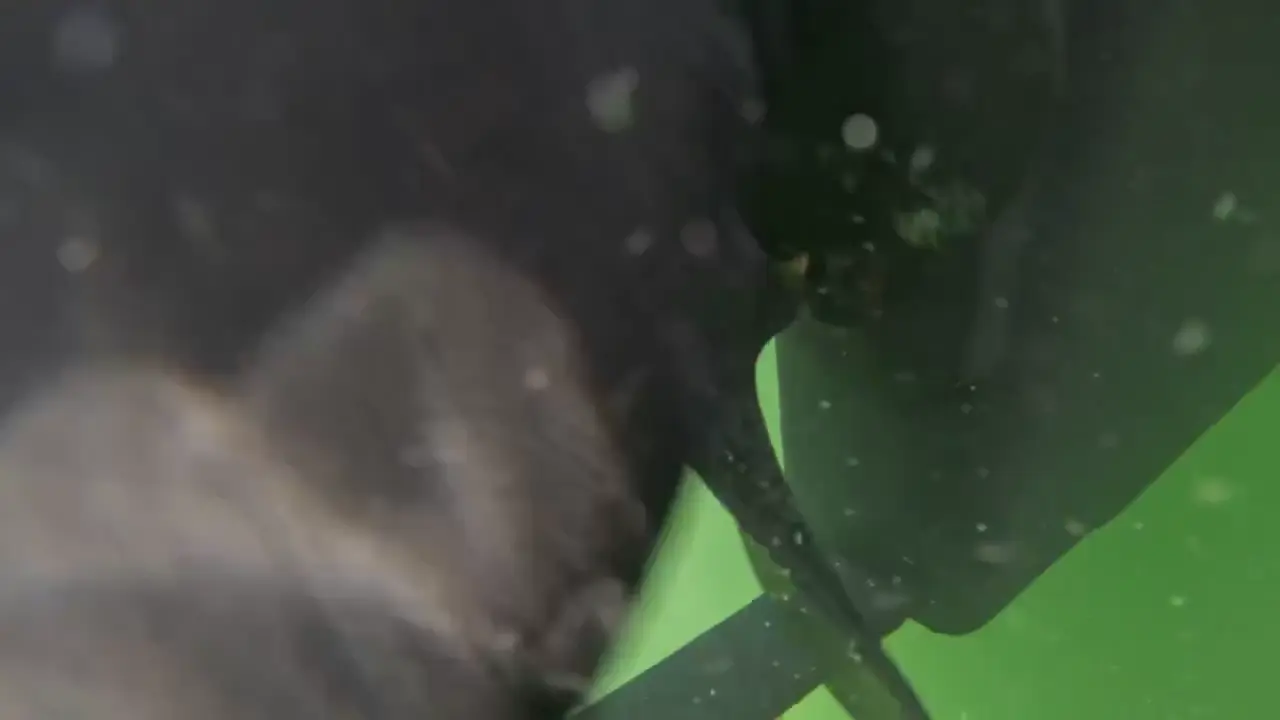
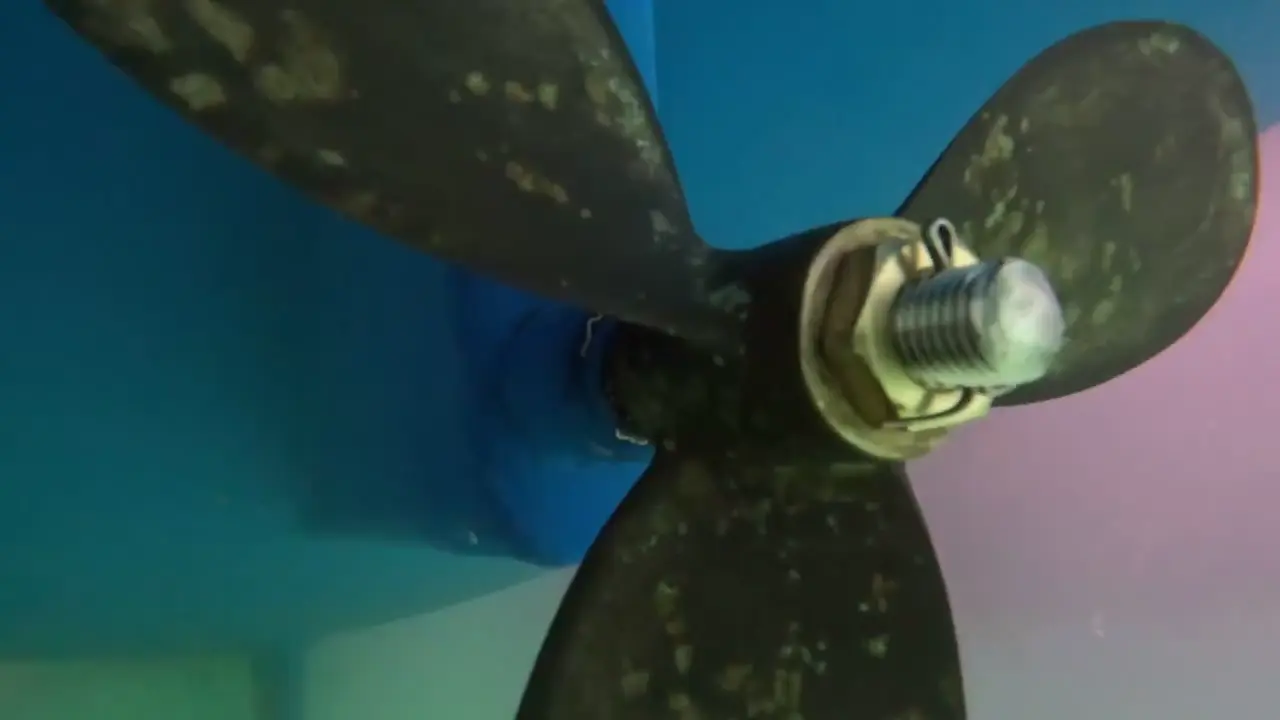
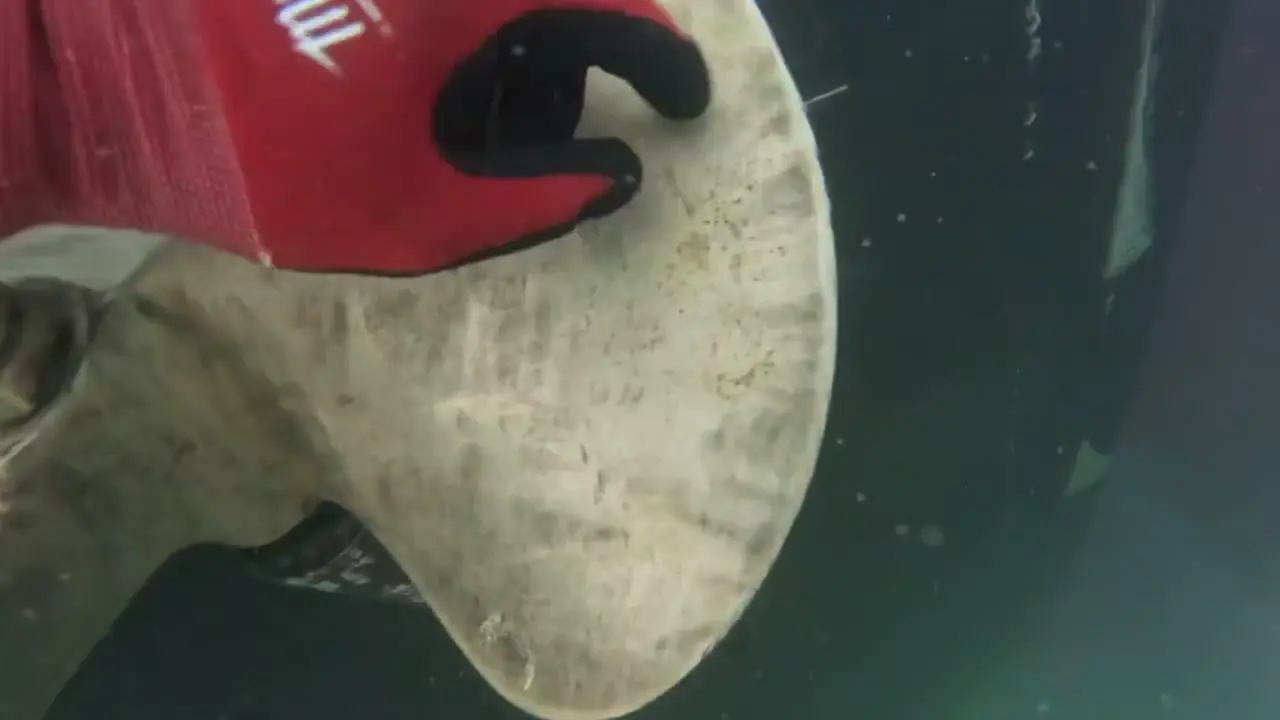
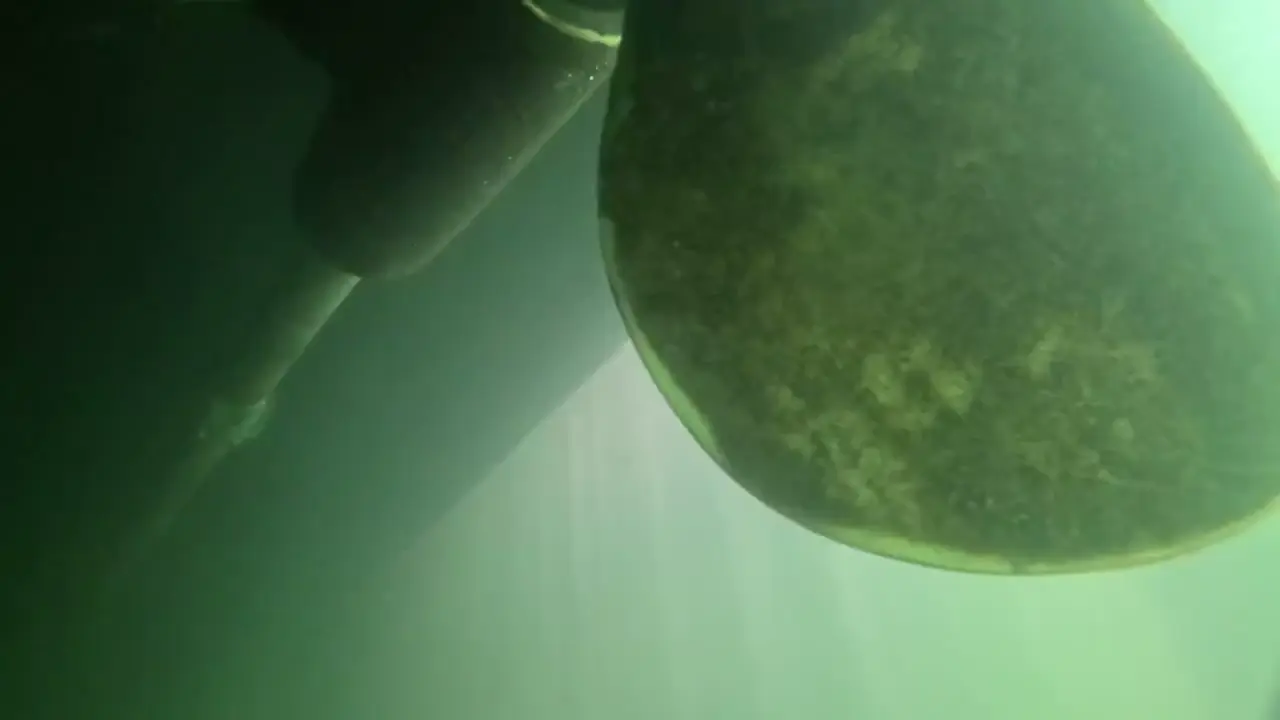
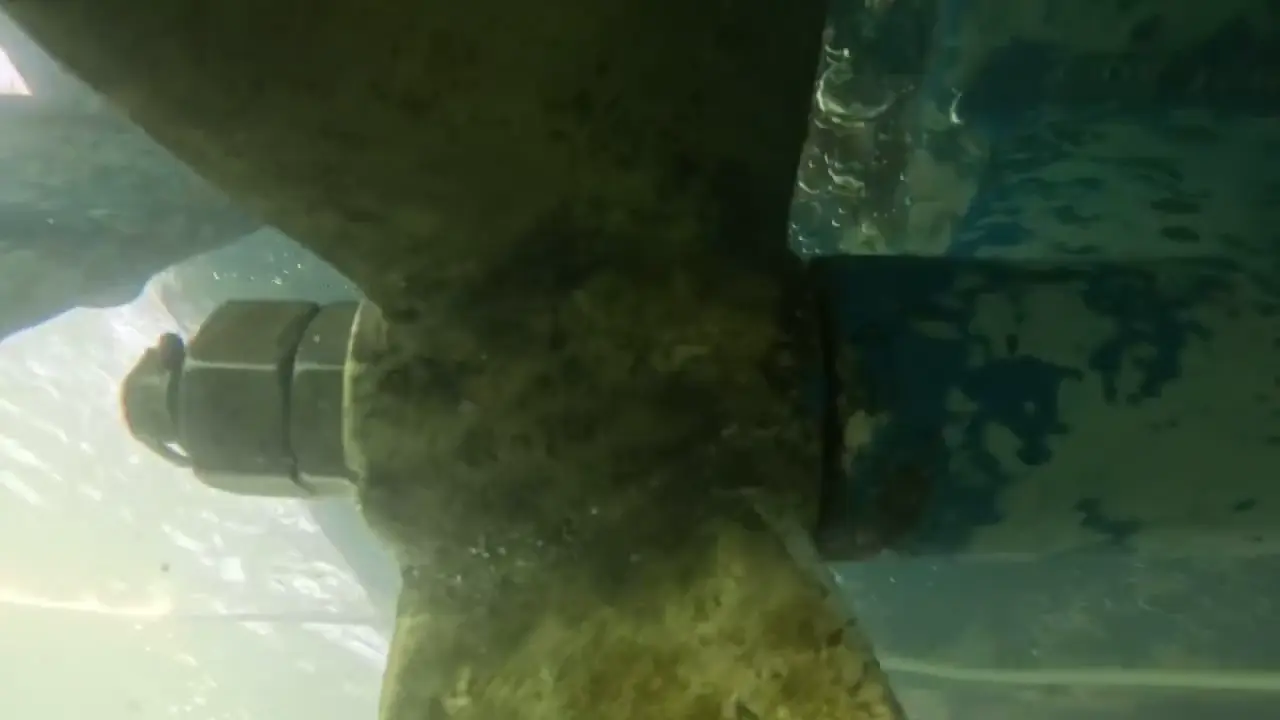
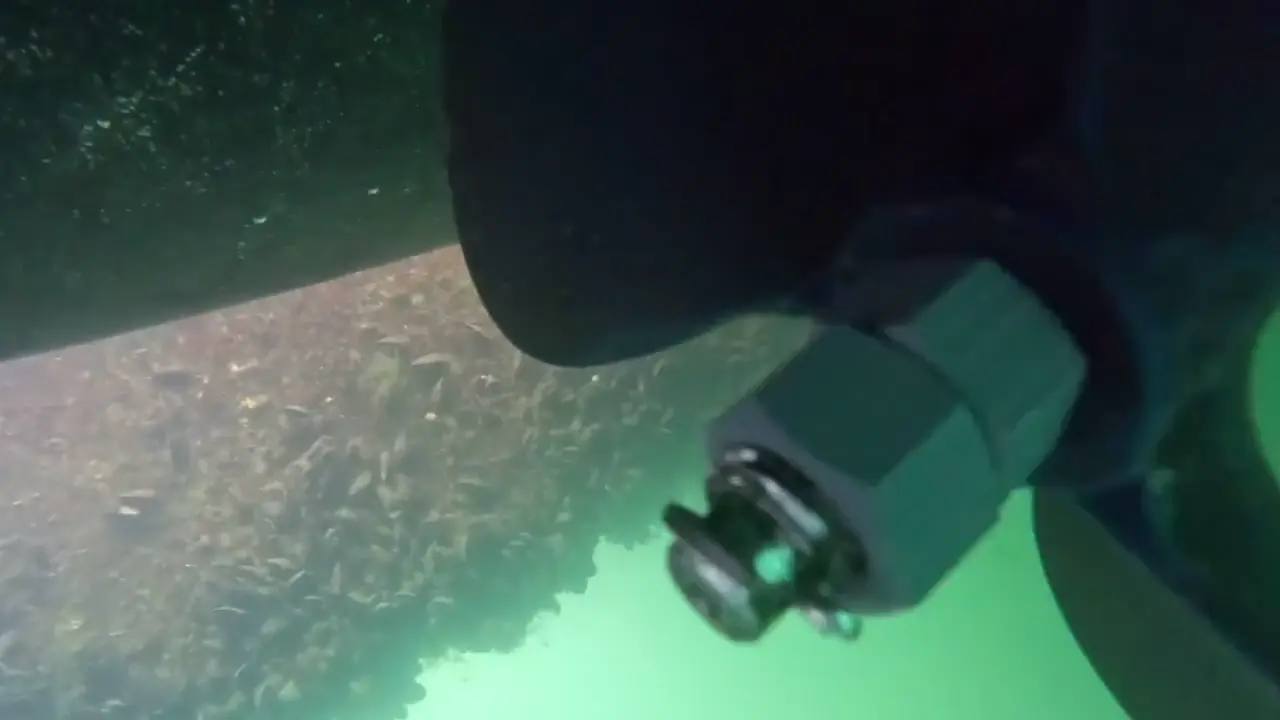
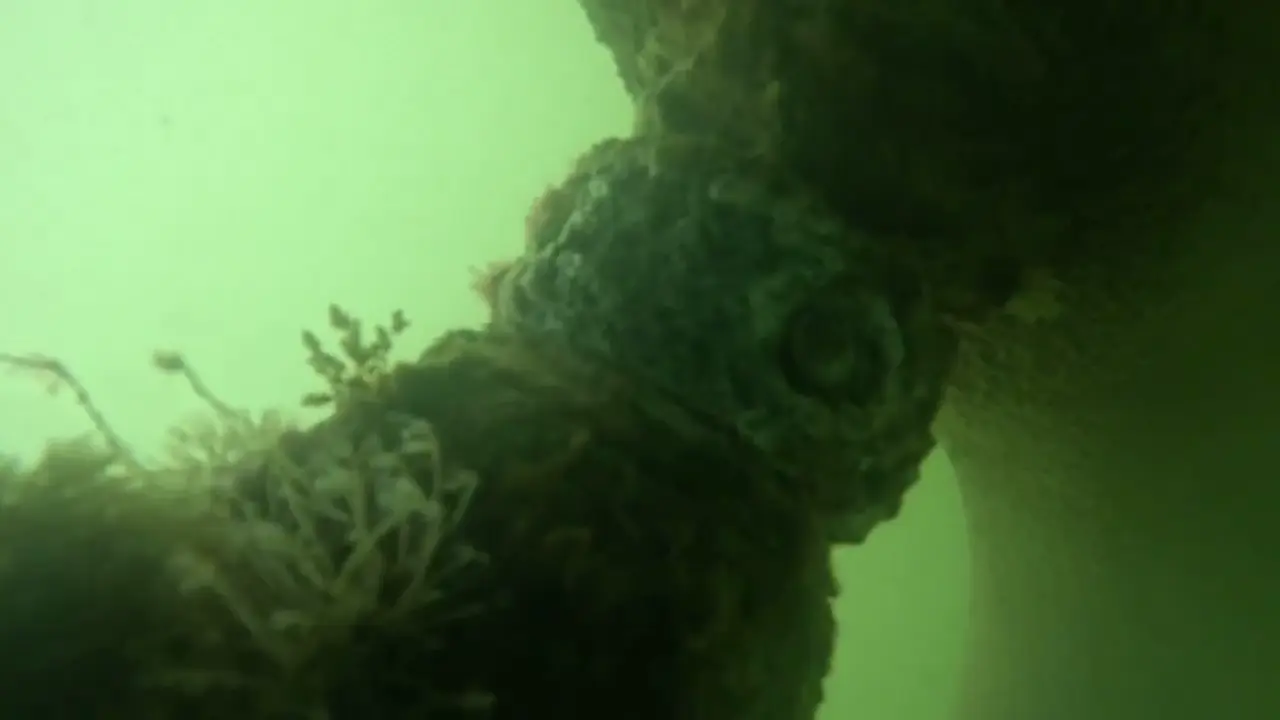
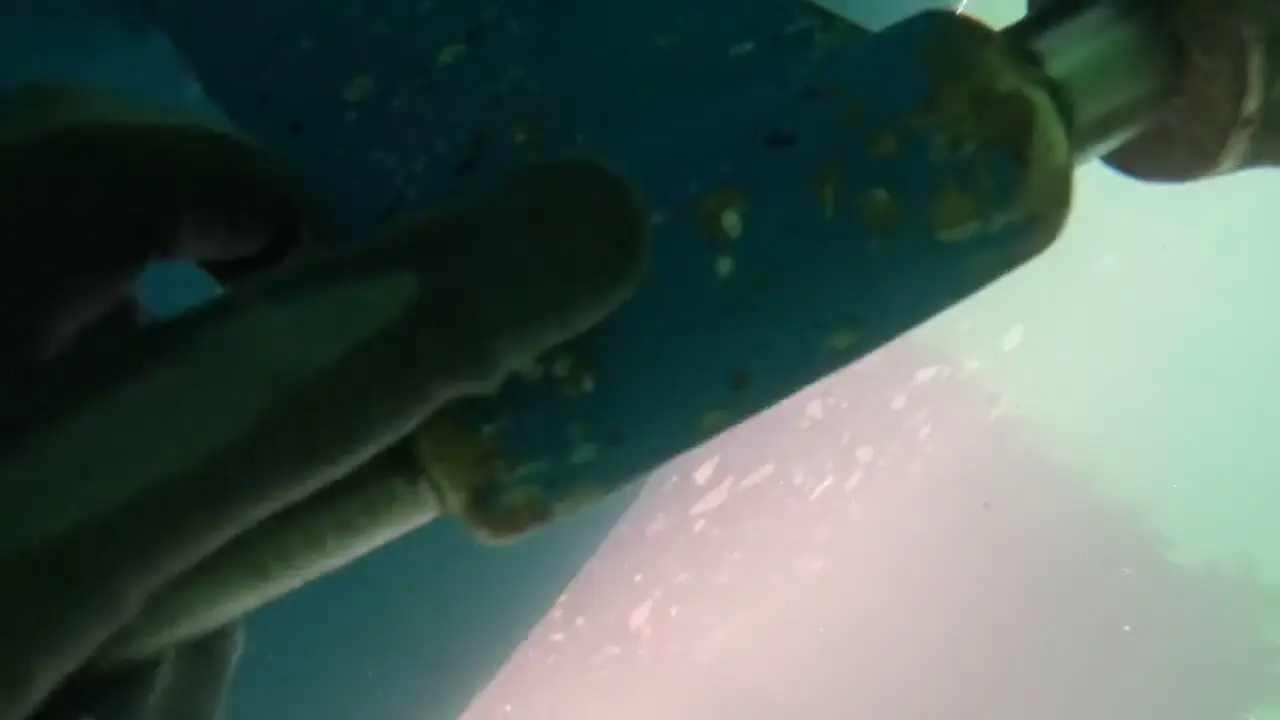
Props, shafts, and running gear checked below the waterline — bent blades, worn keys, and line damage caught before they cost a haul-out.
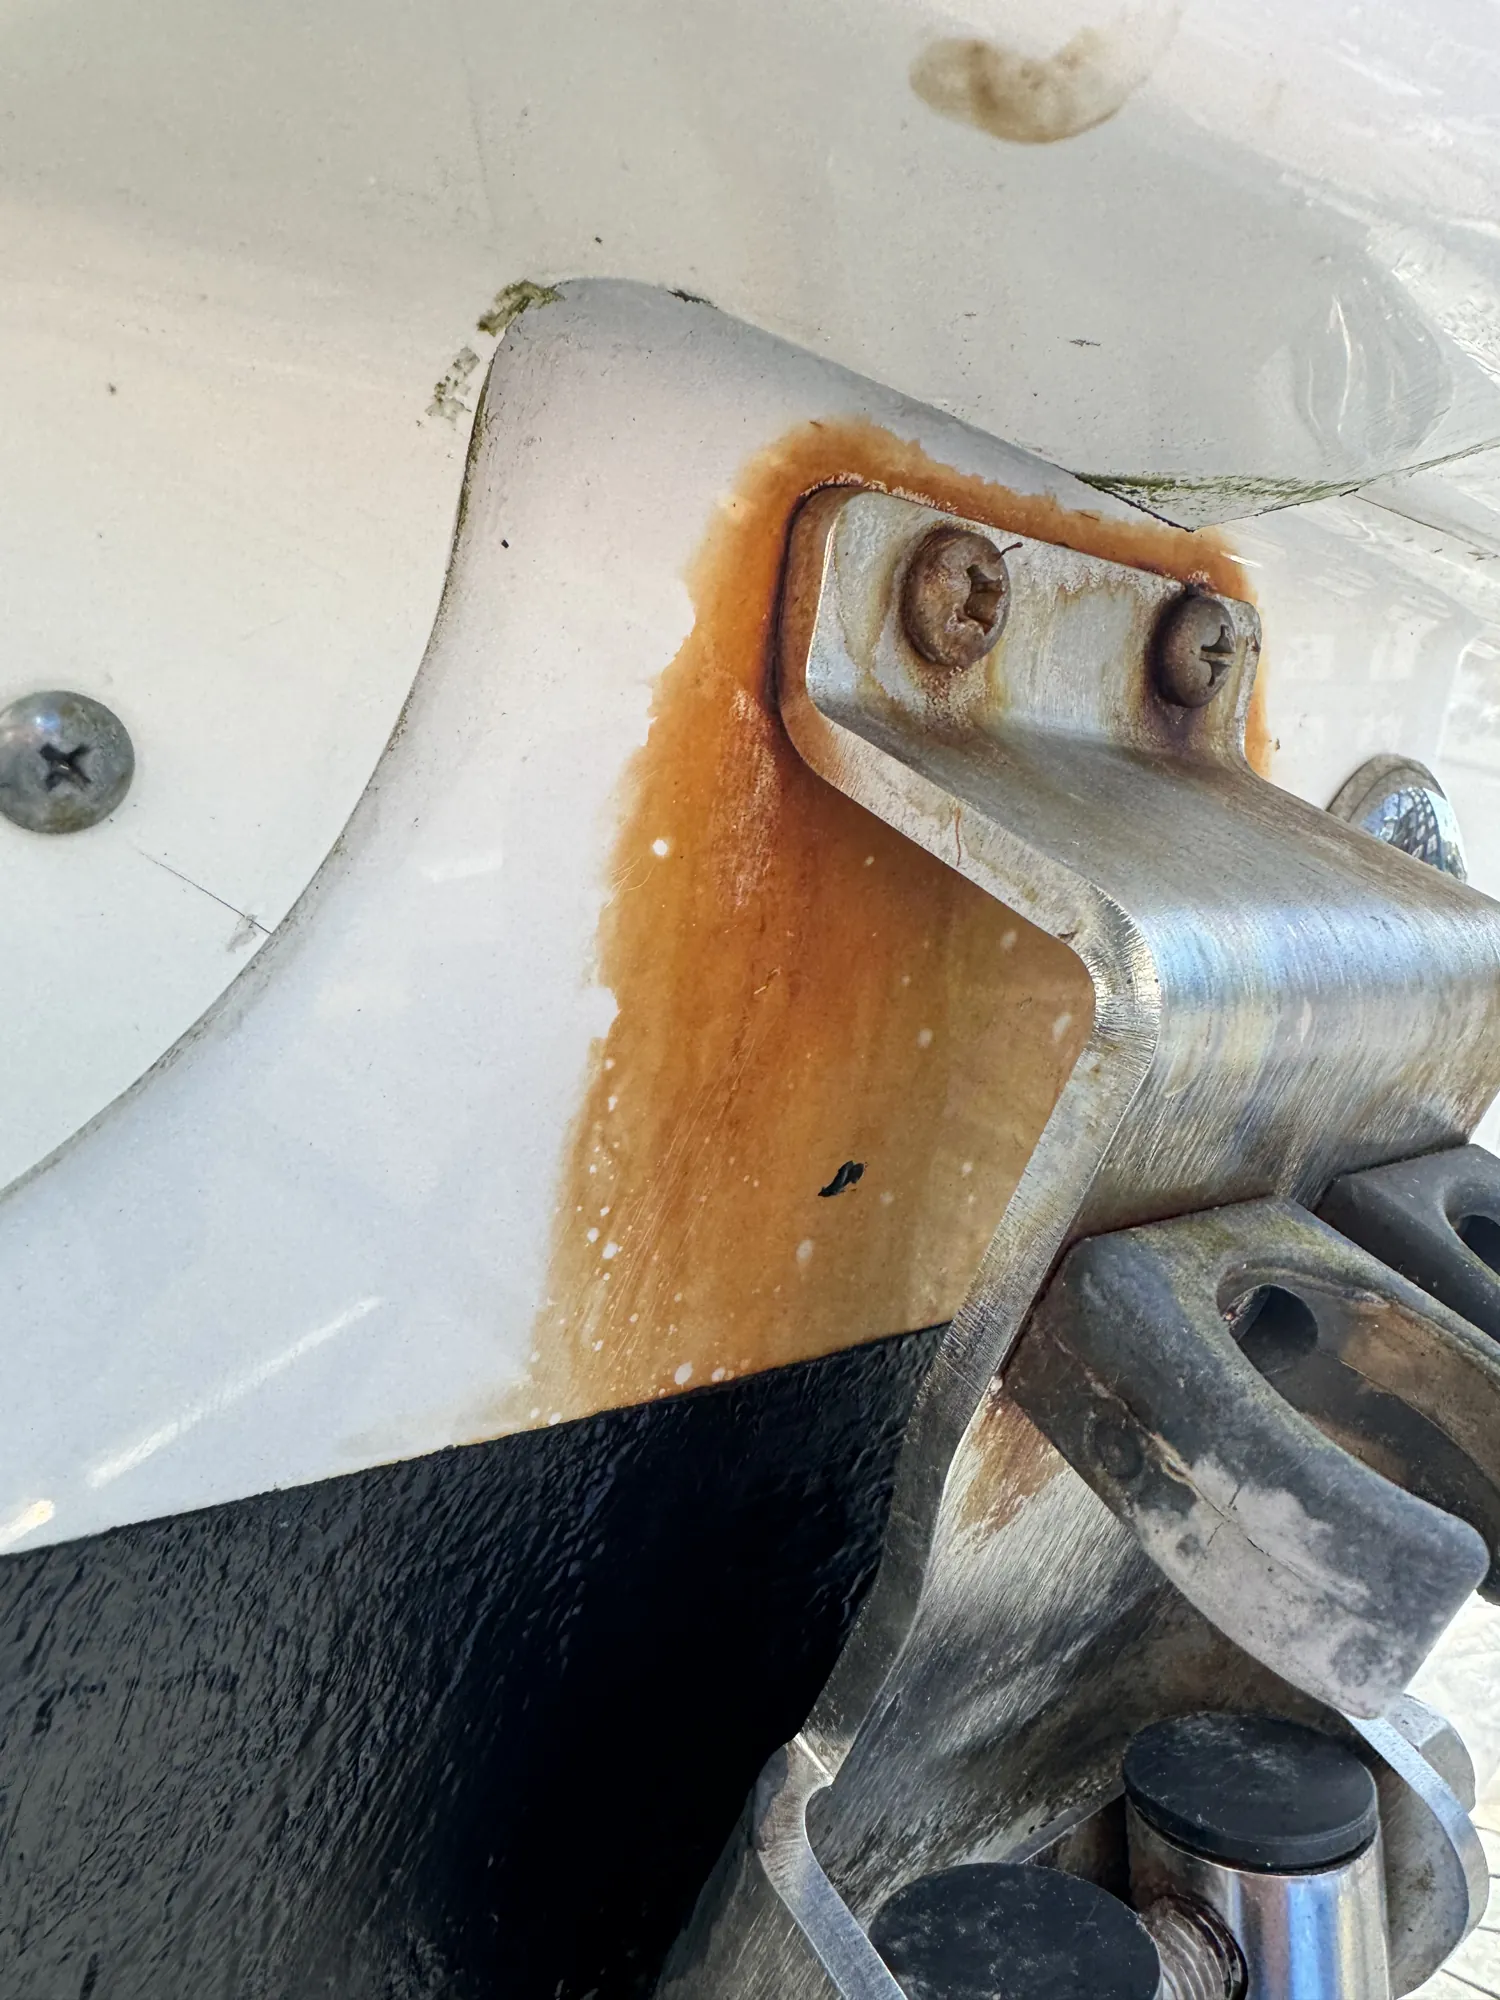
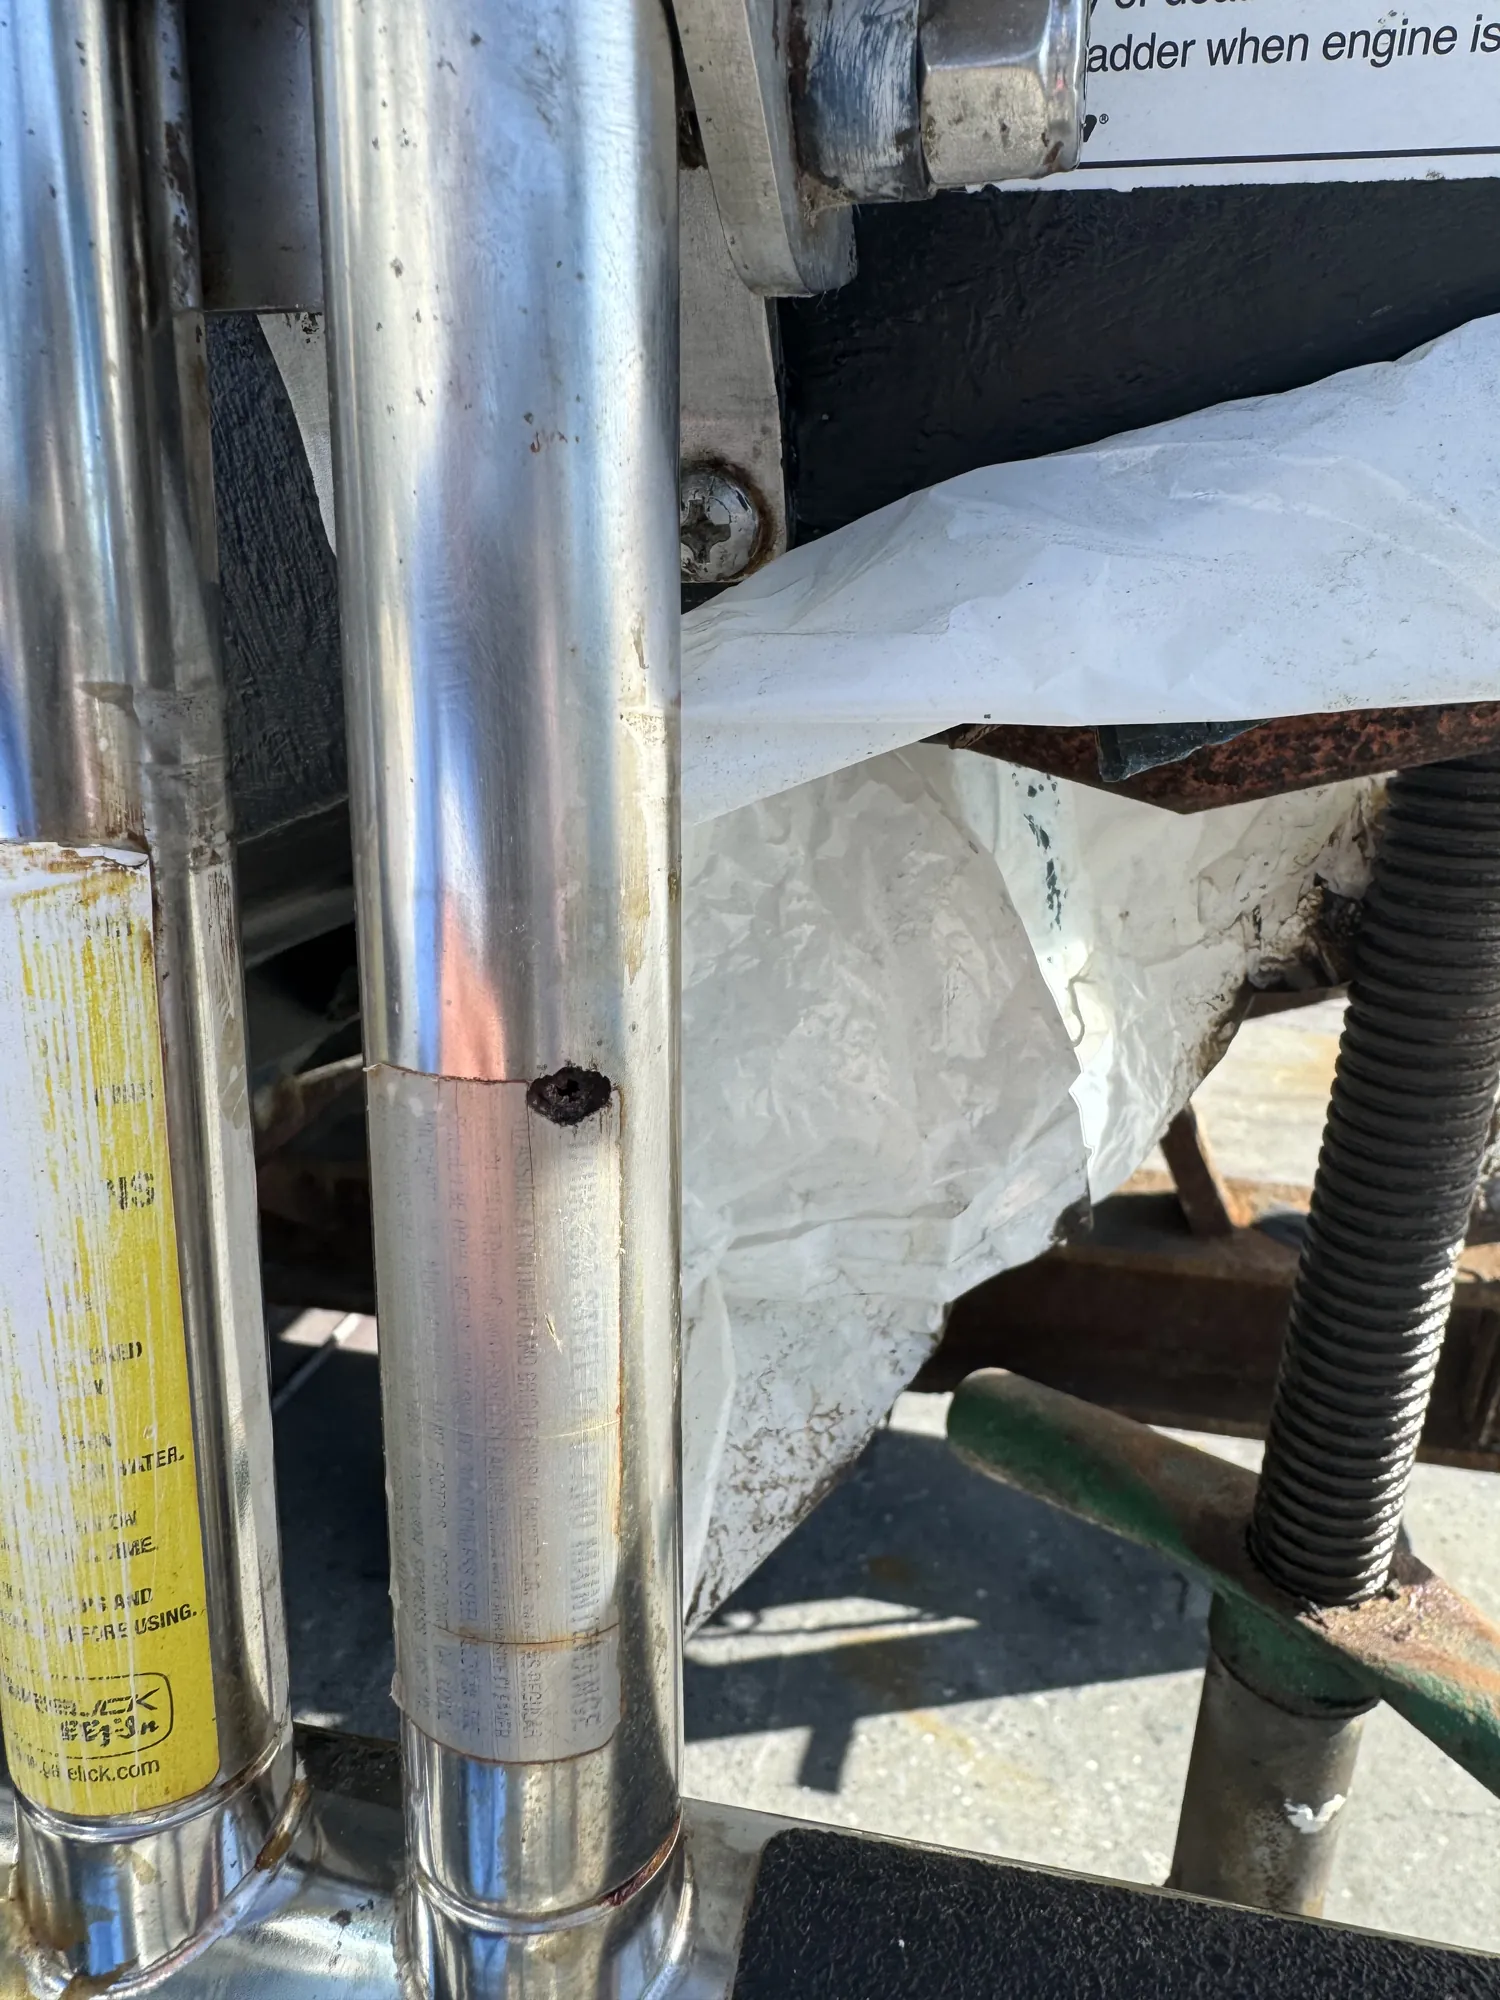
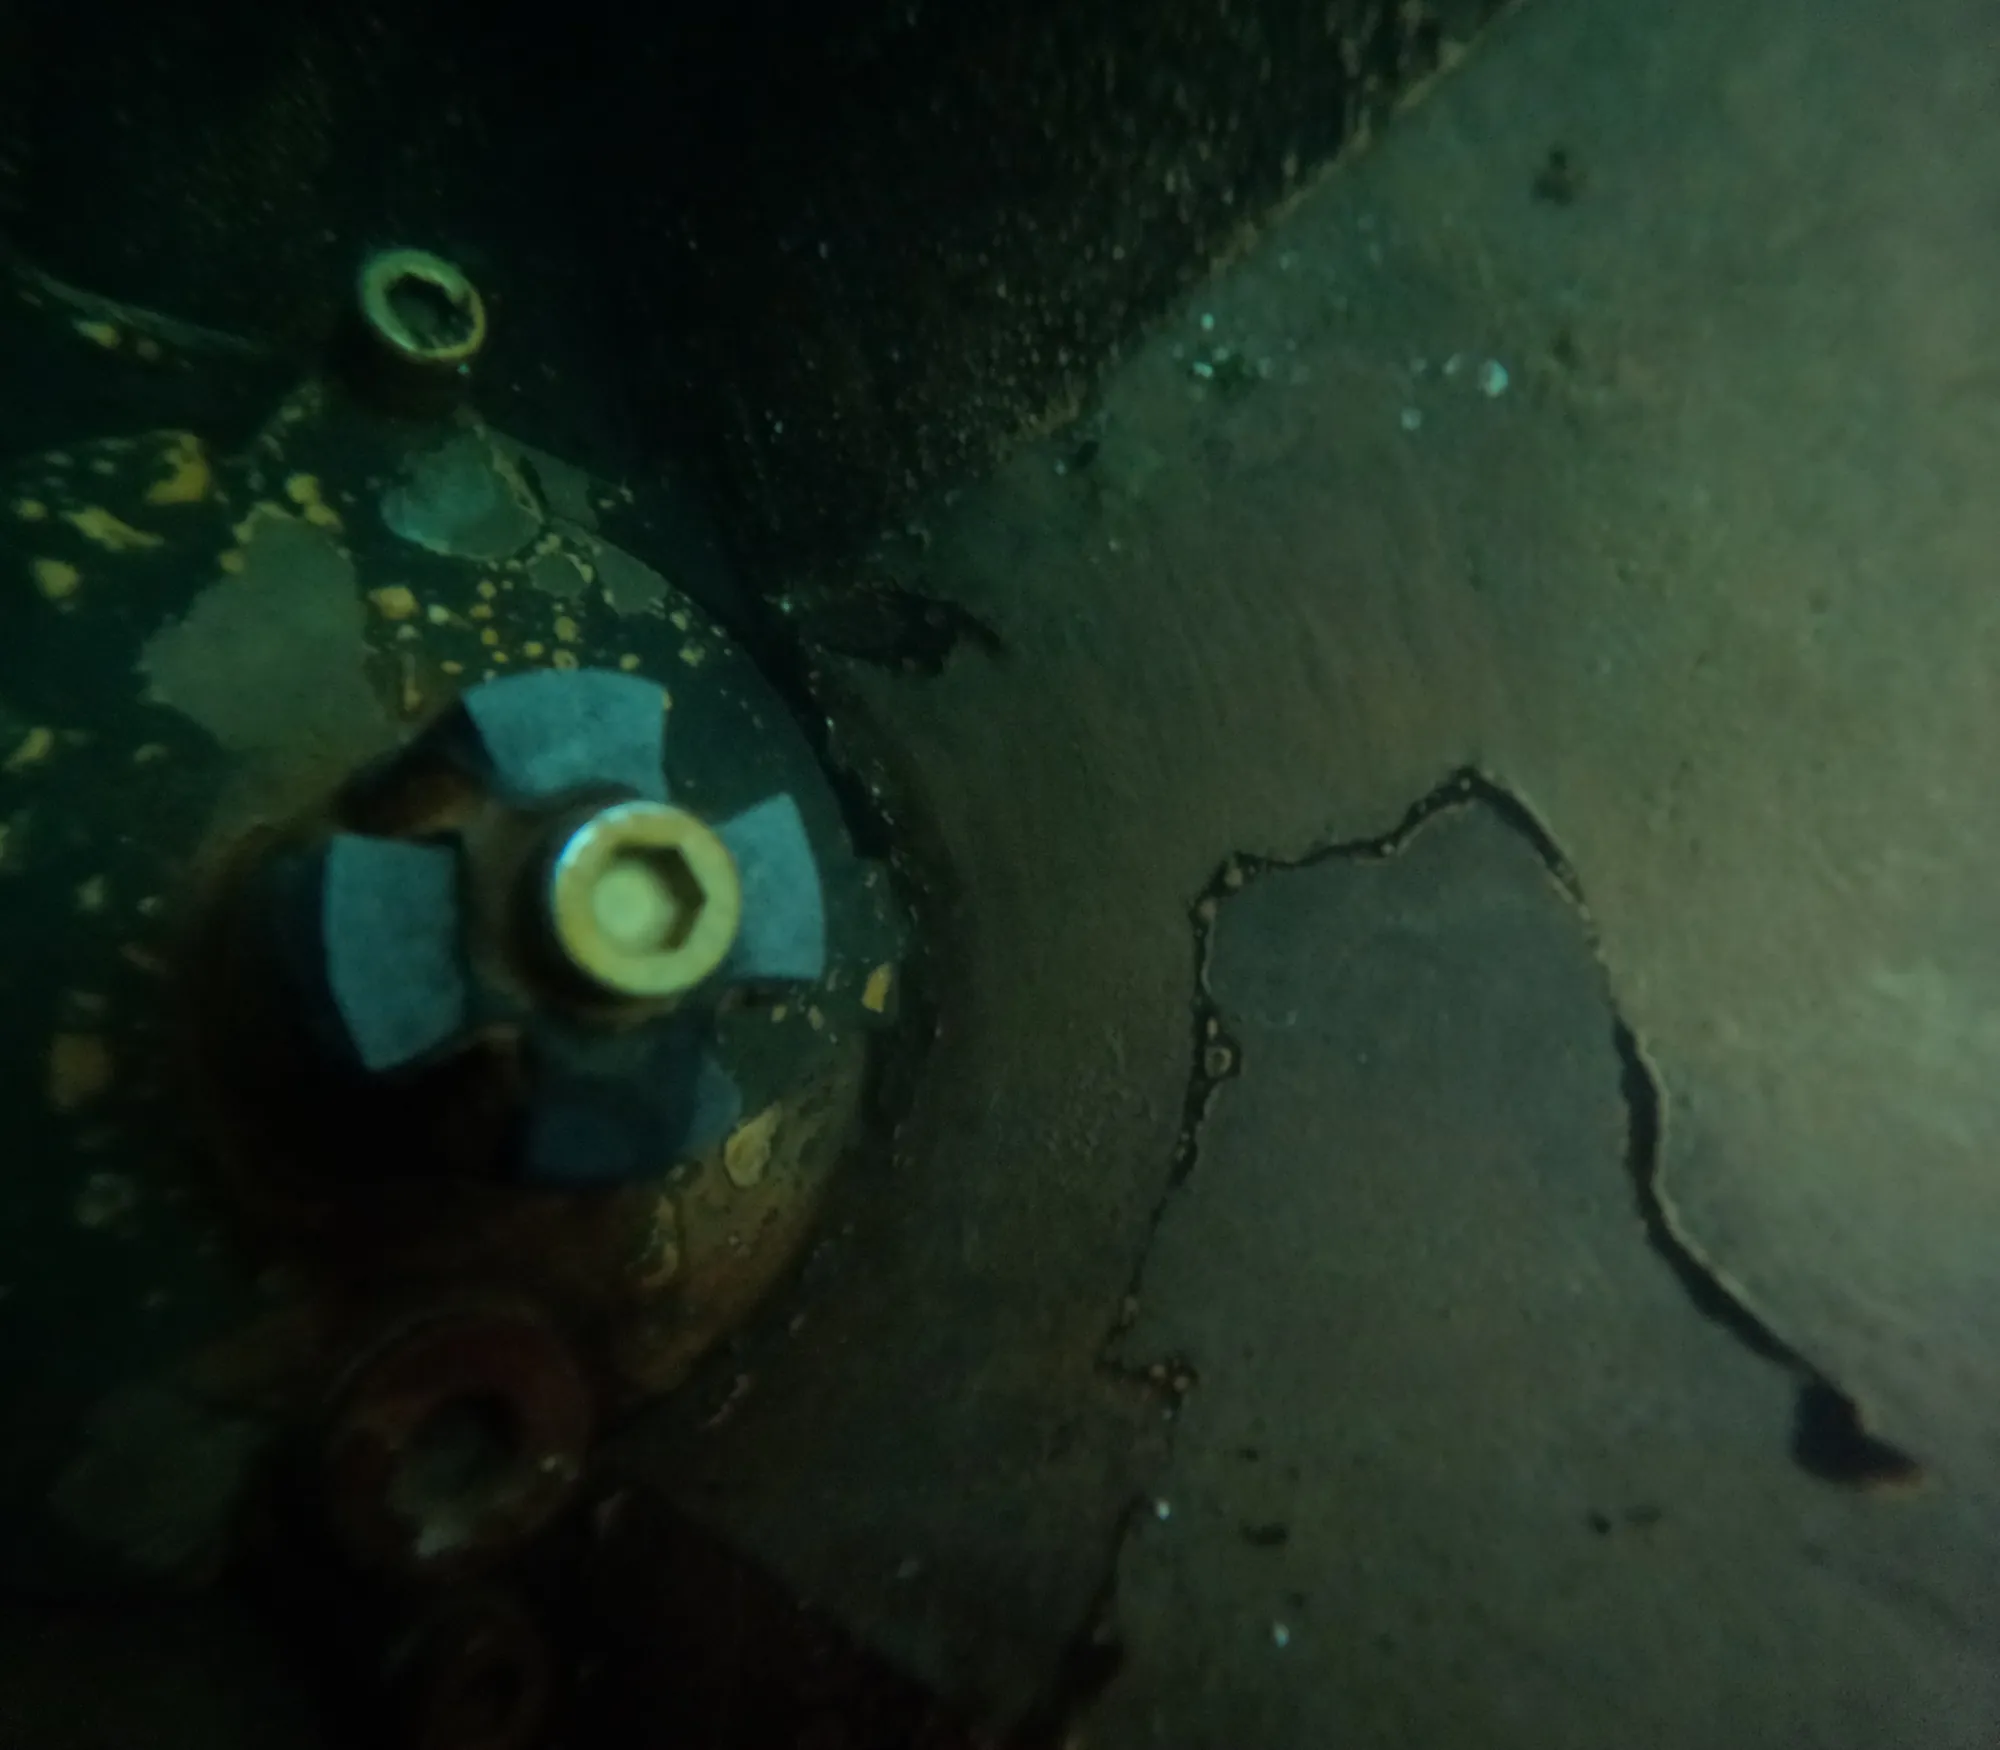
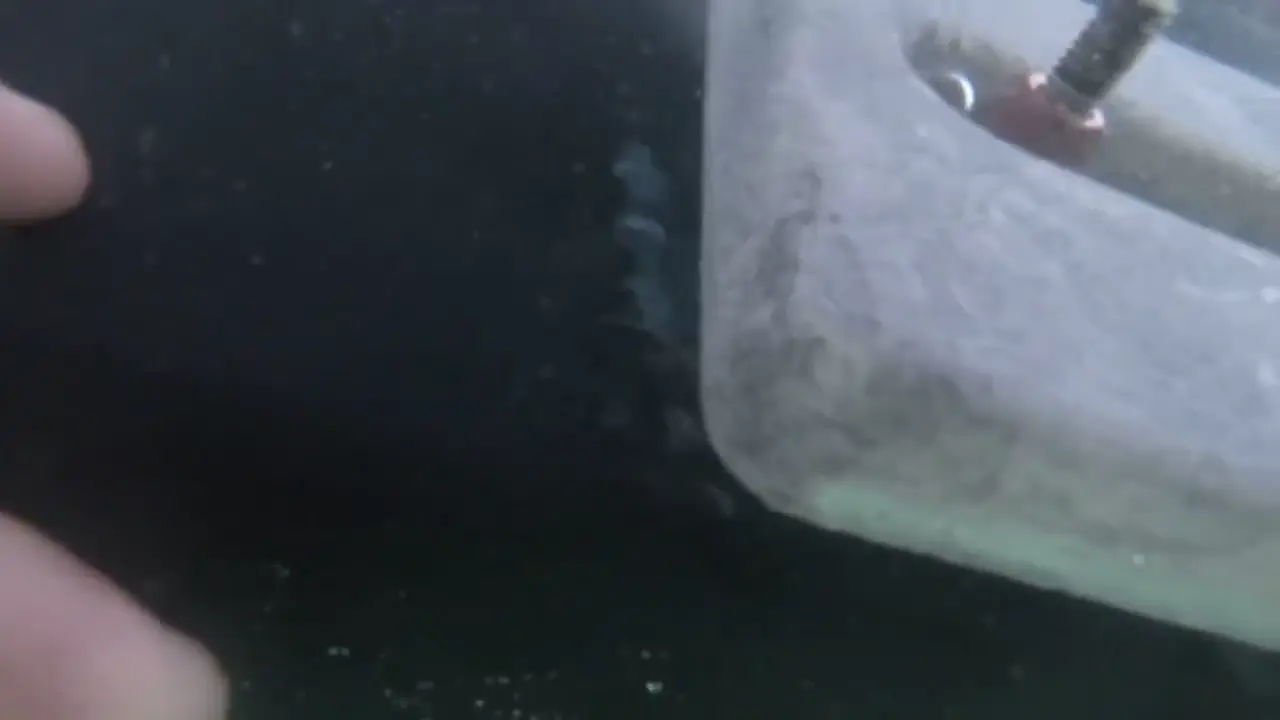
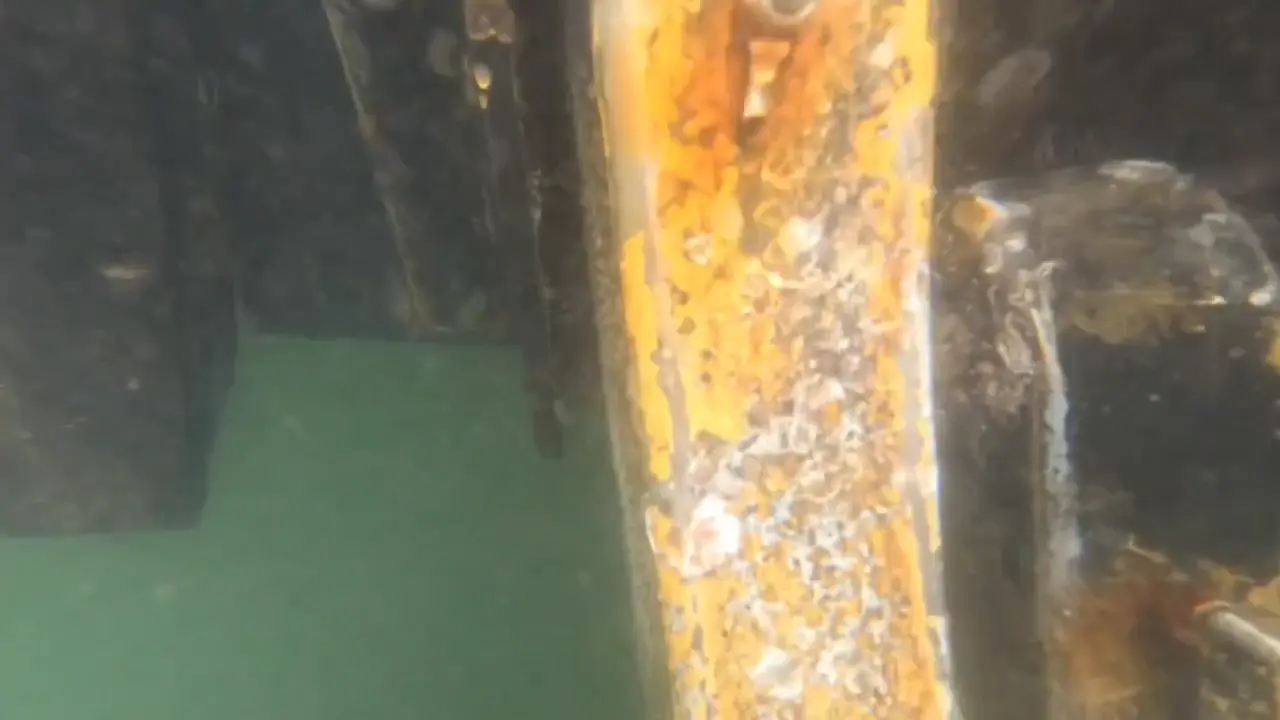
Sacrificial zincs are the first thing to go when galvanic activity runs high. We photograph every anode on service so owners see what we see.
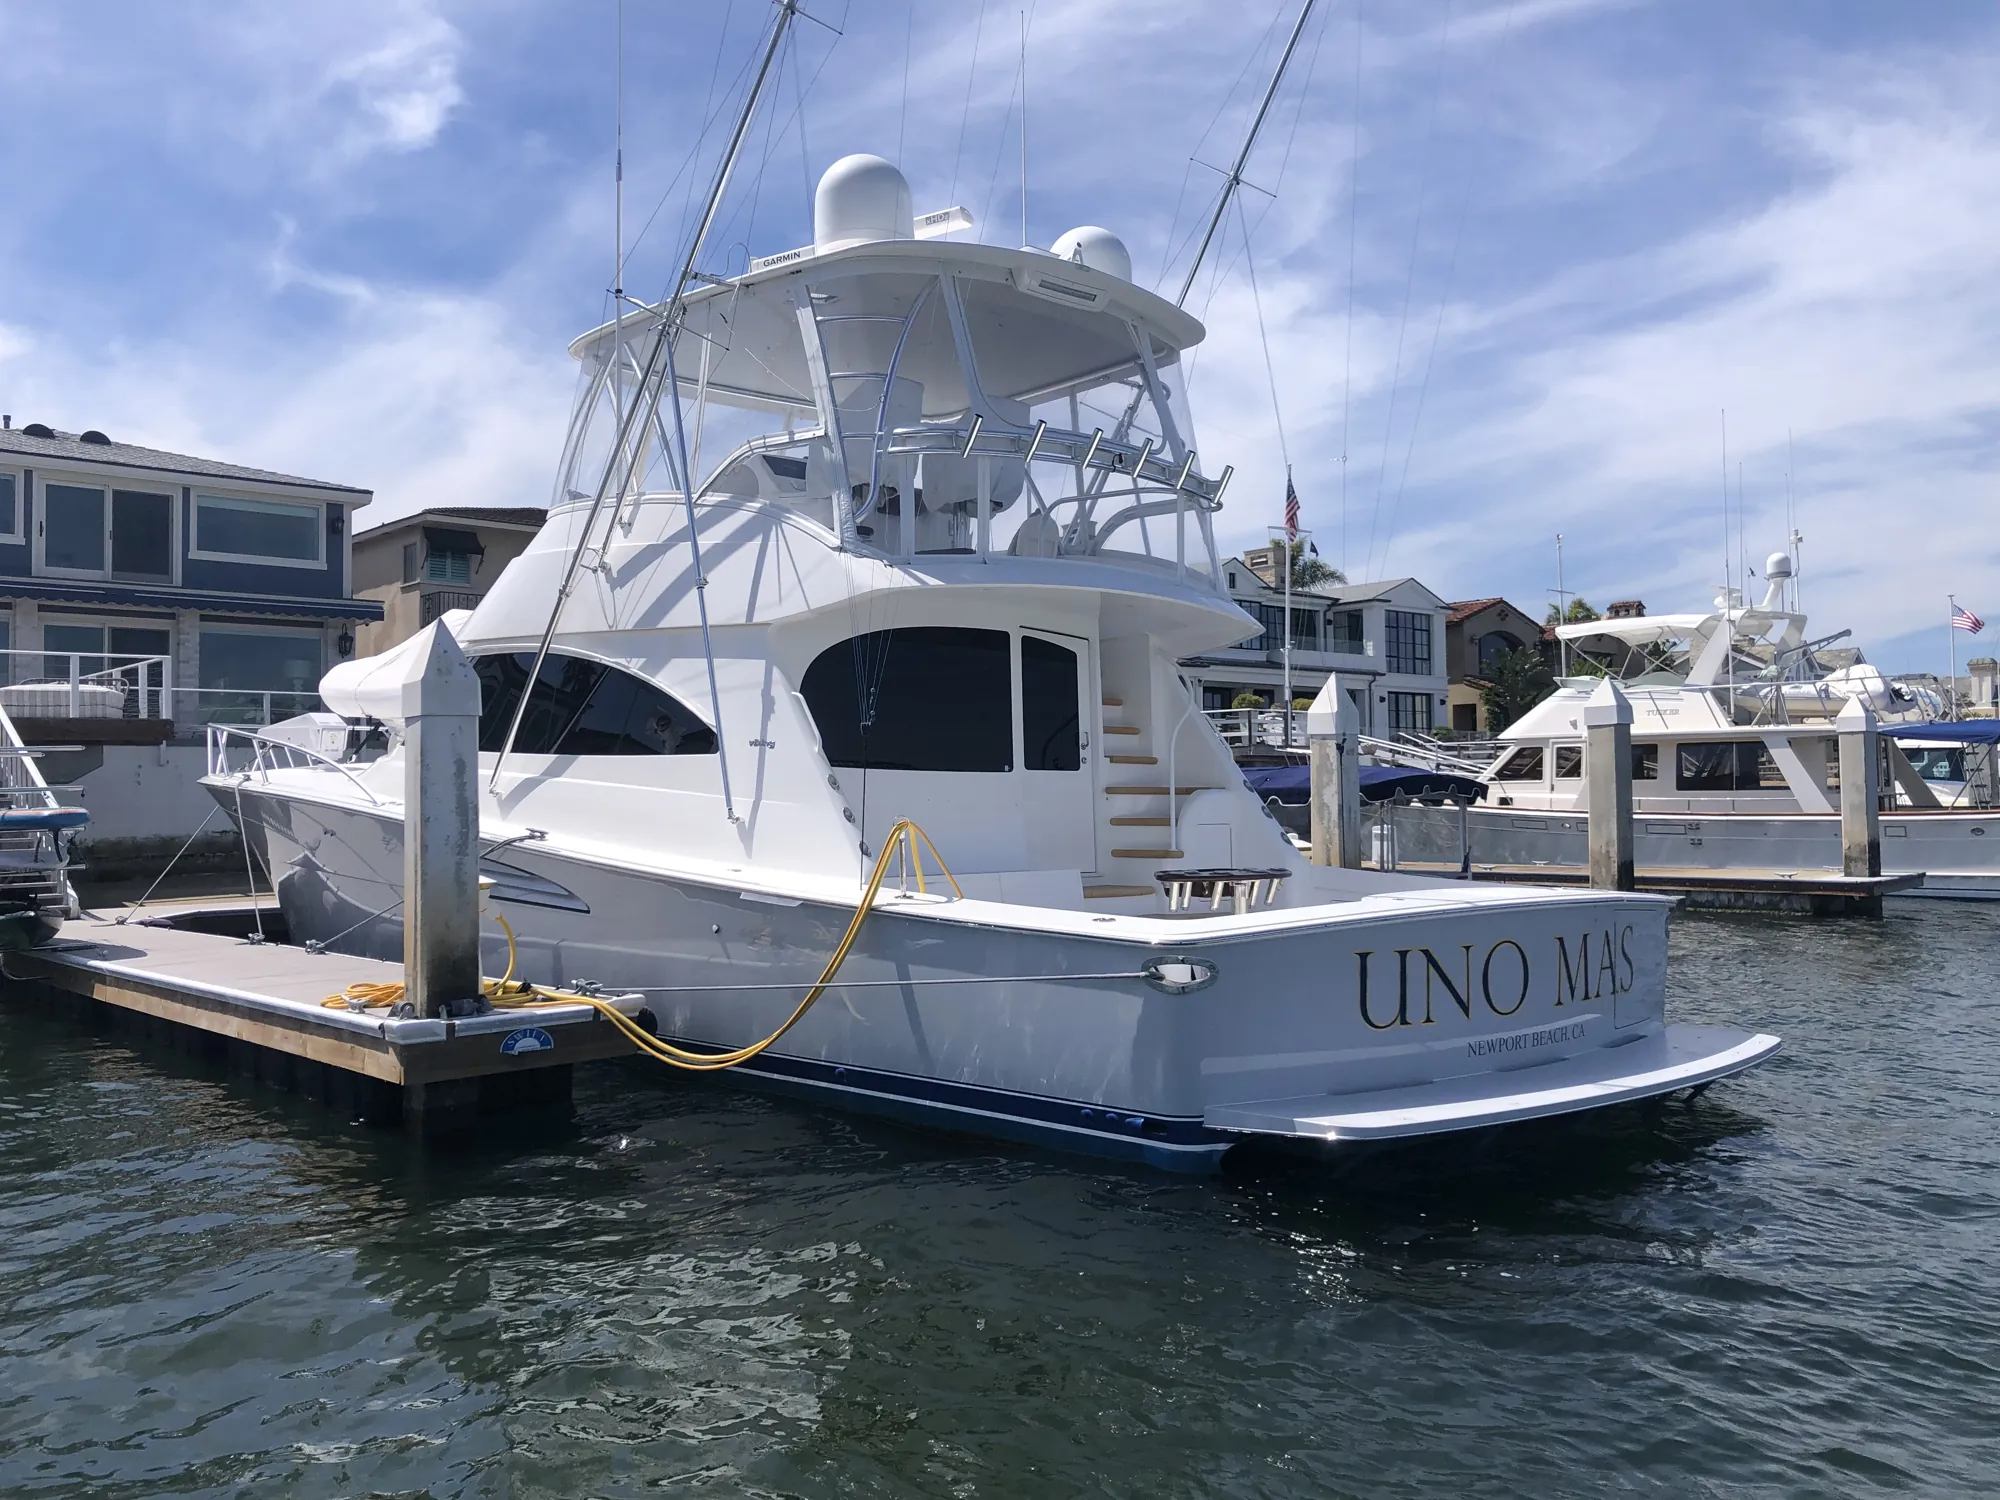
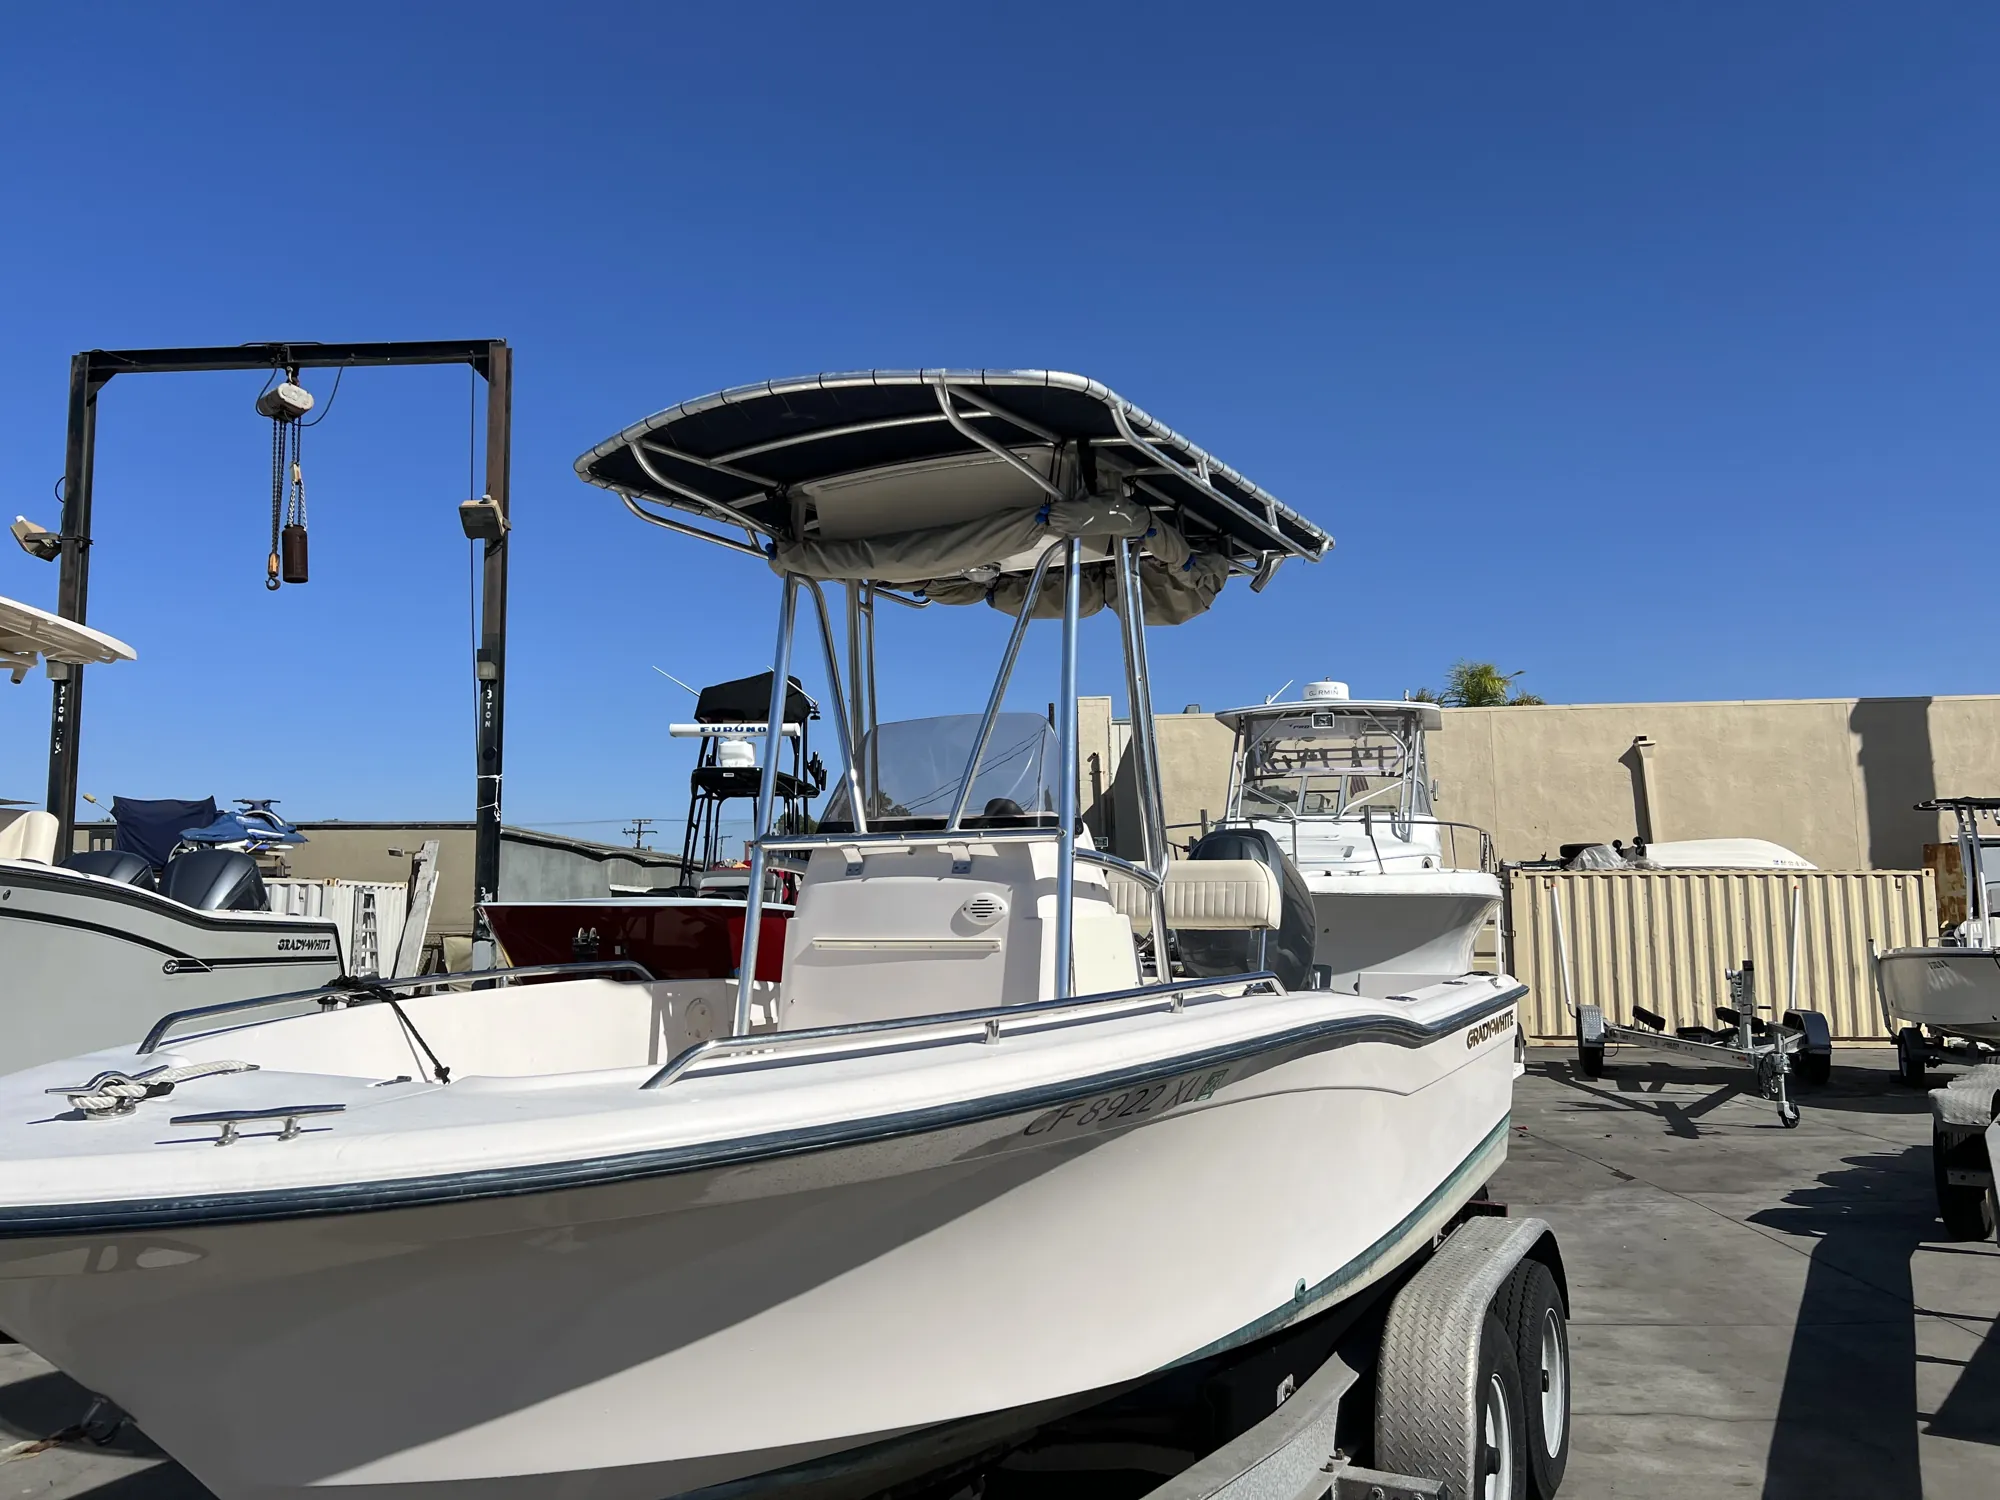
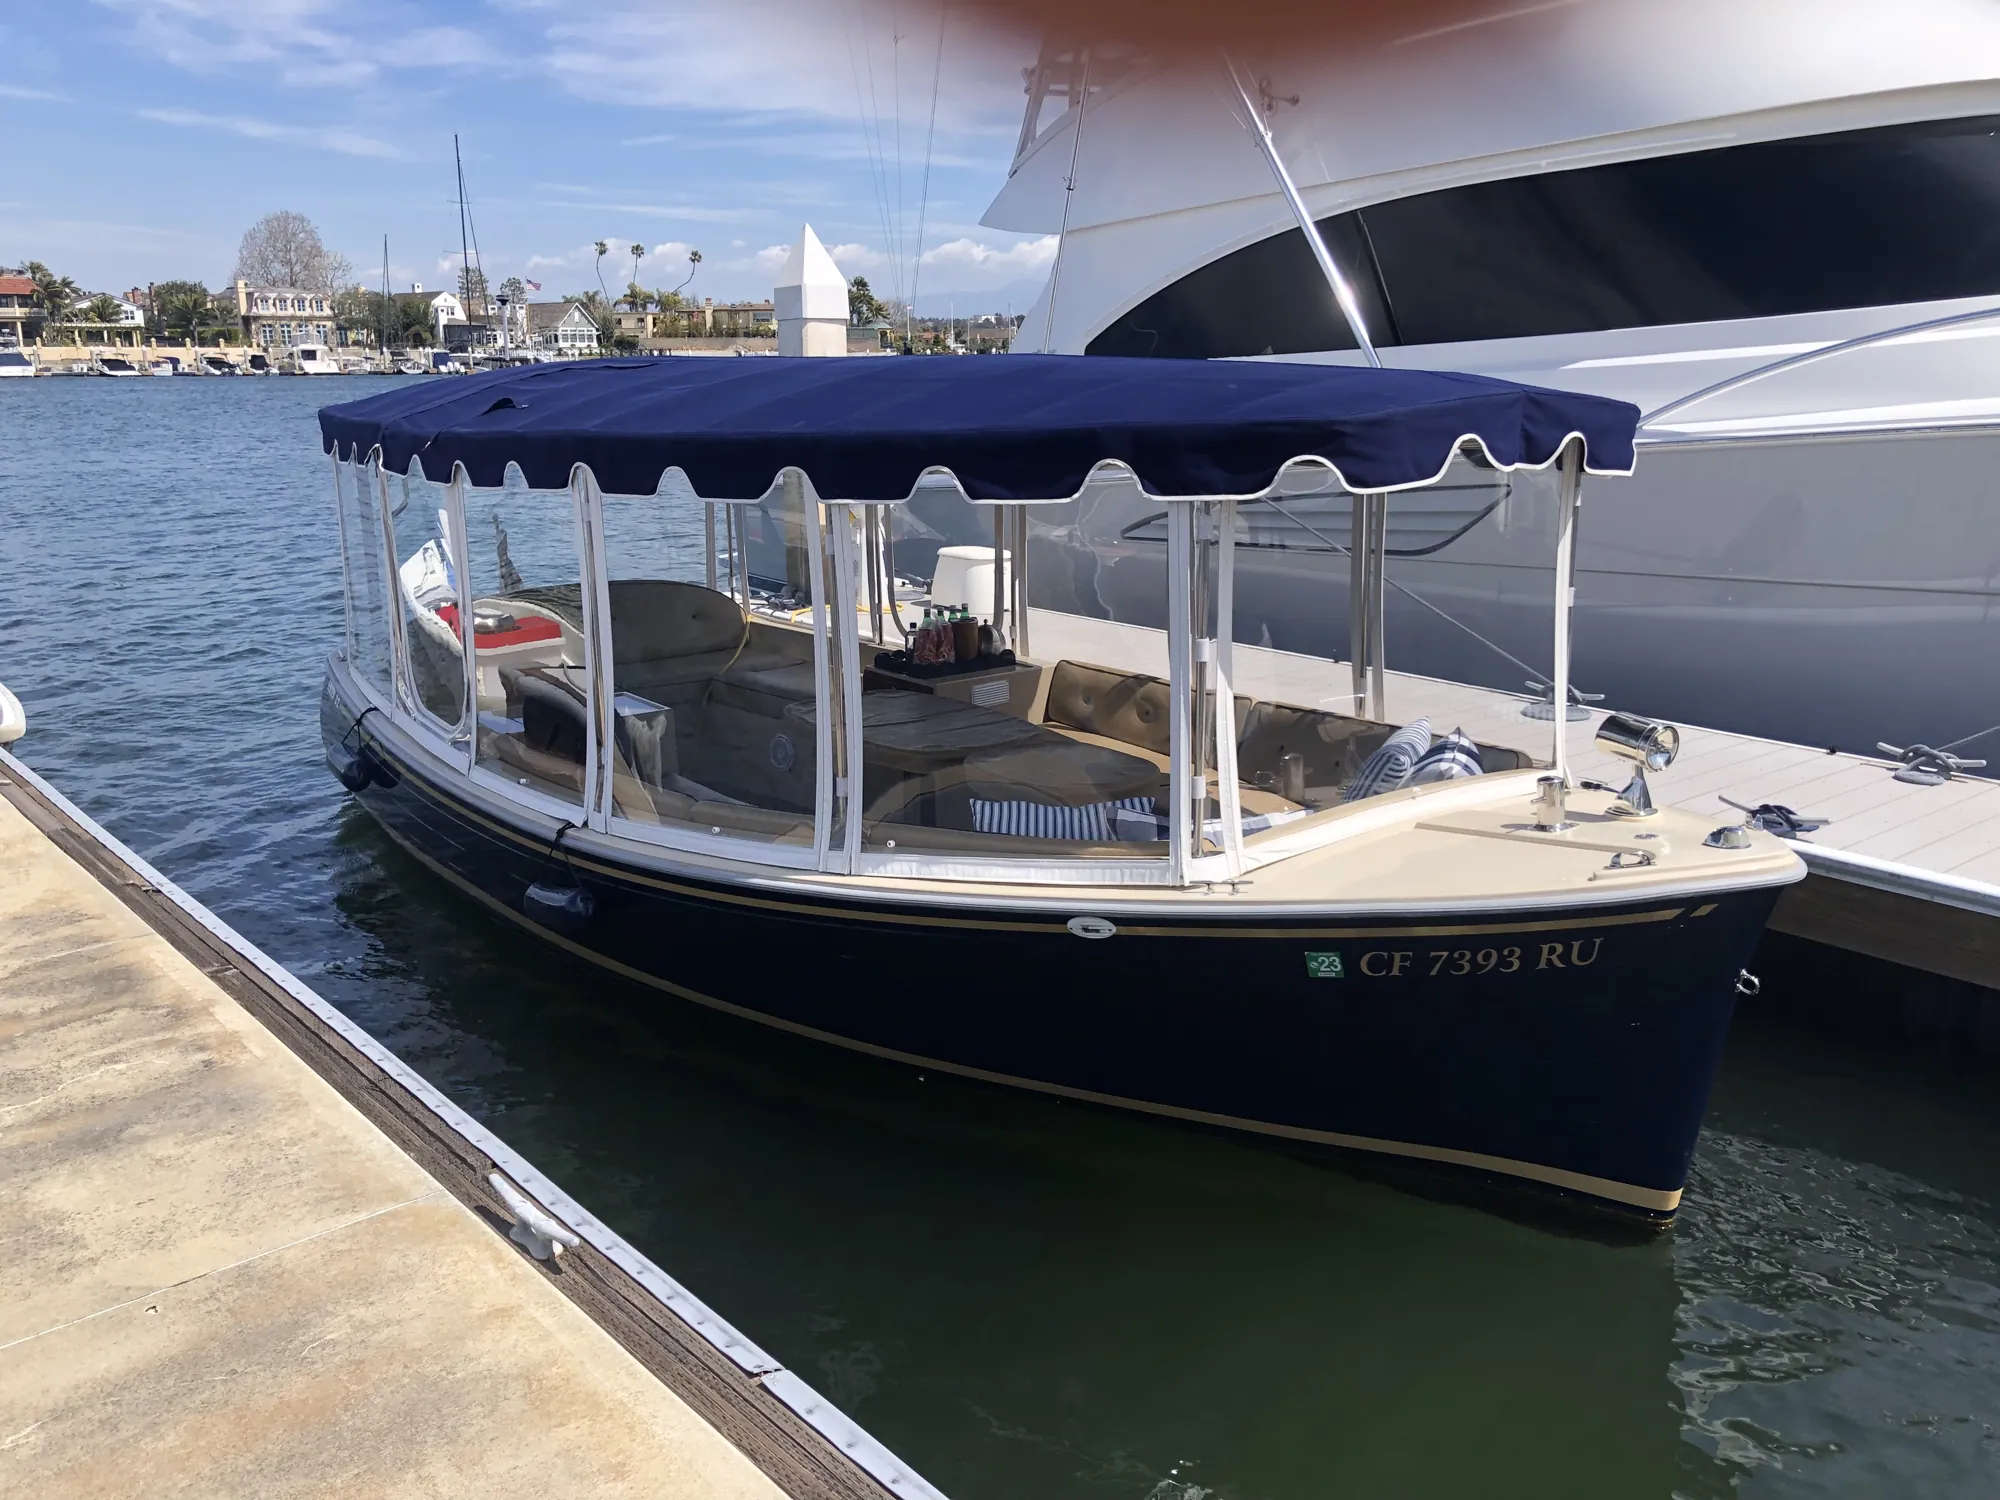
Above-the-waterline detailing and wash-downs — the finished look that keeps a boat showing its best.


Our portfolio showcases the quality of our underwater maintenance work. Every service includes job-site documentation delivered directly to the vessel owner.